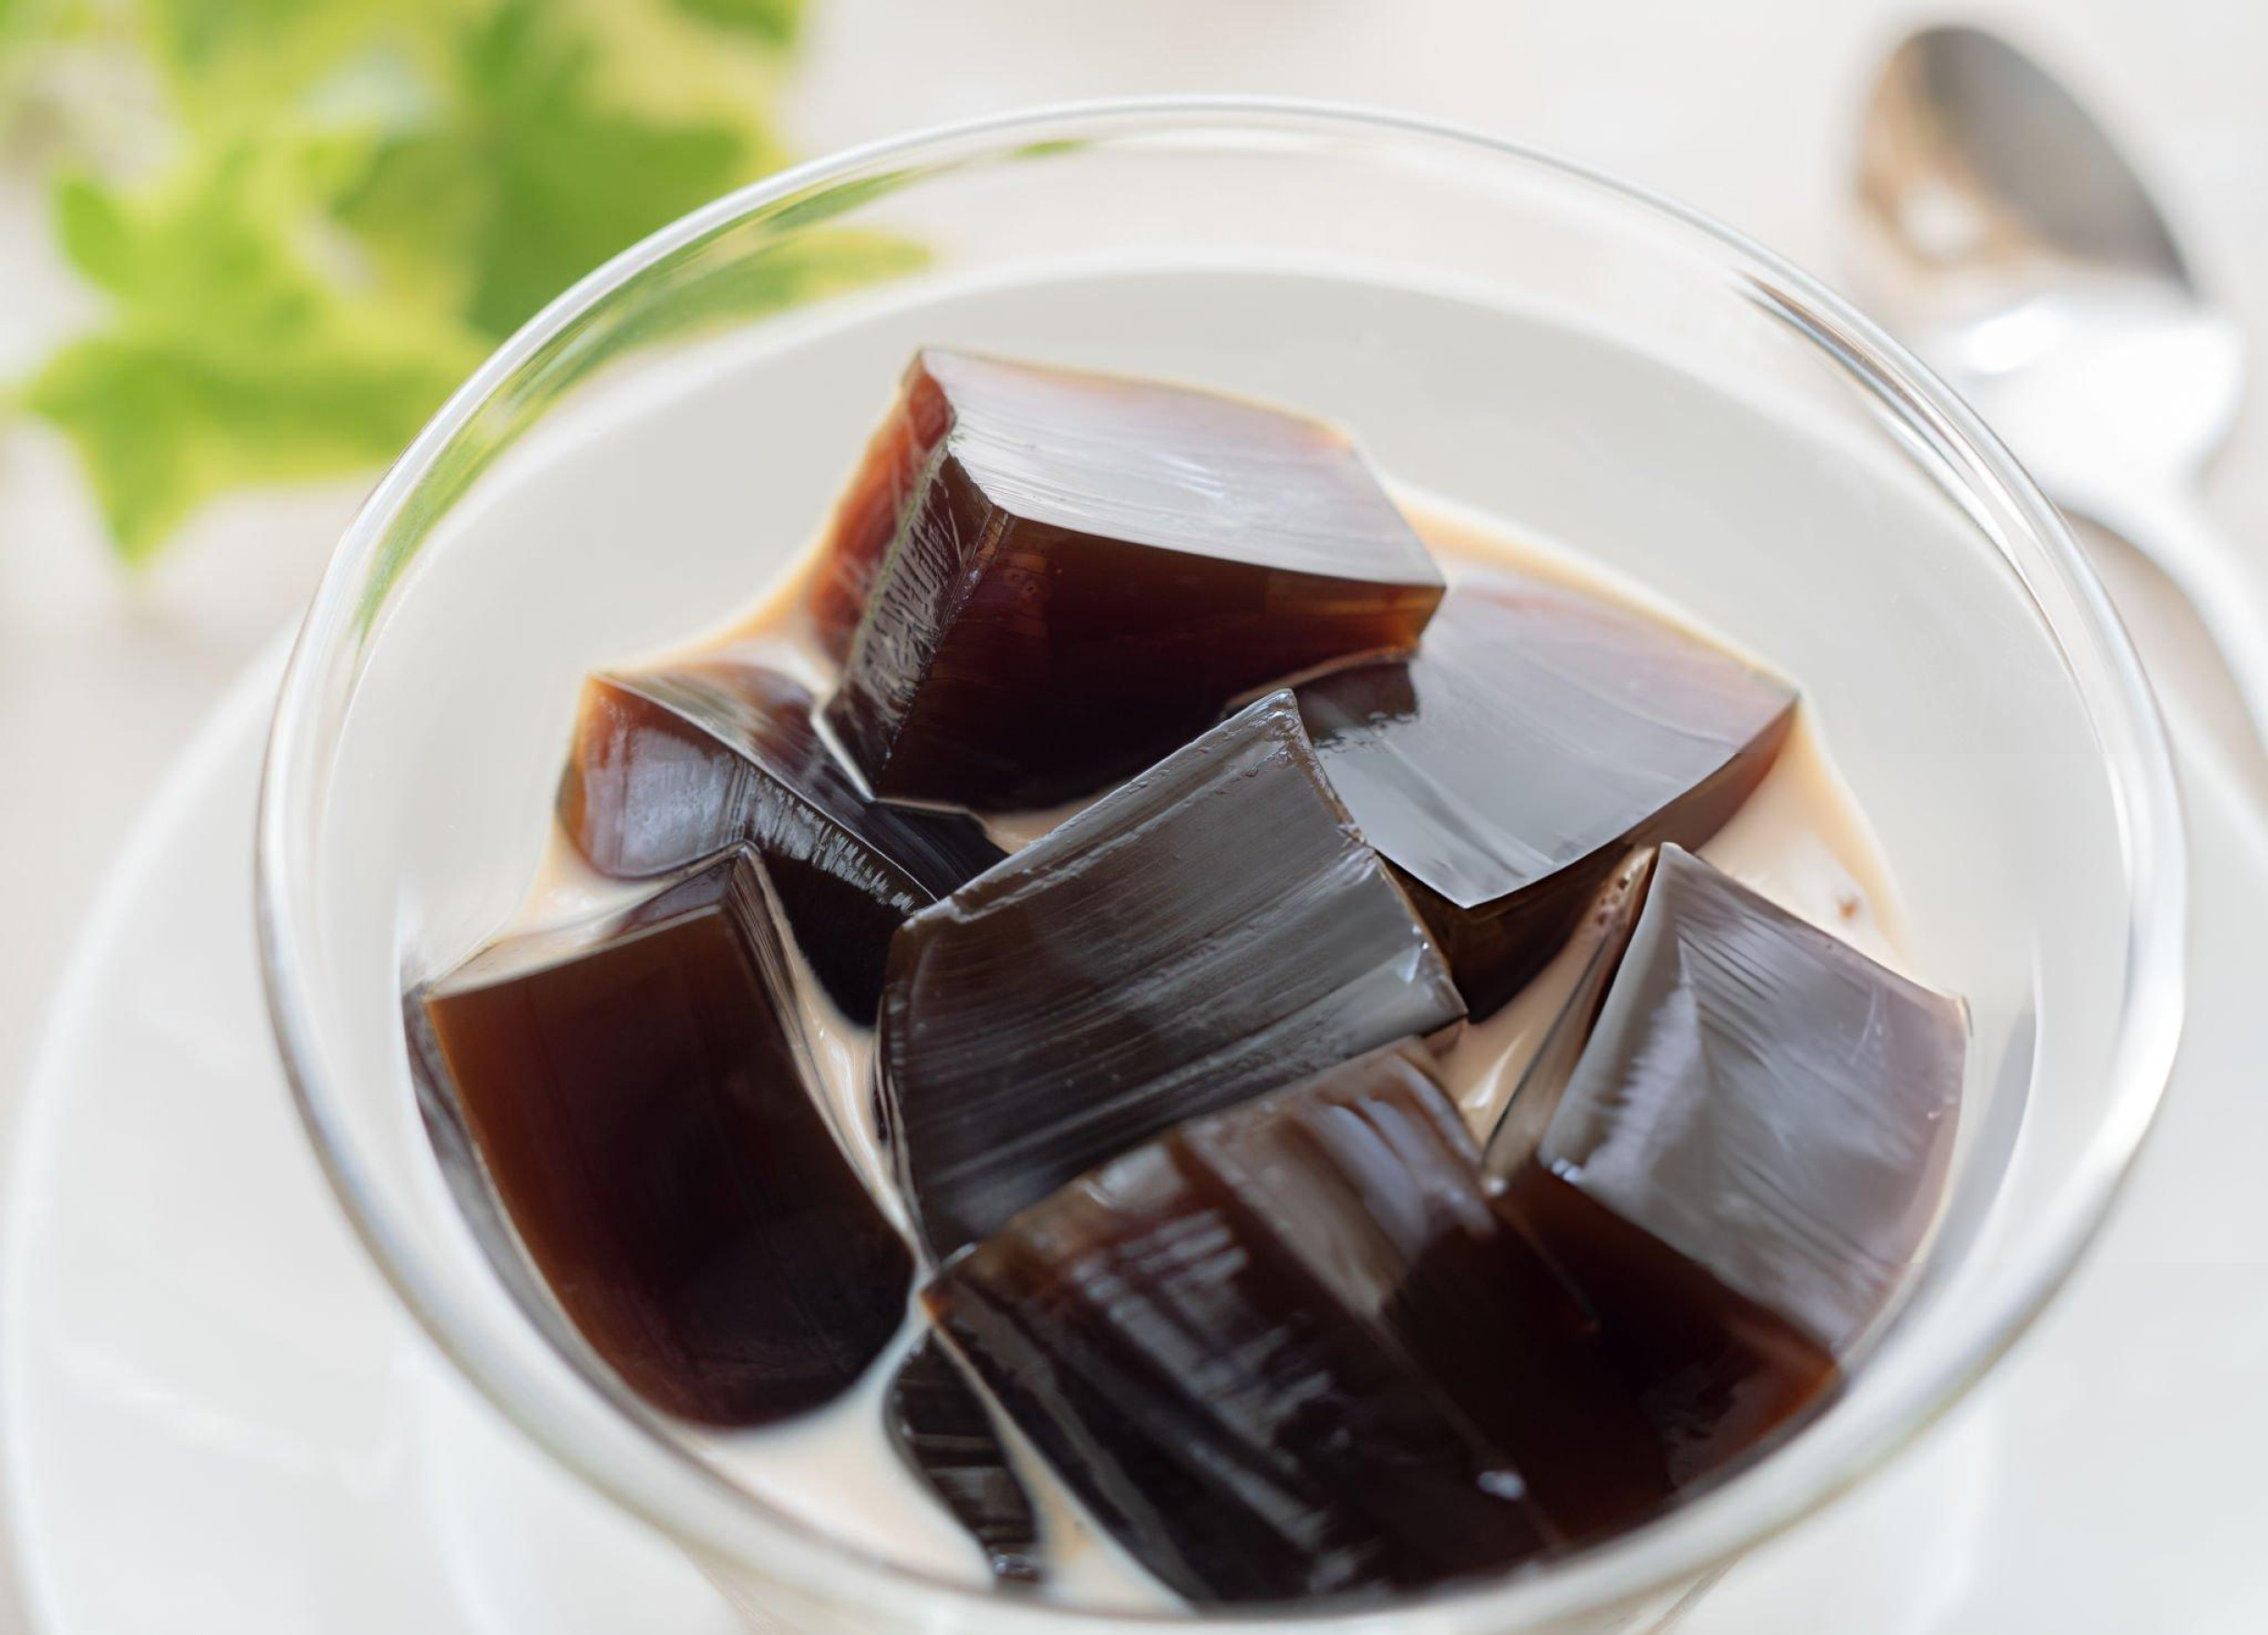
Japanese Coffee Jelly Recipe
Cool, smooth, and packed with rich coffee flavor, this Coffee Jelly Recipe is an easy make-ahead dessert that's both refreshing and satisfying. Enjoy it on its own or topped with whipped cream, ice cream, or your favorite syrup for a simple treat that's perfect any time of year.
Print
Pin
Servings: 4 Serving
Calories: 85kcal
Ingredients
Setting Agent
- 15 g gelatin powder
- or
- 2 g kanten agar powder most sachets contain approximately 4 g
- or
- 15 g agar agar powder strength varies by brand, so follow the package instructions if needed
Other Ingredients
- 500 ml water if using freshly brewed espresso shots, reduce the water by 30 ml for each shot added
- 2 –3 tbsp sugar or adjust to your preferred sweetness
- 1 –2 tbsp instant coffee powder or instant espresso powder depending on how strong you like the coffee flavor
- Syrup of your choice such as simple syrup, vanilla, hazelnut, or other flavored varieties, to taste
- Optional toppings: whipped cream ice cream, chopped nuts, or any favorite garnish
Instructions
Gelatin Method
- Pour 200 ml of cold water into a small bowl. Evenly sprinkle the gelatin powder over the surface, stir gently, and allow it to bloom for 5–10 minutes until fully hydrated.
- Meanwhile, bring the remaining 300 ml of water to a boil. Transfer the hot water to a heatproof measuring jug or bowl, then add the bloomed gelatin mixture. Stir thoroughly until the gelatin has completely dissolved and the liquid is smooth.
- If using espresso shots instead of relying entirely on instant coffee, reduce the water by 30 ml for every espresso shot added. For example, four espresso shots (120 ml total) should be paired with 180 ml of hot water.
- Stir in the sugar followed by the instant coffee powder. Begin with the smaller amount of coffee, taste the mixture, and gradually increase it if a stronger coffee flavor is preferred. Continue stirring until everything is fully dissolved.
- Remove any foam floating on the surface with a spoon to achieve a cleaner, clearer finish.
- Carefully pour the coffee mixture into a square or rectangular mold if you plan to cut it into cubes, or divide it among individual serving cups for single portions.
- Let the mixture cool to room temperature before covering it and refrigerating for approximately 4 hours, or until completely firm.
- Once set, slice into bite-sized cubes if using a mold, or simply serve directly from the cups. Finish with your preferred syrup and toppings before serving.
Kanten or Agar Agar Method
- In a small bowl, thoroughly combine the sugar with either the kanten agar powder or agar agar powder. Mixing them together first helps distribute the setting agent evenly.
- Pour the water into a saucepan while it is still cold. Sprinkle the sugar and agar mixture evenly over the surface, then whisk or stir until well combined.
- If incorporating freshly brewed espresso, reduce the water by 30 ml for each espresso shot used. For example, four espresso shots (120 ml) require only 380 ml of water in the saucepan.
- Place the saucepan over medium heat and slowly bring the mixture to a boil. Once boiling, reduce the heat slightly and allow it to simmer gently for 1–5 minutes, stirring occasionally. Since cooking times vary between brands, always refer to the package directions for the most accurate timing.
- Remove the saucepan from the heat and let it cool for a few minutes. Stir in the instant coffee powder or prepared espresso until fully dissolved. Mix gently to avoid incorporating excess air, which can create unwanted bubbles.
- Skim away any foam that forms on the surface using a spoon.
- Slowly pour the liquid into molds or serving cups, taking care not to introduce air bubbles. Allow it to cool completely at room temperature before transferring it to the refrigerator. With agar-based desserts, refrigeration is mainly for chilling, as the mixture begins setting as it cools.
- Once chilled, cut into cubes if prepared in a mold, or enjoy directly from serving cups. Add your preferred syrup and finish with toppings such as whipped cream, ice cream, or chopped nuts before serving.
Notes
- The base recipe makes 2 cups (500ml) of jelly. Use a 5-6″ (14-15cm) square for 2.5cm (1 inch) thick jelly cubes. A rectangular container with similar dimensions also works fine (like a lunchbox). Just make sure it’s heatproof.
- Opt for a high-quality instant espresso, coffee powder or espresso shots from a coffee machine for best results.
- If you choose to use freshly pulled espresso shots, reduce the water amount by 30ml for each single espresso shot used to maintain the same liquid ratio in the recipe. Generally I’d recommend 120-160ml espresso (2-3 double shots) with 380 or 320ml of water to bring the total back up to 500ml. Depending on how strong you want your coffee jelly to be, you can play around with the ratio. Just don’t forget to adjust the water amount when increasing or decreasing the amount of espresso.
- You can reduce or increase the coffee and sugar to suit your taste preference. Aim for slightly stronger than what you would usually drink, it tastes milder as a jelly.
- If using agar agar, keep in mind that results can vary from brand to brand. Always check the packaging for exact measures and adjust the water/cooking time accordingly.
- For best results, keep refrigerated and eat within 2 days. Add cream or toppings right before serving.
- The coffee jelly tends to become a bit watery after extended refrigeration, but it’s still good to eat for up to 2-3 days.
Nutrition
Calories: 85kcal