
Japanese Coffee Jelly Recipe
Coffee jelly is a delightfully refreshing dessert that transforms the bold aroma of coffee into a silky, lightly sweet treat. Every spoonful delivers a delicate balance of rich coffee flavor and a smooth, jiggly texture, making it an excellent choice for both coffee enthusiasts and those looking for an elegant dessert that’s surprisingly simple to prepare.
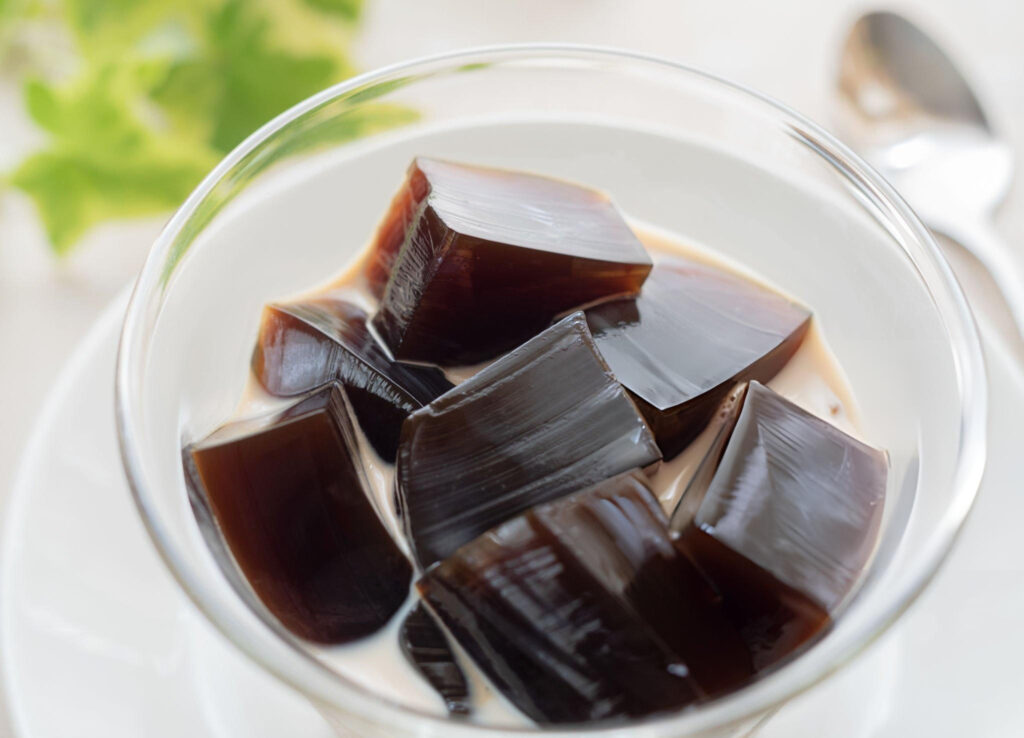

Ingredients You’ll Need
The beauty of coffee jelly lies in its uncomplicated ingredient list. Each component contributes to either the dessert’s flavor, texture, or presentation, resulting in a balanced dessert that is both satisfying and easy to customize.
Coffee forms the heart of the recipe. Instant coffee and instant espresso powder dissolve quickly and provide consistent flavor, while freshly brewed espresso creates a richer, more pronounced coffee profile. Water acts as the base, allowing the coffee to bloom into a smooth, refreshing jelly, while sugar softens the natural bitterness and creates a pleasant sweetness without overpowering the coffee.
The setting agent determines the dessert’s final texture. Gelatin produces a soft, tender, melt-in-your-mouth consistency that’s familiar in many classic jellies. Kanten, a Japanese form of agar, creates a firmer bite with a clean finish, while standard agar agar also produces a stable jelly that sets quickly and remains firm even at room temperature. Each option delivers excellent results, allowing you to choose the texture you enjoy most.
For serving, flavored syrups such as vanilla, caramel, or hazelnut introduce extra sweetness and complexity. Whipped cream, ice cream, and chopped nuts provide contrast in both texture and flavor, while additional garnishes like chocolate shavings or fresh berries can elevate the dessert even further.
Choosing the right setting agent ultimately comes down to personal preference. If you enjoy a delicate, silky dessert, gelatin is an excellent choice. Those seeking a firmer, cleaner bite may prefer kanten or agar agar. Since agar products can vary in strength between manufacturers, following the instructions provided on the package ensures consistent results every time.
Step-by-Step Instructions
Preparing coffee jelly is straightforward, but a few careful techniques ensure a beautifully smooth dessert with an even texture and rich coffee flavor.
When using gelatin, the first and most important step is blooming the powder in cold water. Allowing the gelatin to fully hydrate before introducing heat prevents lumps and helps it dissolve evenly. Once bloomed, combine it with hot water and stir until the mixture becomes perfectly clear and smooth. Add the sugar and coffee gradually, tasting as you go so the strength matches your personal preference. Before pouring the mixture into molds, skim away any foam from the surface to create a polished, crystal-clear finish. Refrigerate until fully set, allowing several hours for the dessert to develop its ideal consistency.
If using kanten or agar agar, begin by mixing the powder thoroughly with the sugar before adding it to cold water. This simple technique helps prevent clumping during cooking. Bring the mixture to a gentle boil and simmer according to the manufacturer’s directions, ensuring the setting agent dissolves completely. Once removed from the heat, stir in the coffee while avoiding vigorous whisking, which can trap unwanted air bubbles. Let the mixture cool slightly before transferring it into molds or serving cups, then refrigerate until thoroughly chilled.
Once the jelly has set, unmold it carefully or leave it in individual serving glasses for a more elegant presentation. If using a square container, cut the jelly into evenly sized cubes with a sharp knife for clean edges. Finish each serving with flavored syrup, whipped cream, ice cream, chopped nuts, or any combination of your favorite toppings for a dessert that’s as attractive as it is delicious.
Recipe Tips
- Achieve the perfect coffee flavor: Start with the smaller amount of coffee powder, then gradually increase it after tasting. This allows you to create a dessert that’s pleasantly bold without becoming overly bitter.
- Balance sweetness carefully: Sugar should complement the coffee rather than mask it. Taste the mixture before pouring it into the mold, remembering that flavors become slightly more subdued once chilled.
- Bloom gelatin properly: Never skip the blooming step. Fully hydrated gelatin dissolves more evenly and creates a smoother texture throughout the dessert.
- Prevent agar lumps: Thoroughly mix agar or kanten with the sugar before adding it to water. This encourages even distribution and reduces the likelihood of clumping.
- Remove surface foam: Skimming away bubbles before chilling results in a glossy, professional-looking finish.
- Avoid overcooking agar: Simmer only as long as directed on the packaging. Excessive cooking can reduce its setting ability.
- Prepare ahead of time: Coffee jelly is an ideal make-ahead dessert and can be refrigerated several hours or overnight before serving.
- Store correctly: Keep the jelly covered in the refrigerator to prevent it from absorbing other food aromas and to maintain its fresh coffee flavor.
- Serve well chilled: Coffee jelly tastes best when thoroughly chilled, allowing its refreshing qualities and delicate texture to shine.
Flavor Variations and Customizations
One of the most enjoyable aspects of coffee jelly is how easily it can be adapted to suit different tastes. Rich espresso creates an intensely aromatic dessert, while decaffeinated coffee offers the same satisfying flavor without the caffeine, making it suitable for evening enjoyment. Specialty coffee blends with notes of chocolate, caramel, or hazelnut can also introduce subtle complexity.
For a more elaborate presentation, transform the jelly into layered parfaits by alternating cubes of coffee jelly with whipped cream or lightly sweetened yogurt. Another delicious option is to serve the jelly with cold milk or cream, creating a dessert that’s creamy yet refreshingly light.
Flavored syrups provide countless opportunities for customization. Vanilla adds warmth, hazelnut enhances the roasted coffee notes, and caramel contributes a rich sweetness. Seasonal toppings such as fresh strawberries, toasted almonds, chocolate curls, or even crushed biscotti can give each serving its own distinctive character.
What to Serve With This Recipe
Coffee jelly pairs beautifully with a variety of toppings and accompaniments that enhance its refreshing character without overwhelming its delicate coffee flavor.
Fresh whipped cream offers a light, airy contrast, while vanilla or coffee ice cream creates an indulgent combination of creamy and chilled textures. A drizzle of sweetened condensed milk adds richness and a subtle caramelized sweetness that complements the coffee exceptionally well.
For a more substantial dessert course, serve coffee jelly alongside buttery shortbread, crisp butter cookies, or slices of soft sponge cake. Chiffon cake is another wonderful companion, providing a light texture that pairs naturally with the silky jelly. Fresh berries introduce a welcome burst of brightness, while chocolate shavings add both elegance and depth.
To complete the experience, pair coffee jelly with beverages that complement its roasted flavors. An iced latte creates a harmonious coffee-themed dessert course, while hot black coffee highlights the dessert’s aromatic qualities. For something different, milk tea or a smooth matcha latte provides a pleasant contrast that balances the coffee beautifully.
Frequently Asked Questions
- Can I use brewed coffee instead of instant coffee?
Yes. Freshly brewed espresso or strong brewed coffee works well. Simply reduce the amount of water in the recipe to account for the added liquid. - What is the difference between gelatin, kanten, and agar agar?
Gelatin creates a softer, more delicate texture, while kanten and agar agar produce a firmer jelly with a cleaner bite. Agar-based jellies also begin setting as they cool. - Why didn’t my coffee jelly set properly?
Common causes include inaccurate measurements, insufficient simmering for agar products, improperly bloomed gelatin, or using an incorrect water ratio. - Can I make this dessert ahead of time?
Absolutely. Coffee jelly is an excellent make-ahead dessert and can be prepared a day before serving. - How long does coffee jelly last in the refrigerator?
When stored in a covered container, it generally maintains its best quality for up to three days. - Can this recipe be made sugar-free?
Yes. Replace the sugar with a heat-stable sweetener suitable for cooking, adjusting the quantity according to the manufacturer’s recommendations. - Is it possible to freeze coffee jelly?
Freezing is not recommended, as it can alter the jelly’s texture and cause excess moisture to separate once thawed.
Coffee jelly is a wonderfully uncomplicated dessert that celebrates the bold character of coffee in a refreshingly unique form. Its smooth texture, customizable sweetness, and elegant presentation make it suitable for everything from casual family meals to sophisticated dinner parties.
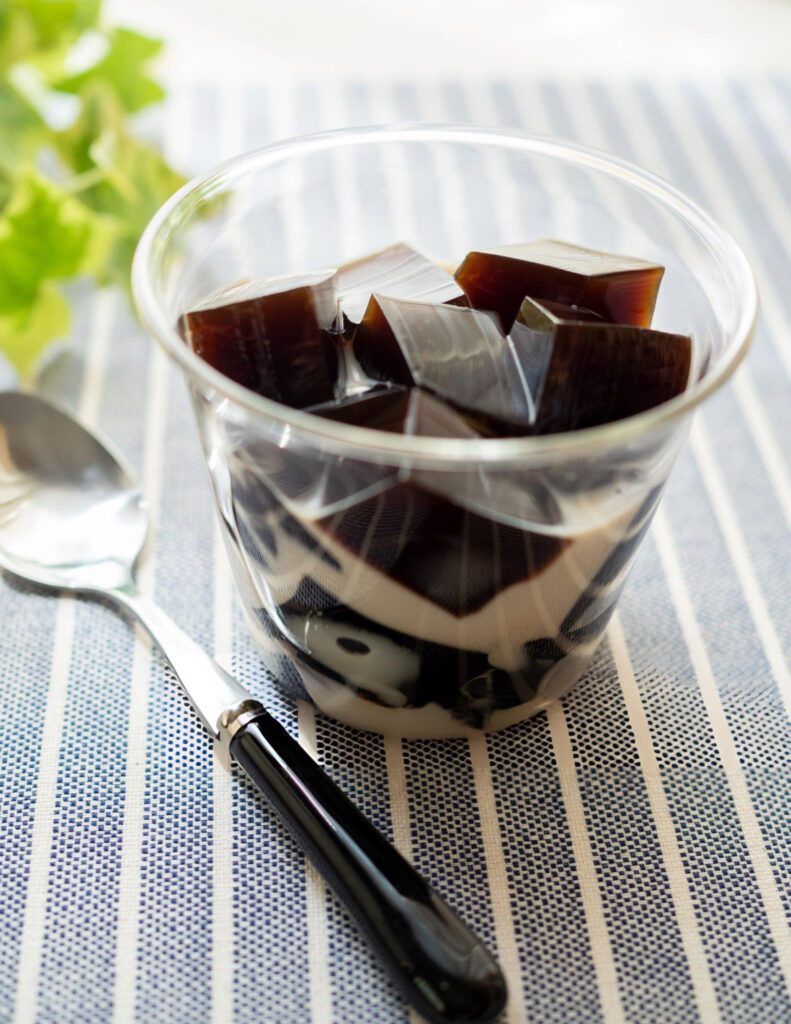
Setting Agent (Choose One)
- 15 g gelatin powder
or - 2 g kanten agar powder (most sachets contain approximately 4 g)
or - 15 g agar agar powder (strength varies by brand, so follow the package instructions if needed)
Other Ingredients
- 500 ml water (if using freshly brewed espresso shots, reduce the water by 30 ml for each shot added)
- 2–3 tbsp sugar, or adjust to your preferred sweetness
- 1–2 tbsp instant coffee powder or instant espresso powder, depending on how strong you like the coffee flavor
- Syrup of your choice, such as simple syrup, vanilla, hazelnut, or other flavored varieties, to taste
- Optional toppings: whipped cream, ice cream, chopped nuts, or any favorite garnish
Instructions
Gelatin Method
- Pour 200 ml of cold water into a small bowl. Evenly sprinkle the gelatin powder over the surface, stir gently, and allow it to bloom for 5–10 minutes until fully hydrated.
- Meanwhile, bring the remaining 300 ml of water to a boil. Transfer the hot water to a heatproof measuring jug or bowl, then add the bloomed gelatin mixture. Stir thoroughly until the gelatin has completely dissolved and the liquid is smooth.
- If using espresso shots instead of relying entirely on instant coffee, reduce the water by 30 ml for every espresso shot added. For example, four espresso shots (120 ml total) should be paired with 180 ml of hot water.
- Stir in the sugar followed by the instant coffee powder. Begin with the smaller amount of coffee, taste the mixture, and gradually increase it if a stronger coffee flavor is preferred. Continue stirring until everything is fully dissolved.
- Remove any foam floating on the surface with a spoon to achieve a cleaner, clearer finish.
- Carefully pour the coffee mixture into a square or rectangular mold if you plan to cut it into cubes, or divide it among individual serving cups for single portions.
- Let the mixture cool to room temperature before covering it and refrigerating for approximately 4 hours, or until completely firm.
- Once set, slice into bite-sized cubes if using a mold, or simply serve directly from the cups. Finish with your preferred syrup and toppings before serving.
Kanten or Agar Agar Method
- In a small bowl, thoroughly combine the sugar with either the kanten agar powder or agar agar powder. Mixing them together first helps distribute the setting agent evenly.
- Pour the water into a saucepan while it is still cold. Sprinkle the sugar and agar mixture evenly over the surface, then whisk or stir until well combined.
- If incorporating freshly brewed espresso, reduce the water by 30 ml for each espresso shot used. For example, four espresso shots (120 ml) require only 380 ml of water in the saucepan.
- Place the saucepan over medium heat and slowly bring the mixture to a boil. Once boiling, reduce the heat slightly and allow it to simmer gently for 1–5 minutes, stirring occasionally. Since cooking times vary between brands, always refer to the package directions for the most accurate timing.
- Remove the saucepan from the heat and let it cool for a few minutes. Stir in the instant coffee powder or prepared espresso until fully dissolved. Mix gently to avoid incorporating excess air, which can create unwanted bubbles.
- Skim away any foam that forms on the surface using a spoon.
- Slowly pour the liquid into molds or serving cups, taking care not to introduce air bubbles. Allow it to cool completely at room temperature before transferring it to the refrigerator. With agar-based desserts, refrigeration is mainly for chilling, as the mixture begins setting as it cools.
- Once chilled, cut into cubes if prepared in a mold, or enjoy directly from serving cups. Add your preferred syrup and finish with toppings such as whipped cream, ice cream, or chopped nuts before serving.
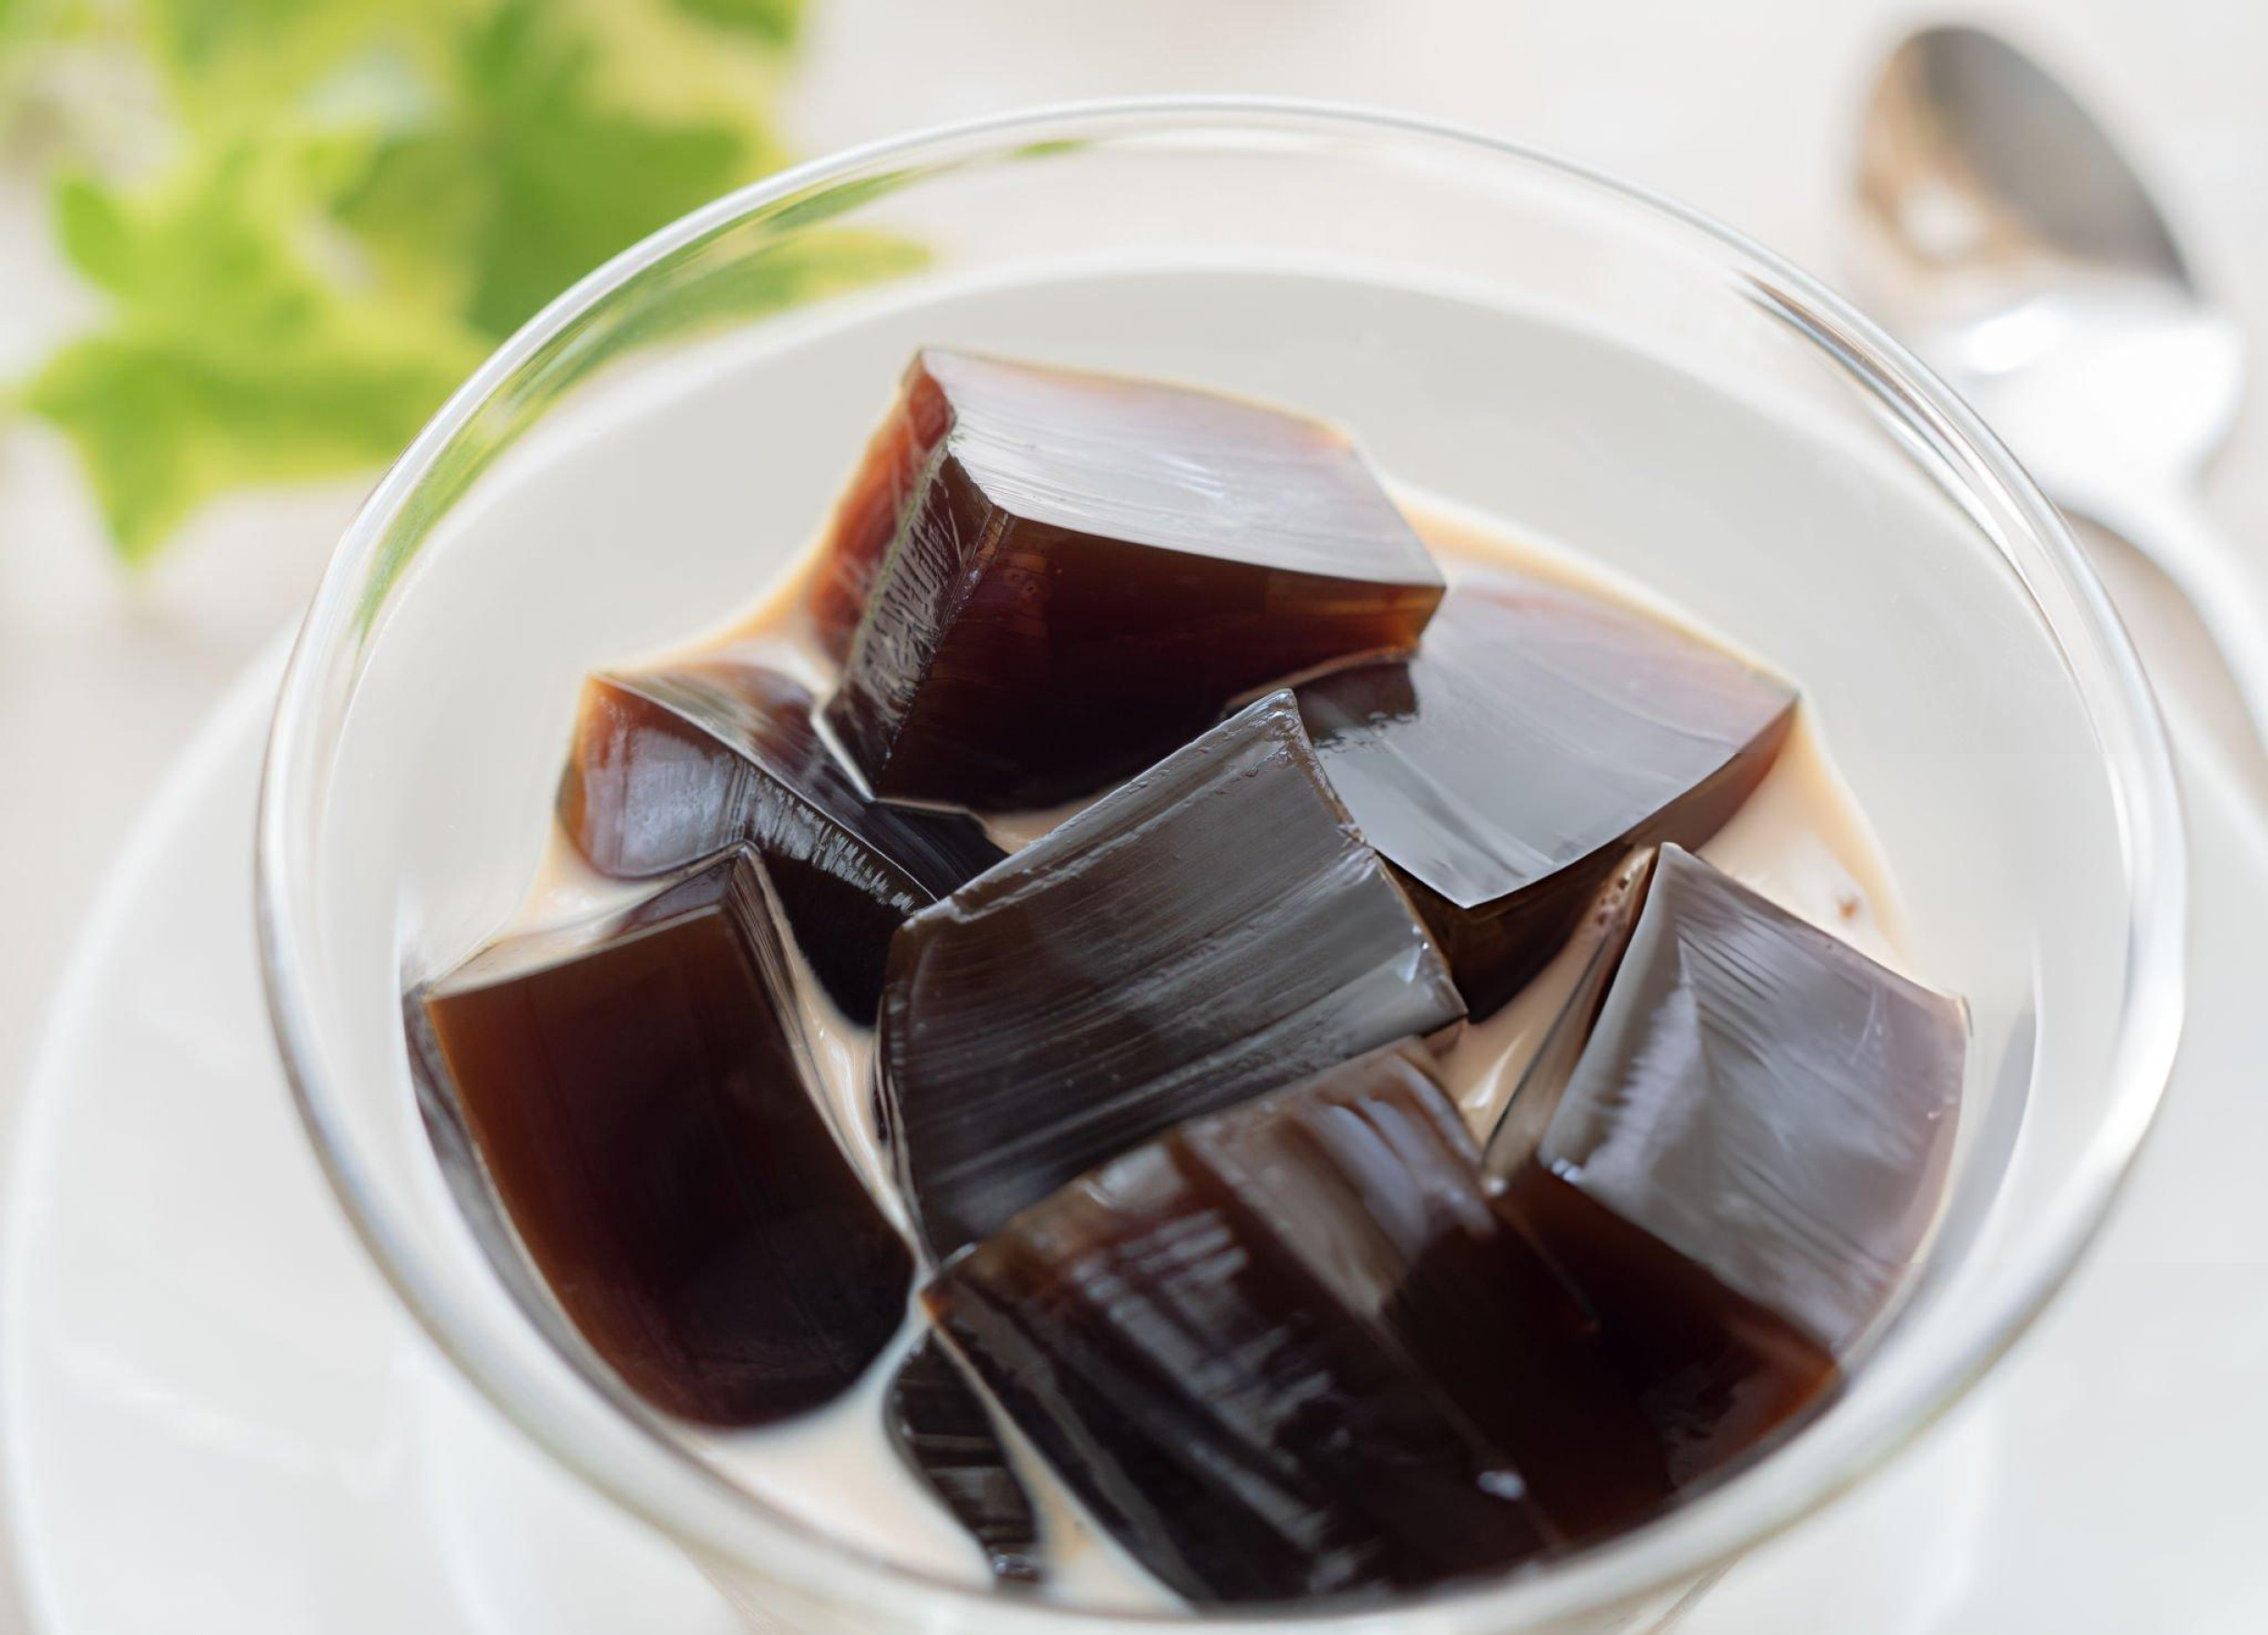
Japanese Coffee Jelly Recipe
Ingredients
Setting Agent
- 15 g gelatin powder
- or
- 2 g kanten agar powder most sachets contain approximately 4 g
- or
- 15 g agar agar powder strength varies by brand, so follow the package instructions if needed
Other Ingredients
- 500 ml water if using freshly brewed espresso shots, reduce the water by 30 ml for each shot added
- 2 –3 tbsp sugar or adjust to your preferred sweetness
- 1 –2 tbsp instant coffee powder or instant espresso powder depending on how strong you like the coffee flavor
- Syrup of your choice such as simple syrup, vanilla, hazelnut, or other flavored varieties, to taste
- Optional toppings: whipped cream ice cream, chopped nuts, or any favorite garnish
Instructions
Gelatin Method
- Pour 200 ml of cold water into a small bowl. Evenly sprinkle the gelatin powder over the surface, stir gently, and allow it to bloom for 5–10 minutes until fully hydrated.
- Meanwhile, bring the remaining 300 ml of water to a boil. Transfer the hot water to a heatproof measuring jug or bowl, then add the bloomed gelatin mixture. Stir thoroughly until the gelatin has completely dissolved and the liquid is smooth.
- If using espresso shots instead of relying entirely on instant coffee, reduce the water by 30 ml for every espresso shot added. For example, four espresso shots (120 ml total) should be paired with 180 ml of hot water.
- Stir in the sugar followed by the instant coffee powder. Begin with the smaller amount of coffee, taste the mixture, and gradually increase it if a stronger coffee flavor is preferred. Continue stirring until everything is fully dissolved.
- Remove any foam floating on the surface with a spoon to achieve a cleaner, clearer finish.
- Carefully pour the coffee mixture into a square or rectangular mold if you plan to cut it into cubes, or divide it among individual serving cups for single portions.
- Let the mixture cool to room temperature before covering it and refrigerating for approximately 4 hours, or until completely firm.
- Once set, slice into bite-sized cubes if using a mold, or simply serve directly from the cups. Finish with your preferred syrup and toppings before serving.
Kanten or Agar Agar Method
- In a small bowl, thoroughly combine the sugar with either the kanten agar powder or agar agar powder. Mixing them together first helps distribute the setting agent evenly.
- Pour the water into a saucepan while it is still cold. Sprinkle the sugar and agar mixture evenly over the surface, then whisk or stir until well combined.
- If incorporating freshly brewed espresso, reduce the water by 30 ml for each espresso shot used. For example, four espresso shots (120 ml) require only 380 ml of water in the saucepan.
- Place the saucepan over medium heat and slowly bring the mixture to a boil. Once boiling, reduce the heat slightly and allow it to simmer gently for 1–5 minutes, stirring occasionally. Since cooking times vary between brands, always refer to the package directions for the most accurate timing.
- Remove the saucepan from the heat and let it cool for a few minutes. Stir in the instant coffee powder or prepared espresso until fully dissolved. Mix gently to avoid incorporating excess air, which can create unwanted bubbles.
- Skim away any foam that forms on the surface using a spoon.
- Slowly pour the liquid into molds or serving cups, taking care not to introduce air bubbles. Allow it to cool completely at room temperature before transferring it to the refrigerator. With agar-based desserts, refrigeration is mainly for chilling, as the mixture begins setting as it cools.
- Once chilled, cut into cubes if prepared in a mold, or enjoy directly from serving cups. Add your preferred syrup and finish with toppings such as whipped cream, ice cream, or chopped nuts before serving.
Notes
- The base recipe makes 2 cups (500ml) of jelly. Use a 5-6″ (14-15cm) square for 2.5cm (1 inch) thick jelly cubes. A rectangular container with similar dimensions also works fine (like a lunchbox). Just make sure it’s heatproof.
- Opt for a high-quality instant espresso, coffee powder or espresso shots from a coffee machine for best results.
- If you choose to use freshly pulled espresso shots, reduce the water amount by 30ml for each single espresso shot used to maintain the same liquid ratio in the recipe. Generally I’d recommend 120-160ml espresso (2-3 double shots) with 380 or 320ml of water to bring the total back up to 500ml. Depending on how strong you want your coffee jelly to be, you can play around with the ratio. Just don’t forget to adjust the water amount when increasing or decreasing the amount of espresso.
- You can reduce or increase the coffee and sugar to suit your taste preference. Aim for slightly stronger than what you would usually drink, it tastes milder as a jelly.
- If using agar agar, keep in mind that results can vary from brand to brand. Always check the packaging for exact measures and adjust the water/cooking time accordingly.
- For best results, keep refrigerated and eat within 2 days. Add cream or toppings right before serving.
- The coffee jelly tends to become a bit watery after extended refrigeration, but it’s still good to eat for up to 2-3 days.