
Summer Desserts Easy No Bake Recipe
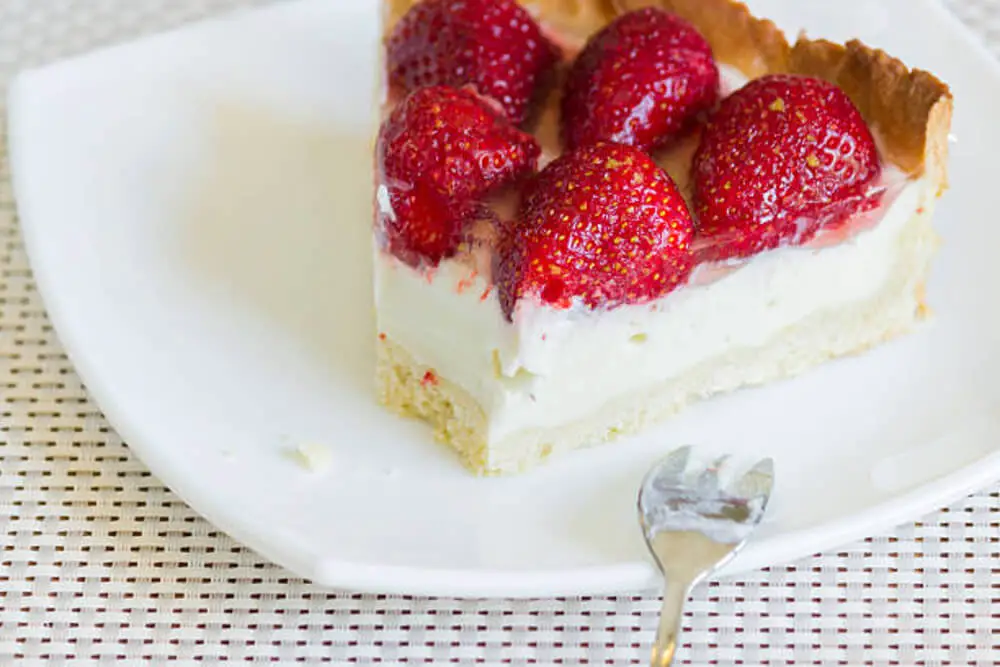
When the summer heat is at its peak, the last thing anyone wants is to turn on the oven. That’s where no-bake desserts come to the rescue. These treats are the epitome of convenience and simplicity, making them the perfect choice for hot summer days. This no-bake cheesecake is not only easy to make but also a delightful treat that’s sure to impress. The cool, creamy texture paired with a buttery graham cracker crust is irresistible. Moreover, the absence of baking means you can enjoy this dessert without sweating over a hot oven.
Ingredients Overview
Creating a no-bake cheesecake requires a few essential components. Each ingredient plays a crucial role in ensuring the success of the dessert.
The graham cracker crust is the foundation, providing a crunchy base that contrasts beautifully with the creamy filling. The brown sugar adds a touch of caramelized sweetness, while the melted butter binds everything together.
For the cheesecake filling, full-fat brick cream cheese is indispensable for its rich, smooth texture. Heavy cream, whipped to stiff peaks, lends lightness and airiness to the filling. Granulated and confectioners’ sugars sweeten the mixture, while sour cream adds a subtle tang. Lemon juice brightens the flavors, and pure vanilla extract imparts a fragrant aroma.
When selecting ingredients, opt for the highest quality possible. Fresh, full-fat dairy products and pure vanilla extract make a noticeable difference in the final taste and texture of the cheesecake.
Step-by-Step Preparation Guide
Crafting the perfect graham cracker crust is the first step. Start by combining graham cracker crumbs, brown sugar, and melted butter in a medium bowl. Mix thoroughly until the crumbs are evenly coated. Press this mixture firmly into the bottom and slightly up the sides of a springform pan. The key to a sturdy crust is packing it tightly, which prevents it from crumbling when sliced. Freezing the crust for 10-20 minutes while you prepare the filling helps it set and solidify.
Next, make the creamy cheesecake filling. Whip cold heavy cream to stiff peaks using a hand mixer or stand mixer with a whisk attachment. This step is crucial for achieving the light, airy texture of the filling. Set the whipped cream aside.
In another bowl, beat the softened cream cheese and granulated sugar on medium speed until the mixture is smooth and creamy. Scrape down the sides and bottom of the bowl periodically to ensure even mixing. Add confectioners’ sugar, sour cream, lemon juice, and vanilla extract, then continue beating until fully combined and free of lumps.
Carefully fold the whipped cream into the cream cheese mixture using a silicone spatula. This step should be done gently to preserve the whipped cream’s airiness. Once combined, retrieve the crust from the freezer and spread the filling evenly over it. Smooth the top with an offset spatula. Cover the cheesecake tightly and refrigerate for at least 6-8 hours, ideally overnight, to allow it to set properly.
Recipe Tips & Frequently Asked Questions
Tricks for a flawless crust that holds together
- Press the crust mixture firmly into the pan, using the bottom of a measuring cup for even pressure.
- Freeze the crust to help it set before adding the filling.
Ensuring the filling is perfectly smooth and airy
- Soften the cream cheese to room temperature before beating to prevent lumps.
- Whip the heavy cream to stiff peaks for an airy texture.
Best practices for chilling and setting the cheesecake
- Refrigerate the cheesecake for at least 6-8 hours, preferably overnight, for the best results.
- Cover the cheesecake tightly to prevent it from absorbing fridge odors.
Creative variations and flavor enhancements
- Add a swirl of fruit puree to the filling for a fruity twist.
- Incorporate chocolate chips or crushed cookies into the crust for extra flavor.
Common issues and troubleshooting tips
- If the crust is too crumbly, add a bit more melted butter to bind it.
- For a runny filling, ensure all ingredients are properly measured and the whipped cream is whipped to stiff peaks.
Substitutions and dietary adjustments
- For a gluten-free version, use gluten-free graham crackers.
- Substitute dairy-free cream cheese and coconut cream for a vegan option.
Serving and Presentation Ideas
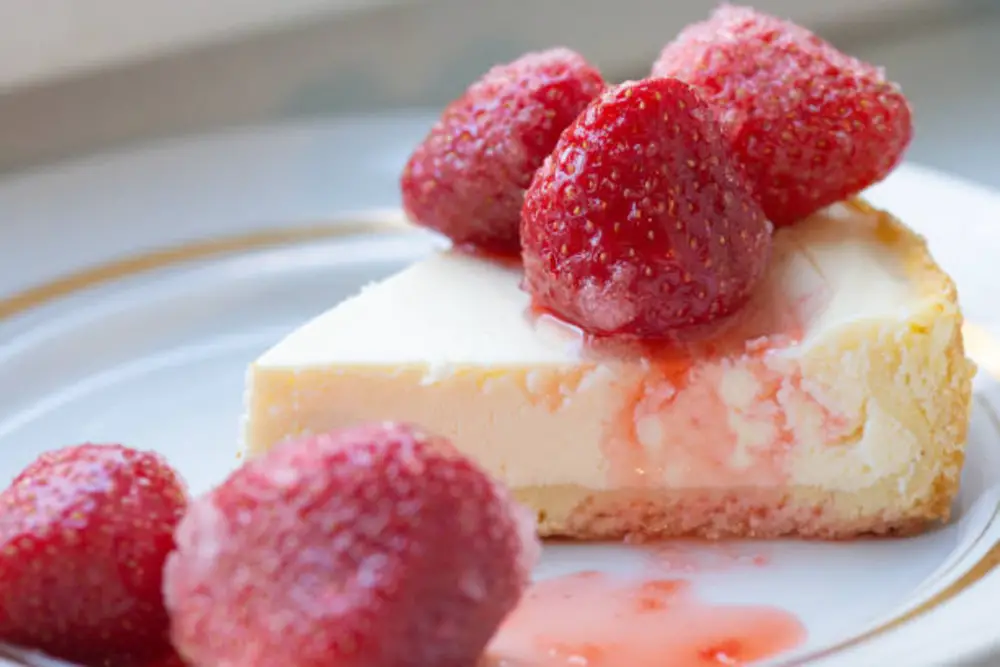
When it comes to serving and presentation, the possibilities are endless. Garnish your cheesecake with fresh berries, a drizzle of chocolate or caramel sauce, or a sprinkle of crushed nuts. These toppings not only enhance the flavor but also add a visually appealing touch. For a cleaner presentation, slice the cheesecake with a sharp, clean knife, wiping the blade between each cut. This ensures neat, professional-looking slices.
What to Serve With This Recipe
Pairing your cheesecake with the right beverages and accompaniments can elevate the dessert experience. A chilled glass of white wine or a refreshing iced tea complements the creamy texture perfectly. For a complete dessert spread, consider serving light, summery sides like a fruit salad or lemon sorbet. This cheesecake also fits seamlessly into a larger summer menu, balancing savory dishes with its sweet, tangy flavors.
Storage and Make-Ahead Tips
Proper storage is essential for maintaining the freshness of your cheesecake. Store any leftovers in the refrigerator, covered tightly, for up to 5 days. For longer storage, the cheesecake can be frozen. Wrap it securely in plastic wrap and aluminum foil, then place it in an airtight container. Thaw in the refrigerator before serving.
If you’re planning to make the cheesecake ahead of time, prepare it up to two days in advance. This allows the flavors to meld and the texture to firm up, making it even more delicious when served. For stress-free entertaining, consider making individual mini cheesecakes, which are easier to serve and portion.
This no-bake cheesecake is a versatile, crowd-pleasing dessert that’s sure to become a summer favorite. Its simplicity, combined with rich, creamy flavors and a crunchy crust, makes it an irresistible treat for any occasion.
Ingredients:
Graham Cracker Crust
2 cups (240g) graham cracker crumbs (approximately 16 full sheet graham crackers)
1/3 cup (67g) packed light or dark brown sugar
1/2 cup (113g) unsalted butter, melted
Cheesecake
24 ounces (678g) full-fat brick cream cheese, softened to room temperature
1 and 1/4 cups (300ml) heavy cream or heavy whipping cream
1/2 cup (100g) granulated sugar
2 Tablespoons (15g) confectioners’ sugar
1/4 cup (60g) sour cream, at room temperature
2 teaspoons lemon juice
1 teaspoon pure vanilla extract
Instructions:
- Make the crust: In a medium bowl, combine the graham cracker crumbs, brown sugar, and melted butter until thoroughly mixed. Transfer this mixture to a 9-inch or 10-inch springform pan, pressing it firmly into the bottom and slightly up the sides. For the best results, use the bottom of a measuring cup to compact the crust. Freeze for 10-20 minutes while preparing the filling.
- Make the filling: Using a hand mixer or stand mixer with a whisk attachment, whip the cold heavy cream on medium-high speed until stiff peaks form, about 4-5 minutes. Set the whipped cream aside.
- In another large mixing bowl, beat the softened cream cheese and granulated sugar together on medium speed until the mixture is completely smooth and creamy. Remember to scrape down the sides and bottom of the bowl periodically to ensure even mixing. Add the confectioners’ sugar, sour cream, lemon juice, and vanilla extract, then beat on medium-high speed for 2-3 minutes until the mixture is smooth and fully combined, ensuring there are no lumps remaining.
- Gently fold the whipped cream into the cream cheese mixture using a silicone spatula. This process should be done slowly to preserve the airiness of the whipped cream.
- Retrieve the crust from the freezer and spread the cheesecake filling evenly over the crust. Smooth the top with an offset spatula. Cover the cheesecake tightly with plastic wrap or aluminum foil and refrigerate for at least 6-8 hours, ideally overnight, to allow it to set properly. For the best results, chill for 12 hours.
- Once set, run a knife around the edge of the cheesecake to loosen it from the springform pan, then remove the rim. Slice the cheesecake with a sharp, clean knife, wiping the blade between each cut for neat slices. Serve with your choice of toppings (see Note). Store any leftovers in the refrigerator for up to 5 days.
Summer Desserts Easy No Bake Recipe
Ingredients
Graham Cracker Crust
- 2 cups 240g graham cracker crumbs (approximately 16 full sheet graham crackers)
- 1/3 cup 67g packed light or dark brown sugar
- 1/2 cup 113g unsalted butter, melted
Cheesecake
- 24 ounces 678g full-fat brick cream cheese, softened to room temperature
- 1 and 1/4 cups 300ml heavy cream or heavy whipping cream
- 1/2 cup 100g granulated sugar
- 2 Tablespoons 15g confectioners’ sugar
- 1/4 cup 60g sour cream, at room temperature
- 2 teaspoons lemon juice
- 1 teaspoon pure vanilla extract
Instructions
- Make the crust: In a medium bowl, combine the graham cracker crumbs, brown sugar, and melted butter until thoroughly mixed. Transfer this mixture to a 9-inch or 10-inch springform pan, pressing it firmly into the bottom and slightly up the sides. For the best results, use the bottom of a measuring cup to compact the crust. Freeze for 10-20 minutes while preparing the filling.
- Make the filling: Using a hand mixer or stand mixer with a whisk attachment, whip the cold heavy cream on medium-high speed until stiff peaks form, about 4-5 minutes. Set the whipped cream aside.
- In another large mixing bowl, beat the softened cream cheese and granulated sugar together on medium speed until the mixture is completely smooth and creamy. Remember to scrape down the sides and bottom of the bowl periodically to ensure even mixing. Add the confectioners’ sugar, sour cream, lemon juice, and vanilla extract, then beat on medium-high speed for 2-3 minutes until the mixture is smooth and fully combined, ensuring there are no lumps remaining.
- Gently fold the whipped cream into the cream cheese mixture using a silicone spatula. This process should be done slowly to preserve the airiness of the whipped cream.
- Retrieve the crust from the freezer and spread the cheesecake filling evenly over the crust. Smooth the top with an offset spatula. Cover the cheesecake tightly with plastic wrap or aluminum foil and refrigerate for at least 6-8 hours, ideally overnight, to allow it to set properly. For the best results, chill for 12 hours.
- Once set, run a knife around the edge of the cheesecake to loosen it from the springform pan, then remove the rim. Slice the cheesecake with a sharp, clean knife, wiping the blade between each cut for neat slices. Serve with your choice of toppings (see Note). Store any leftovers in the refrigerator for up to 5 days.