Rotisserie Chicken Recipe
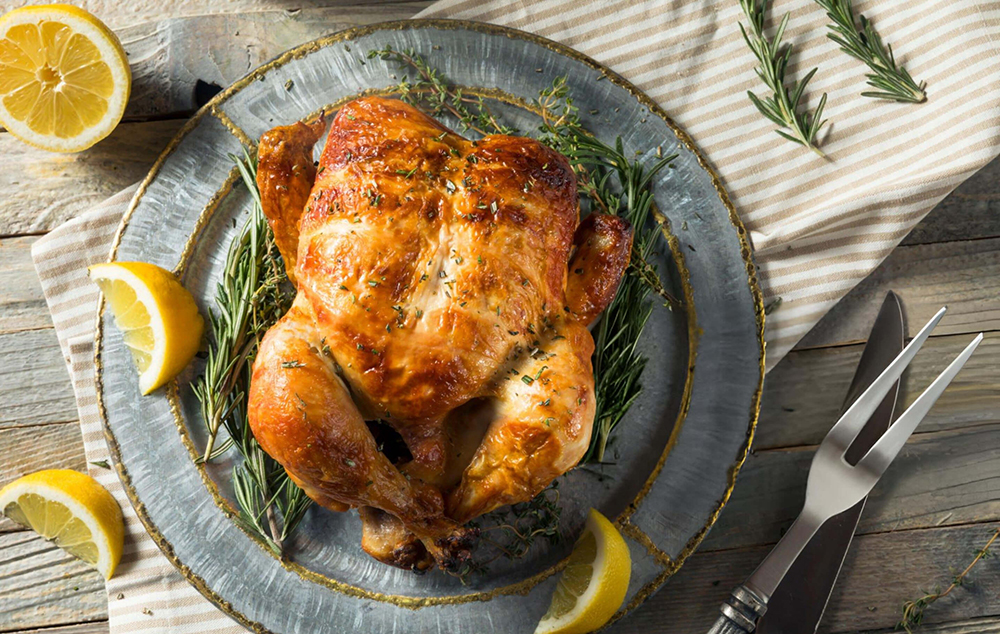
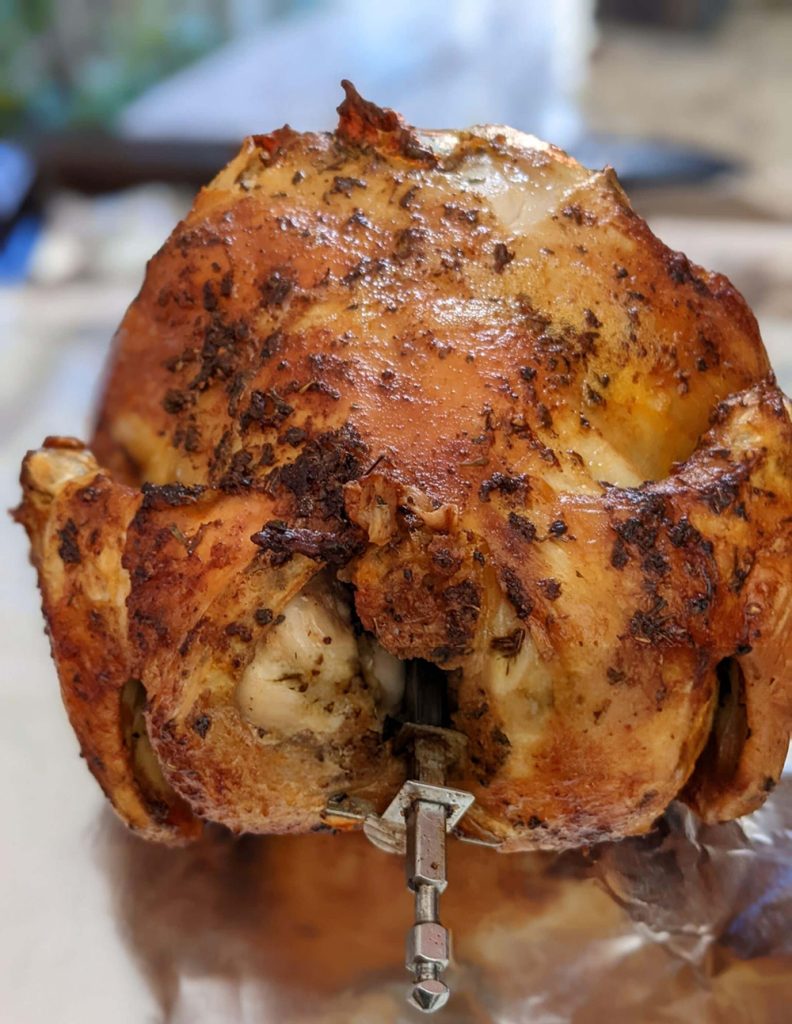
There’s something undeniably enchanting about a rotisserie chicken’s golden, crispy skin and the tender, juicy meat beneath it. This recipe encapsulates the magic of transforming a simple chicken into a feast with its delicious outcome and straightforward technique, making it an accessible culinary adventure for any home cook.

Essential Ingredients Breakdown
The key to the perfect rotisserie chicken lies in its ingredients. Melted butter mixed with paprika and black pepper creates a rich, flavorful basting sauce that not only adds color but also imparts a deep, smoky flavor. Salt plays a crucial role, drawing out the natural succulence of the chicken. For those seeking a twist, consider swapping paprika for smoked paprika or adding a hint of garlic powder for an extra layer of flavor.
Step-by-Step Cooking Guide
The journey to a perfect rotisserie chicken begins with preheating your grill to high heat, ensuring it’s well-oiled to prevent sticking. Season the inside of the chicken lightly with salt, then truss the legs and wings to promote even cooking. Once the chicken is secured on the rotisserie, let it sear under high heat before turning down to medium, allowing the skin to slowly crisp up as it cooks. Regular monitoring and basting are crucial, as they ensure the chicken remains moist and flavorful.
Recipe Tips
- Maintaining the Right Grill Temperature: Keep the grill hot enough to cook the chicken thoroughly, but moderate enough to prevent the skin from charring.
- Basting Techniques: Regular basting with the butter mixture helps keep the chicken moist and infuses it with flavors of paprika and pepper.
- Checking Doneness: A meat thermometer is your best friend here, ensuring the chicken reaches the safe internal temperature of 180 degrees Fahrenheit without overcooking.
What to Serve With This Recipe
Rotisserie chicken pairs wonderfully with a variety of sides. For a light option, a fresh green salad or steamed green beans work well. For something heartier, try roasted potatoes or a creamy polenta. Beverage-wise, a chilled Chardonnay or a crisp pilsner complements the richness of the chicken perfectly.
Mastering the Art of Basting
Basting is not just about flavor; it’s also essential for achieving that irresistible crispy skin. The key is in the consistency of the application and the timing, ensuring the chicken is regularly coated with the butter mixture throughout the cooking process. This technique allows the flavors to penetrate deeply and the skin to crisp up evenly.
Frequently Asked Questions
- Handling Flare-Ups: Keep a bottle of water nearby to douse any sudden flare-ups, which can burn the skin and spoil the flavor.
- Adjusting for Chicken Size: Cooking times may vary depending on the size of your chicken. Smaller birds will cook faster, so adjust the heat and cooking time accordingly.
- Storage and Reheating: To maintain the best quality, store leftover chicken in an airtight container and reheat in the oven to preserve the skin’s crispiness.
This rotisserie chicken recipe offers not just a meal but an experience—a chance to refine your grilling techniques, experiment with flavors, and ultimately, share a delicious creation with friends and family. We encourage you to add your own twist to this recipe and share your culinary adventures, as each variation adds to the rich tapestry of shared cooking experiences.

Ingredients:
- ¼ cup butter, melted
- 1 tablespoon ground paprika
- ¼ tablespoon ground black pepper
- 1 tablespoon salt, plus a pinch for seasoning
- 1 whole chicken (3 pounds)
Instructions:
Begin by preheating your outdoor grill to high heat, making sure to lightly oil the grate.
Next, sprinkle the inside of the chicken with a pinch of salt. Using kitchen string, securely tie the legs together, and then fasten the wings close to the body. Attach the chicken to the rotisserie setup.
Set the chicken on the grill and allow it to roast for 10 minutes over high heat.
While the chicken begins its initial cooking, prepare the basting sauce by combining the melted butter with a tablespoon of salt, the paprika, and black pepper in a small bowl.
After the initial 10 minutes, reduce the grill’s heat to medium. Generously apply the butter mixture to the chicken, coating it evenly.
Close the grill lid and let the chicken cook on medium heat. Continue to baste the chicken periodically, ensuring it cooks evenly and develops a golden, crispy skin.
Cook until the internal temperature of the thickest part of the chicken reaches 180 degrees Fahrenheit (83 degrees Celsius), which should take about 1 to 1½ hours.
Once fully cooked, remove the chicken from the rotisserie and let it rest for 10 to 15 minutes. This allows the juices to redistribute throughout the meat, ensuring it is moist and flavorful when carved.

Rotisserie Chicken Recipe
Ingredients
- ¼ cup butter melted
- 1 tablespoon ground paprika
- ¼ tablespoon ground black pepper
- 1 tablespoon salt plus a pinch for seasoning
- 1 whole chicken 3 pounds
Instructions
- Begin by preheating your outdoor grill to high heat, making sure to lightly oil the grate.
- Next, sprinkle the inside of the chicken with a pinch of salt. Using kitchen string, securely tie the legs together, and then fasten the wings close to the body. Attach the chicken to the rotisserie setup.
- Set the chicken on the grill and allow it to roast for 10 minutes over high heat.
- While the chicken begins its initial cooking, prepare the basting sauce by combining the melted butter with a tablespoon of salt, the paprika, and black pepper in a small bowl.
- After the initial 10 minutes, reduce the grill’s heat to medium. Generously apply the butter mixture to the chicken, coating it evenly.
- Close the grill lid and let the chicken cook on medium heat. Continue to baste the chicken periodically, ensuring it cooks evenly and develops a golden, crispy skin.
- Cook until the internal temperature of the thickest part of the chicken reaches 180 degrees Fahrenheit (83 degrees Celsius), which should take about 1 to 1½ hours.
- Once fully cooked, remove the chicken from the rotisserie and let it rest for 10 to 15 minutes. This allows the juices to redistribute throughout the meat, ensuring it is moist and flavorful when carved.

