Raspberry Jam Recipe
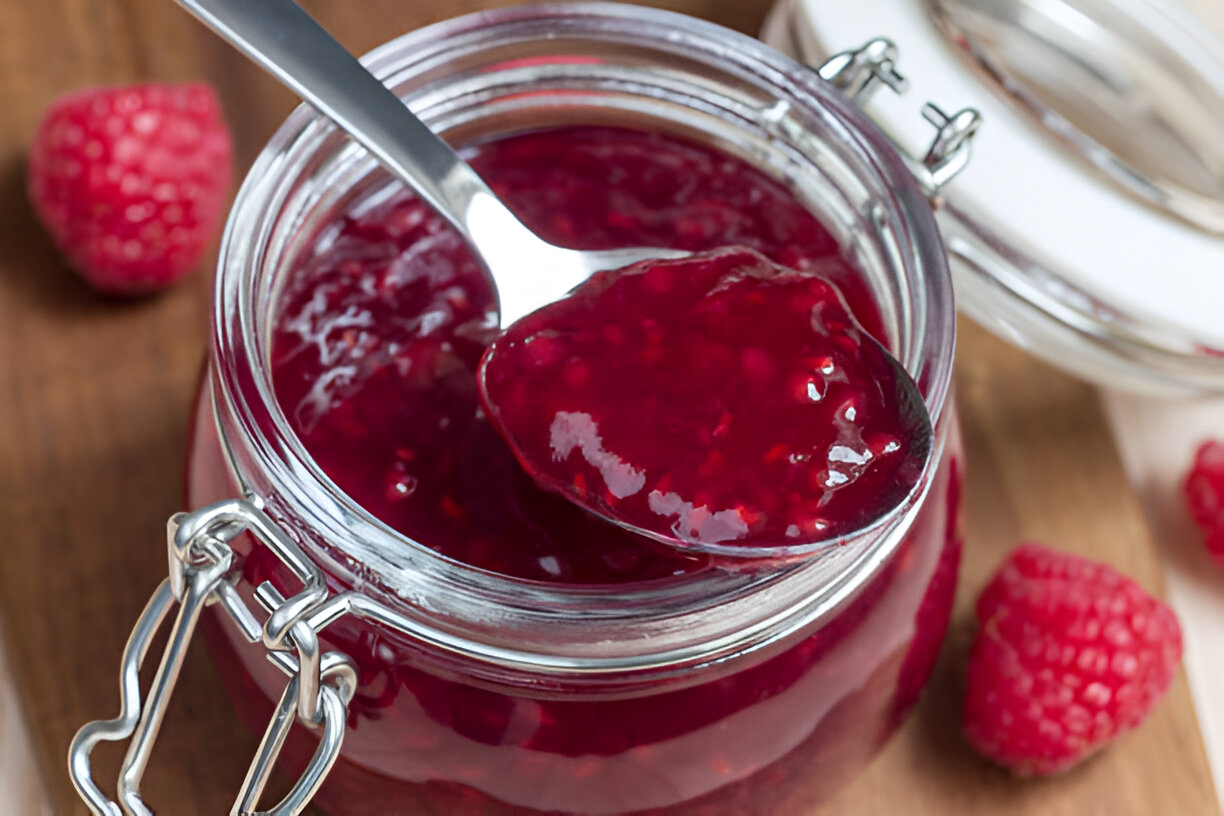
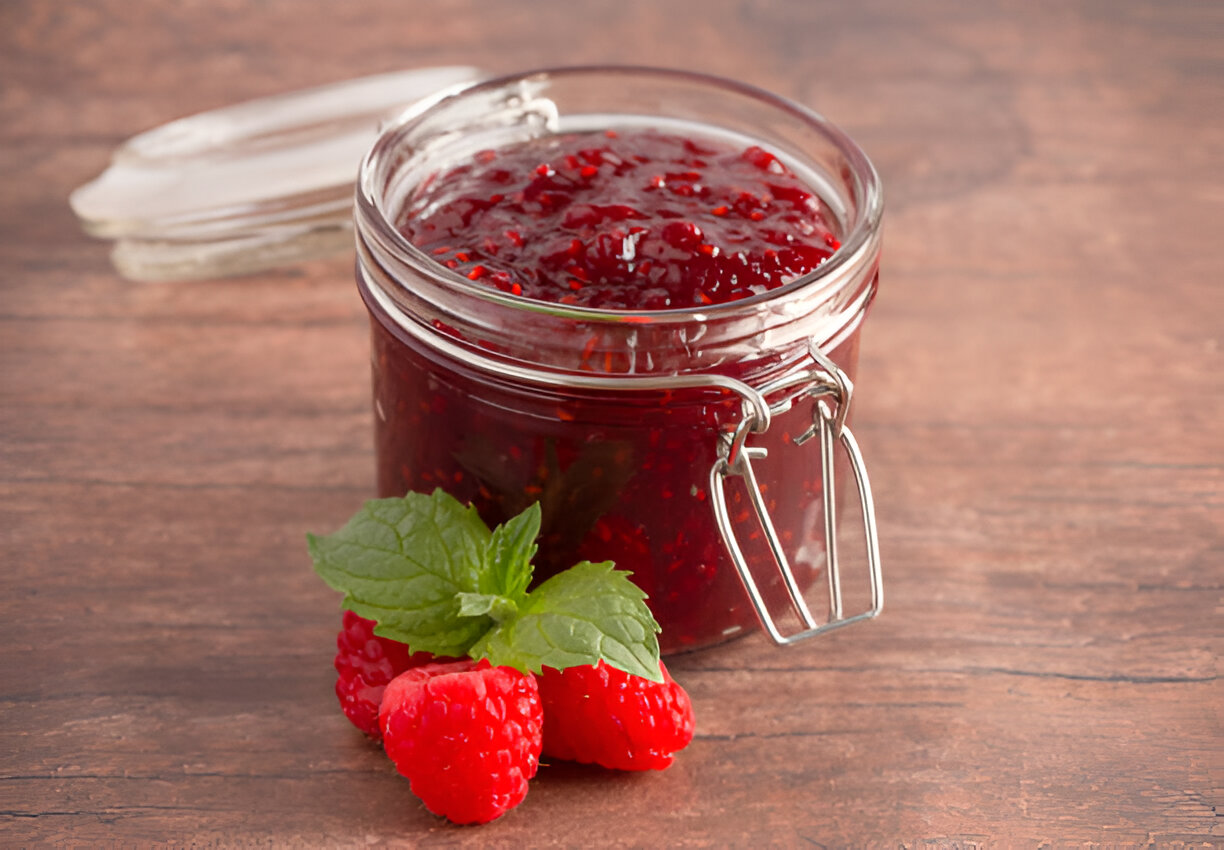
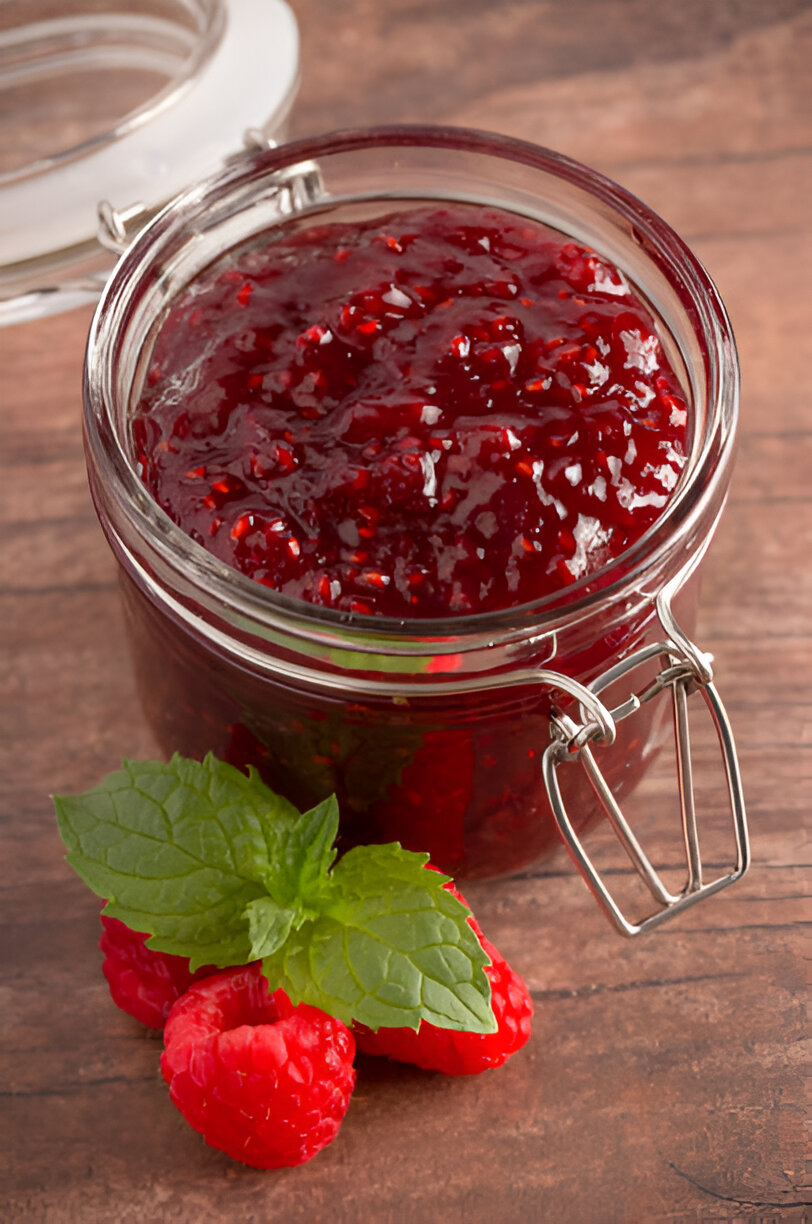
Homemade raspberry jam is a vibrant, delicious addition to any kitchen, delivering the pure, tangy flavor of ripe raspberries. Its versatility makes it ideal as a spread, a dessert topping, or a delightful ingredient to enhance various dishes.

Ingredients and Preparation Essentials
This simple jam requires just three main ingredients: fresh raspberries, granulated sugar, and lemon juice. Fresh raspberries lend the jam its bright, fruity taste, while sugar balances the natural tartness. The addition of lemon juice not only sharpens the flavor but also helps with the jam’s natural setting.
For the best flavor, choose ripe, high-quality raspberries that are firm and brightly colored. Freshly squeezed lemon juice enhances the taste and helps with the jelling process. Granulated sugar is essential, as it dissolves evenly and promotes a smooth texture in the jam.
Step-by-Step Instructions for Perfect Raspberry Jam
Combining Ingredients and Dissolving Sugar
To start, combine raspberries, sugar, and lemon juice in a large preserving pan over low heat. Gently heat the mixture, stirring occasionally until the sugar dissolves completely. This ensures a smooth base for the jam, preventing any graininess.
Achieving the Rolling Boil
Once the sugar has dissolved, increase the heat and bring the mixture to a rolling boil. This stage is crucial for setting the jam. A rolling boil is a vigorous, bubbling boil that cannot be stirred down. Boil for about 7 minutes, keeping a close watch on the jam to avoid burning.
Testing for Set Using the Saucer Method
To test if the jam is ready, place a few drops on a chilled saucer and refrigerate for a minute. Then, run a finger through the jam on the saucer. If it wrinkles and holds a gel-like texture, the jam is set. If it’s still runny, boil the jam for another 2 minutes and retest until it reaches the desired consistency.
Jar Preparation and Sealing
Once the jam has set, use a sterilized ladle to carefully pour it into sterilized jars, filling to the top. Immediately seal the jars to lock in freshness. Proper sealing also helps with longer shelf life, keeping the jam delicious for months.

Recipe Tips
Achieving the Ideal Set
Adjust the boiling time as needed to reach a gel-like consistency, testing every 2 minutes after the initial boil.
If the jam becomes too thick, add a splash of water and reheat to adjust the texture.
Flavor Variations
Add a splash of vanilla or a pinch of cinnamon to create a unique twist on traditional raspberry jam.
For a hint of freshness, consider adding a touch of basil or mint to balance the sweetness.
Storage and Shelf Life
Store unopened jars in a cool, dark place to preserve the jam’s quality.
Once opened, refrigerate the jam, where it should stay fresh for several weeks.
What to Serve With This Recipe
Complementary Pairings
Raspberry jam pairs beautifully with breakfast favorites like toast, croissants, and pancakes.
It’s also an excellent addition to desserts, such as filling for pastries or a topping for cheesecakes.
Serving Suggestions
Try adding raspberry jam to yogurt or oatmeal for a burst of flavor.
It works well as a glaze for meats, adding a sweet and tangy layer to roasts or grilled items.
Frequently Asked Questions
Can I Use Frozen Raspberries?
Yes, frozen raspberries can be substituted. Allow them to thaw and drain excess liquid before cooking. Be mindful of cooking time, as frozen berries may require additional simmering.
How Do I Know If My Jam Is Properly Set?
A properly set jam will have a slight wrinkle when tested on a cold saucer, with a gel-like texture that holds shape.
What’s the Best Way to Store Homemade Jam?
Store your jam in sterilized jars, ideally in a pantry or cool cupboard. Once opened, keep it refrigerated for optimal freshness.
Can I Adjust the Sweetness?
For a less sweet jam, reduce the sugar slightly or consider using a natural sweetener. Keep in mind that this may alter the jam’s consistency and shelf life.
Customizing for Special Occasions
Adding Festive Flavors
For holiday flair, add spices like ginger or a hint of clove, which complement the raspberry flavor and make the jam perfect for gifting.
Presentation and Gifting Tips
Package jam jars with decorative labels, ribbons, or fabric covers for a charming, homemade gift. Include a small tag with serving suggestions for an extra thoughtful touch.
Homemade raspberry jam is not only easy to make but also brings a burst of natural flavor to any meal. Its simplicity, adaptability, and vibrant taste make it a beloved recipe for both beginners and experienced cooks alike. Enjoy creating and sharing this delicious jam with family and friends!

Ingredients
800 g fresh raspberries, rinsed and thoroughly dried
700 g granulated sugar
5 tbsp lemon juice
Instructions
In a large preserving pan, combine the raspberries, granulated sugar, and lemon juice. Place the pan over low heat, stirring occasionally, until the sugar has completely dissolved. You can check by running a wooden spoon along the bottom to feel for any remaining crystals.
Increase the heat and bring the mixture to a rolling boil. Boil for approximately 7 minutes, then remove the pan from the heat. Drop a small amount of jam onto a chilled saucer, then place the saucer in the refrigerator for about a minute.
To test if the jam has set, run your finger through the chilled jam. If it wrinkles and holds a gel-like consistency, it’s ready to jar. If it hasn’t reached the desired consistency, return the pan to a rolling boil for 2-minute intervals, testing each time until set (usually around 9 minutes).
Using a small ladle, pour the jam into sterilized jars, filling them to the top. Seal with lids immediately to preserve freshness. This recipe makes approximately 2 jars (900 ml in total). Store in a cool, dark place, and refrigerate once opened.

Raspberry Jam Recipe
Ingredients
- 800 g fresh raspberries rinsed and thoroughly dried
- 700 g granulated sugar
- 5 tbsp lemon juice
Instructions
- In a large preserving pan, combine the raspberries, granulated sugar, and lemon juice. Place the pan over low heat, stirring occasionally, until the sugar has completely dissolved. You can check by running a wooden spoon along the bottom to feel for any remaining crystals.
- Increase the heat and bring the mixture to a rolling boil. Boil for approximately 7 minutes, then remove the pan from the heat. Drop a small amount of jam onto a chilled saucer, then place the saucer in the refrigerator for about a minute.
- To test if the jam has set, run your finger through the chilled jam. If it wrinkles and holds a gel-like consistency, it’s ready to jar. If it hasn’t reached the desired consistency, return the pan to a rolling boil for 2-minute intervals, testing each time until set (usually around 9 minutes).
- Using a small ladle, pour the jam into sterilized jars, filling them to the top. Seal with lids immediately to preserve freshness. This recipe makes approximately 2 jars (900 ml in total). Store in a cool, dark place, and refrigerate once opened.
Notes
- Place 2-3 saucers in the freezer before starting.
- Sterilize 2 x 450 ml jars by washing them in hot soapy water or by taking them straight from the dishwasher.
- Fill the jars with boiling water, then empty them.
- Place the jars in the oven at 140°C for 20 minutes and leave them there until the jam is ready.
- Wash the lids, sterilize them with boiling water, and let them drain.

