
Pickled Banana Peppers Recipe
Pickled banana peppers are a delightful addition to any meal, bringing a tangy, slightly sweet flavor with just a hint of heat. Whether you’re looking to jazz up your sandwiches, add some zest to salads, or simply enjoy them as a snack, this recipe will guide you through creating the perfect pickled peppers at home.
Why you’ll love this recipe? It’s incredibly easy to make, requires minimal ingredients, and delivers a burst of flavor that can elevate any dish. Plus, the versatility of these pickled peppers means you can use them in various culinary creations, making them a staple in your refrigerator.
Ingredients Overview
This recipe calls for a straightforward list of ingredients, each contributing to the unique flavor profile of the pickled banana peppers. Here’s what you’ll need and why each ingredient is essential:
1 cup of white vinegar and 1 cup of water form the base of the brine, providing the necessary acidity to preserve the peppers and infuse them with a tangy taste. The tablespoon of honey adds a touch of sweetness, balancing the acidity and enhancing the overall flavor. Pickling salt is crucial for the preservation process and ensures the brine penetrates the peppers effectively. A smashed clove of garlic (feel free to add more if you’re a garlic lover) imparts a savory depth, while the dried oregano and basil contribute herbal notes that complement the peppers. Black peppercorns add a subtle spiciness, completing the complex flavor profile.
Preparing the Banana Peppers
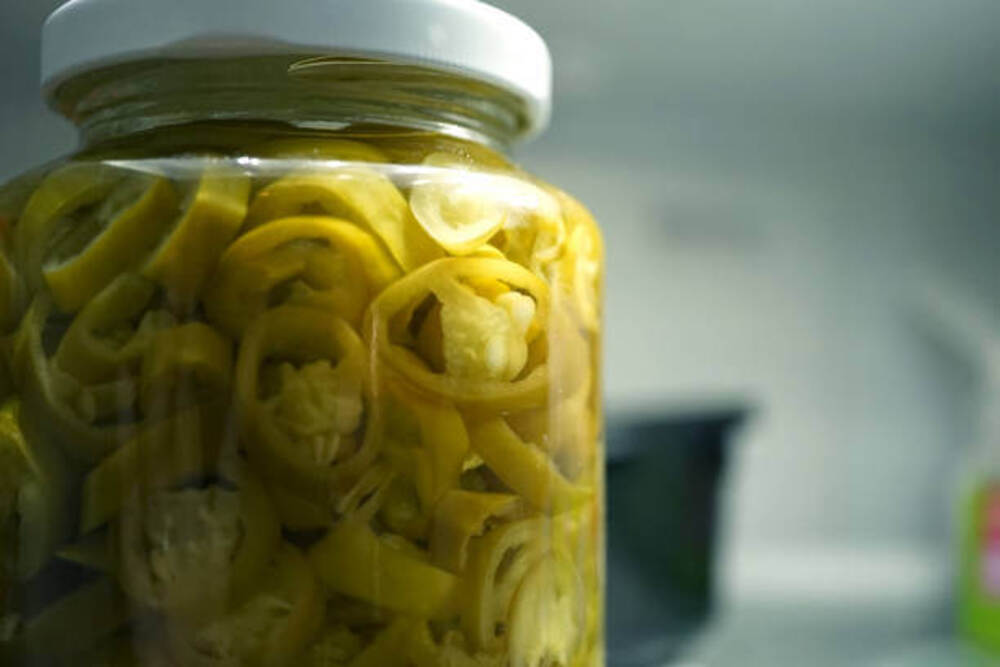
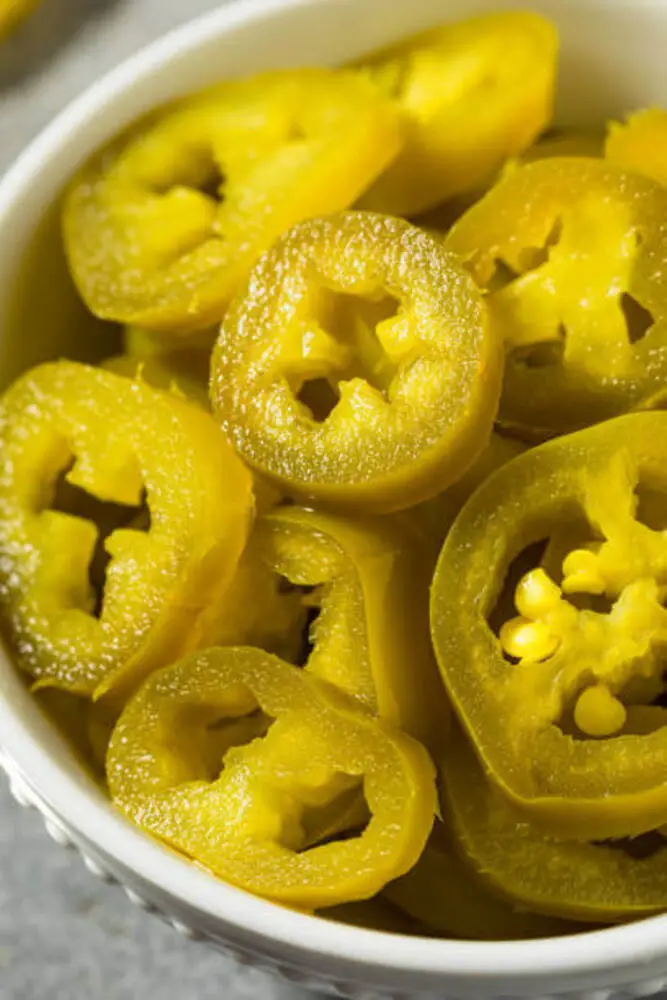
To start, select fresh, firm banana peppers. Slice them into ¼ inch rings, discarding the stems. If you prefer, you can core the peppers to remove the seeds, though it’s not necessary for this recipe. The key is to pack the pepper slices tightly into clean, sterilized jars to ensure they stay submerged in the brine and pick up the maximum flavor.
Sterilizing the Jars
Properly sterilizing your jars is essential for safe pickling. Wash the jars and lids with hot, soapy water, then rinse thoroughly. Boil the jars and lids in a large pot for at least 10 minutes, ensuring they are fully submerged. Carefully remove them using tongs and let them air dry on a clean towel.
Step-by-Step Instructions
Begin by slicing the banana peppers into ¼ inch rings, discarding the stems. Packing the pepper slices tightly into clean, sterilized jars ensures that the brine fully envelops them, enhancing the pickling process.
Next, in a large pot, combine the white vinegar, water, honey, pickling salt, smashed garlic, dried oregano, dried basil, and black peppercorns. Bring this mixture to a rapid boil. The boiling process helps to dissolve the salt and honey, and extracts the flavors from the garlic and herbs.
Once boiled, remove the pot from heat and allow the brine to cool slightly. This cooling step is crucial as it prevents the peppers from cooking, preserving their crunch. Pour the slightly cooled brine over the banana pepper slices in the jars, ensuring the peppers are fully submerged. Finally, seal the jars with their lids and refrigerate them for at least 24 hours. This waiting period allows the flavors to meld beautifully, though the peppers can be enjoyed immediately if you’re eager.
Recipe Tips & Frequently Asked Questions
- Choosing the Best Banana Peppers: Select firm, unblemished peppers for the best texture and flavor.
- Tips for Adjusting the Spice Level: For more heat, add a few slices of jalapeño or a pinch of red pepper flakes.
- How to Ensure Perfect Pickling Every Time: Ensure peppers are fully submerged in the brine and the jars are sealed tightly.
- Can I Use a Different Type of Vinegar?: Yes, apple cider vinegar or rice vinegar can be used for a different flavor profile.
- What If I Don’t Have Pickling Salt?: Sea salt or kosher salt can be substituted, but avoid table salt as it can contain additives.
- How Can I Make the Peppers Crunchier?: Soak the sliced peppers in ice water for 30 minutes before pickling.
- Is It Necessary to Refrigerate the Peppers?: Yes, refrigeration helps preserve the peppers and enhances the flavor development.
What to Serve With This Recipe
Pickled banana peppers are incredibly versatile. They make a fantastic topping for burgers and sandwiches, adding a tangy crunch. Pair them with grilled meats for a zesty side, or toss them into salads for an extra layer of flavor. You can also use them as a garnish for charcuterie boards, where their bright flavor can cut through the richness of cheeses and meats.
Storage and Shelf Life
Store the sealed jars in the refrigerator. Properly stored, pickled banana peppers can last up to 2-3 months. Always ensure the peppers are fully submerged in the brine to prevent spoilage. Watch for signs of spoilage such as an off smell, discoloration, or mold.
Pickled banana peppers are a delightful addition to any pantry, bringing a burst of flavor to various dishes. This simple recipe is easy to follow and results in delicious, tangy peppers that can elevate your meals. Give it a try and enjoy the vibrant taste of homemade pickled banana peppers. Share this recipe with friends and family, and let them join in on the pickling fun!
Ingredients:
1 cup white vinegar
1 cup water
1 tablespoon honey
1 tablespoon pickling salt
1 clove garlic, smashed (add more if desired)
1 teaspoon dried oregano
1 teaspoon dried basil
1 teaspoon black peppercorns
6-7 banana peppers, or as many as you can fit
Instructions:
- Begin by slicing the banana peppers into ¼ inch rings, discarding the stems. If preferred, you may remove the cores, though it’s not necessary. Pack the pepper slices tightly into clean, sterilized 1-pint jars or a larger quart jar.
- In a large pot, combine the white vinegar, water, honey, pickling salt, smashed garlic, dried oregano, dried basil, and black peppercorns.
- Bring the mixture to a rapid boil, then remove it from the heat.
- Allow the brine to cool slightly before pouring it over the banana pepper slices in the jars. Ensure the peppers are fully submerged. Seal the jars with their lids.
- For the best flavor, refrigerate the jars for 24 hours before consuming, although they are ready to eat immediately if desired.
Pickled Banana Peppers Recipe
Ingredients
- 1 cup white vinegar
- 1 cup water
- 1 tablespoon honey
- 1 tablespoon pickling salt
- 1 clove garlic smashed (add more if desired)
- 1 teaspoon dried oregano
- 1 teaspoon dried basil
- 1 teaspoon black peppercorns
- 6-7 banana peppers or as many as you can fit
Instructions
- Begin by slicing the banana peppers into ¼ inch rings, discarding the stems. If preferred, you may remove the cores, though it’s not necessary. Pack the pepper slices tightly into clean, sterilized 1-pint jars or a larger quart jar.
- In a large pot, combine the white vinegar, water, honey, pickling salt, smashed garlic, dried oregano, dried basil, and black peppercorns.
- Bring the mixture to a rapid boil, then remove it from the heat.
- Allow the brine to cool slightly before pouring it over the banana pepper slices in the jars. Ensure the peppers are fully submerged. Seal the jars with their lids.
- For the best flavor, refrigerate the jars for 24 hours before consuming, although they are ready to eat immediately if desired.