Oven-Roasted Corn on the Cob Recipe
This oven-roasted corn on the cob recipe is a delightful blend of simplicity and flavor. With just a few basic ingredients, you can transform fresh corn into a savory side dish that’s perfect for any meal. The combination of garlic butter and Creole seasoning adds a rich, spicy kick that elevates the natural sweetness of the corn. Whether you’re planning a summer barbecue or a cozy family dinner, this versatile recipe will quickly become a favorite.

Ingredients Overview
For this recipe, you’ll need the following ingredients: salt and pepper, 2-3 tablespoons of garlic butter (or plain butter), 4-6 ears of corn with husks and silk removed, and 1-2 teaspoons of Creole seasoning.
Feel free to make substitutions to suit your taste. If you prefer a different type of butter, such as herb butter or chili lime butter, go ahead and use that. You can also experiment with different seasonings, like smoked paprika or Italian herbs, to give the corn a unique twist.
When selecting corn, look for ears that have bright green husks, moist silk, and plump kernels. Fresh corn is key to achieving the best flavor and texture in this dish.
Step-by-Step Instructions
Begin by preheating your oven to 425℉ (218℃). While the oven heats up, prepare your garlic butter mixture. In a small bowl, combine the garlic butter with the Creole seasoning until well mixed. This step ensures that the flavors meld together beautifully.
Next, take each ear of corn and place it on a sheet of foil. Generously brush the corn with the seasoned garlic butter, making sure it’s evenly coated from top to bottom. Wrapping the corn in foil helps to lock in moisture and flavor during baking. Ensure the foil is sealed well to prevent any leaks.
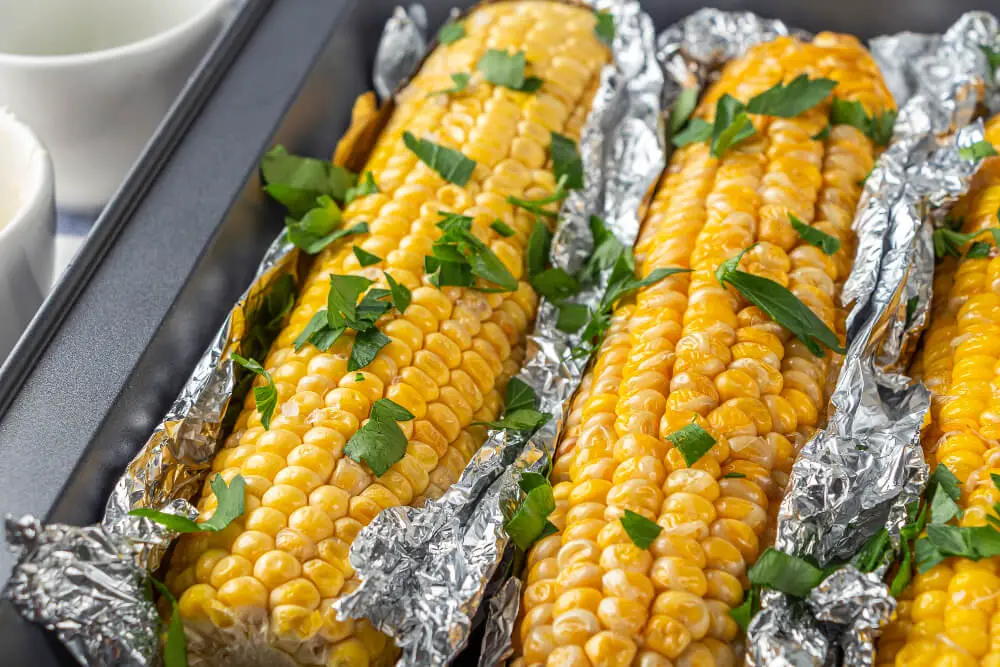
Arrange the wrapped corn on a baking sheet in a single layer, then place it in the preheated oven. Bake the corn for 20-25 minutes, turning the tray halfway through the roasting time to ensure even cooking.
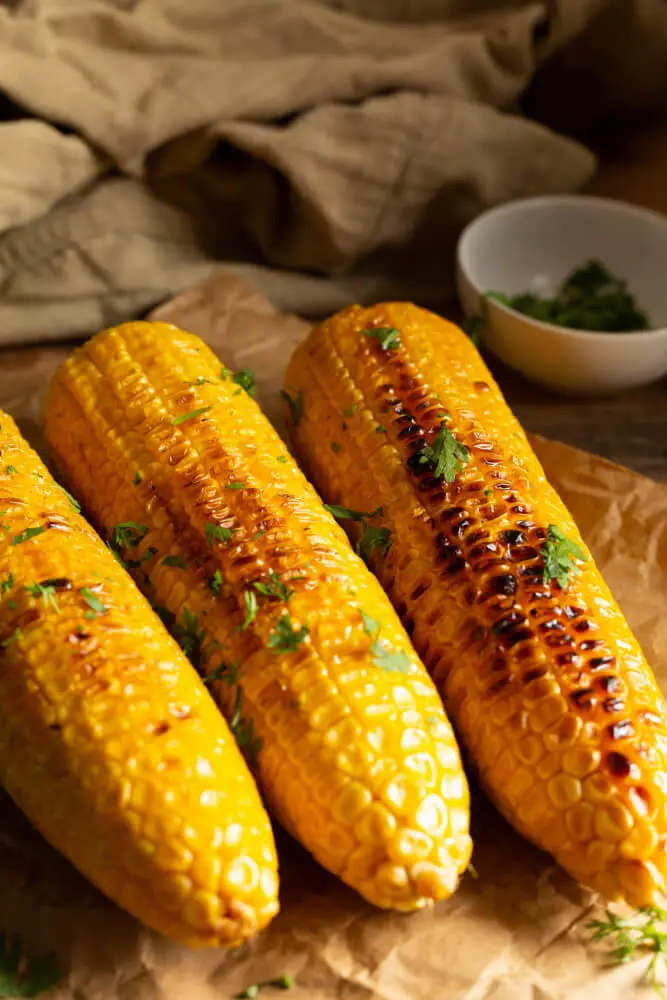
Once the baking time is up, carefully remove the corn from the oven. Allow it to cool slightly before unwrapping the foil. For an extra burst of flavor, brush the corn with additional garlic butter before serving. The result is tender, juicy corn with a perfectly balanced seasoning.
Recipe Tips
Avoid overcooking: Keep an eye on the baking time to ensure the corn remains tender and doesn’t become mushy.
Perfect seasoning balance: Taste the garlic butter mixture before applying it to the corn. Adjust the Creole seasoning to your preferred spice level.
Extra flavor: Experiment with adding fresh herbs like cilantro or parsley, or a squeeze of lime juice for a zesty twist.
Storing leftovers: If you have leftover corn, store it in an airtight container in the refrigerator. Reheat it in the oven or on the stovetop for best results.
What to Serve With This Recipe
Oven-roasted corn on the cob pairs wonderfully with a variety of main dishes. It’s an ideal accompaniment to grilled meats, such as steaks, chicken, or ribs. The smoky, savory flavors of barbecued dishes complement the sweet and spicy corn perfectly.
For a well-rounded meal, consider serving this corn alongside fresh salads or light sides. A tangy coleslaw, a crisp green salad, or even a refreshing cucumber salad would be excellent choices.
To enhance the overall dining experience, pair your meal with a beverage that complements the flavors. A cold beer, a glass of iced tea, or a light, fruity wine can elevate the enjoyment of this dish.
Frequently Asked Questions
Grill instead of oven: Yes, you can grill the corn instead of baking it. Place the foil-wrapped corn on a medium-high grill and cook for about 20 minutes, turning occasionally.
Dairy-free or vegan: Substitute the garlic butter with a plant-based butter or olive oil to make this recipe dairy-free or vegan.
Flavor variations: Try different seasonings like Cajun spice, lemon pepper, or Parmesan cheese for new flavor profiles.
Perfectly cooked corn: The corn is ready when it’s tender and juicy. If you can easily pierce a kernel with a fork, it’s done.
Creative Serving Ideas
When serving corn on the cob, presentation matters. Arrange the corn on a platter with colorful garnishes like chopped herbs, lime wedges, or a sprinkle of paprika. For an added touch, you can skewer each ear of corn with wooden sticks to make them easier to handle.
To customize the corn, consider offering a variety of toppings. Crumbled cheese, spicy mayo, or a drizzle of hot sauce can add new dimensions of flavor.
If you’re hosting a party or gathering, set up a corn on the cob bar with different toppings and seasonings, allowing guests to create their own unique combinations. This interactive approach adds a fun element to your meal and ensures everyone finds something they love.
This oven-roasted corn on the cob recipe is a simple yet flavorful dish that’s sure to impress. The combination of garlic butter and Creole seasoning brings out the best in fresh corn, making it a delightful addition to any meal.
Give this recipe a try and enjoy the delicious, tender corn it produces. Don’t hesitate to experiment with different seasonings and toppings to make it your own. Explore more corn recipes and variations to continue your culinary adventure.

Ingredients:
Salt and pepper
2-3 tablespoons garlic butter, or plain butter
4-6 ears of corn, husked and silk removed
1-2 teaspoons Creole seasoning
Instructions:
Start by preheating your oven to 425℉ (218℃). In a small bowl, mix together the garlic butter and Creole seasoning until well combined; set this mixture aside.
Take each ear of corn and place it on a sheet of foil. Generously brush the corn with the seasoned garlic butter, ensuring it’s evenly coated. Wrap each ear of corn individually in the foil, sealing the edges to prevent any leaks. Place the wrapped corn on a baking sheet, arranging them in a single layer.
Slide the baking sheet into the preheated oven and bake the corn for 20-25 minutes. About halfway through the roasting time, turn the tray to ensure even cooking.
Once done, carefully remove the corn from the oven and let it cool slightly before unwrapping. If desired, brush with additional garlic butter mixture before serving. Enjoy the flavorful and tender oven-roasted corn on the cob!

Oven-Roasted Corn on the Cob Recipe
Ingredients
- Salt and pepper
- 2-3 tablespoons garlic butter or plain butter
- 4-6 ears of corn husked and silk removed
- 1-2 teaspoons Creole seasoning
Instructions
- Start by preheating your oven to 425℉ (218℃). In a small bowl, mix together the garlic butter and Creole seasoning until well combined; set this mixture aside.
- Take each ear of corn and place it on a sheet of foil. Generously brush the corn with the seasoned garlic butter, ensuring it’s evenly coated. Wrap each ear of corn individually in the foil, sealing the edges to prevent any leaks. Place the wrapped corn on a baking sheet, arranging them in a single layer.
- Slide the baking sheet into the preheated oven and bake the corn for 20-25 minutes. About halfway through the roasting time, turn the tray to ensure even cooking.
- Once done, carefully remove the corn from the oven and let it cool slightly before unwrapping. If desired, brush with additional garlic butter mixture before serving. Enjoy the flavorful and tender oven-roasted corn on the cob!

