No Knead Bread Recipe
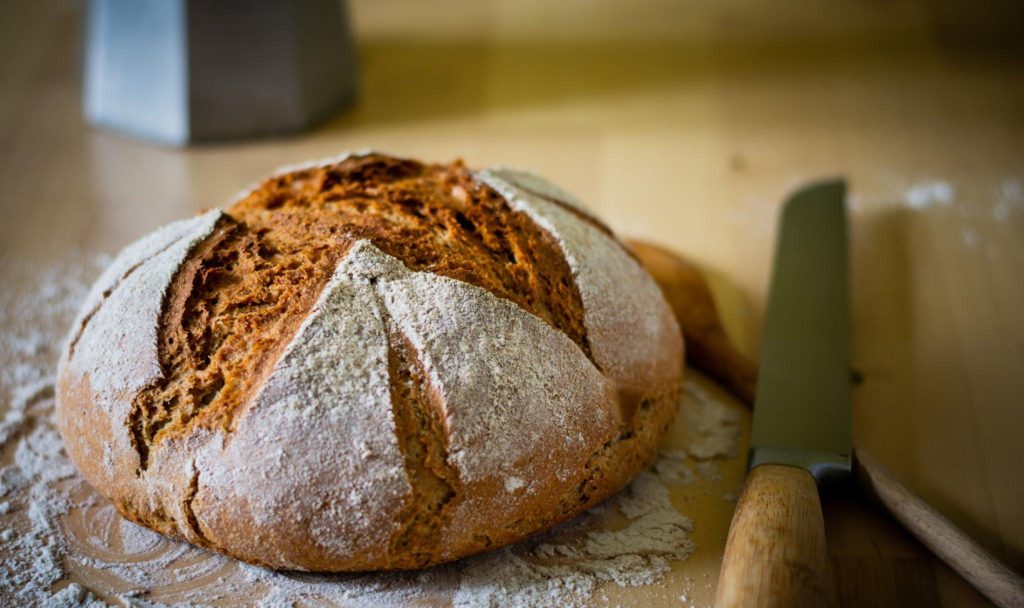
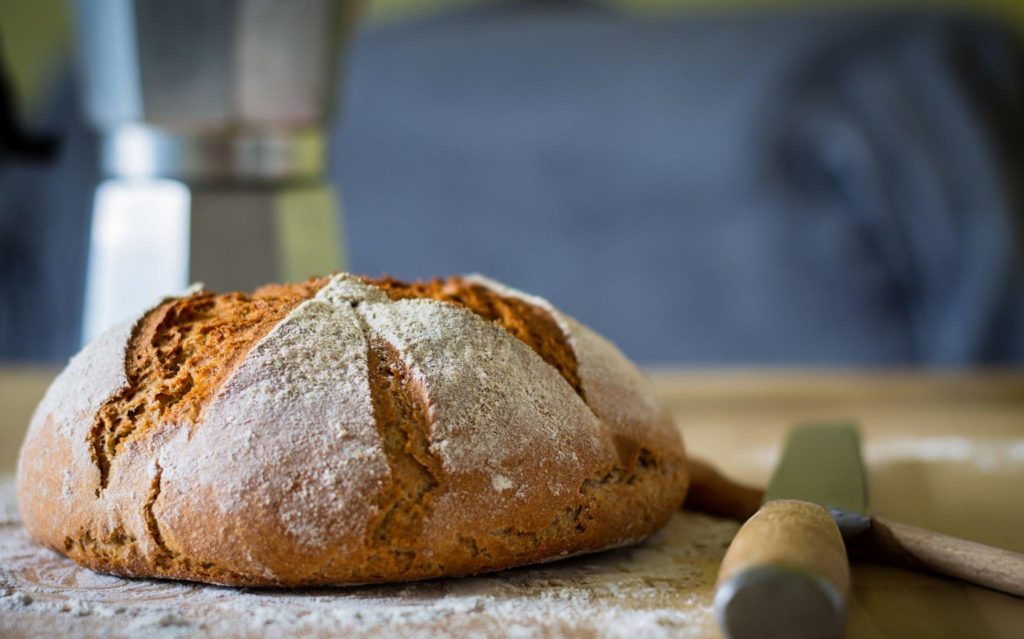
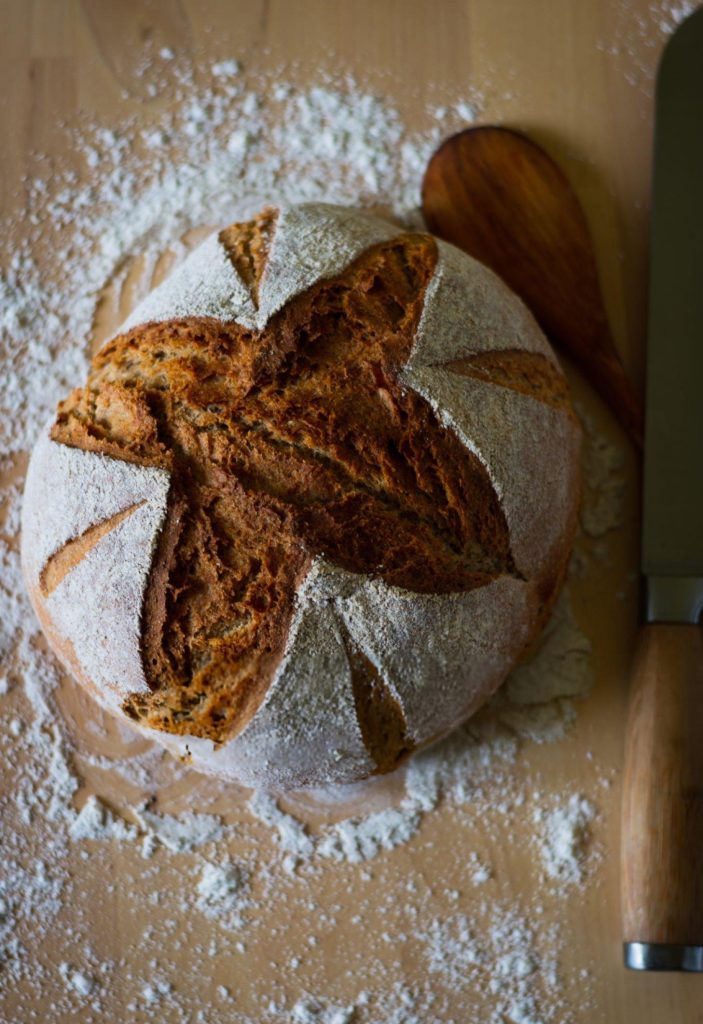
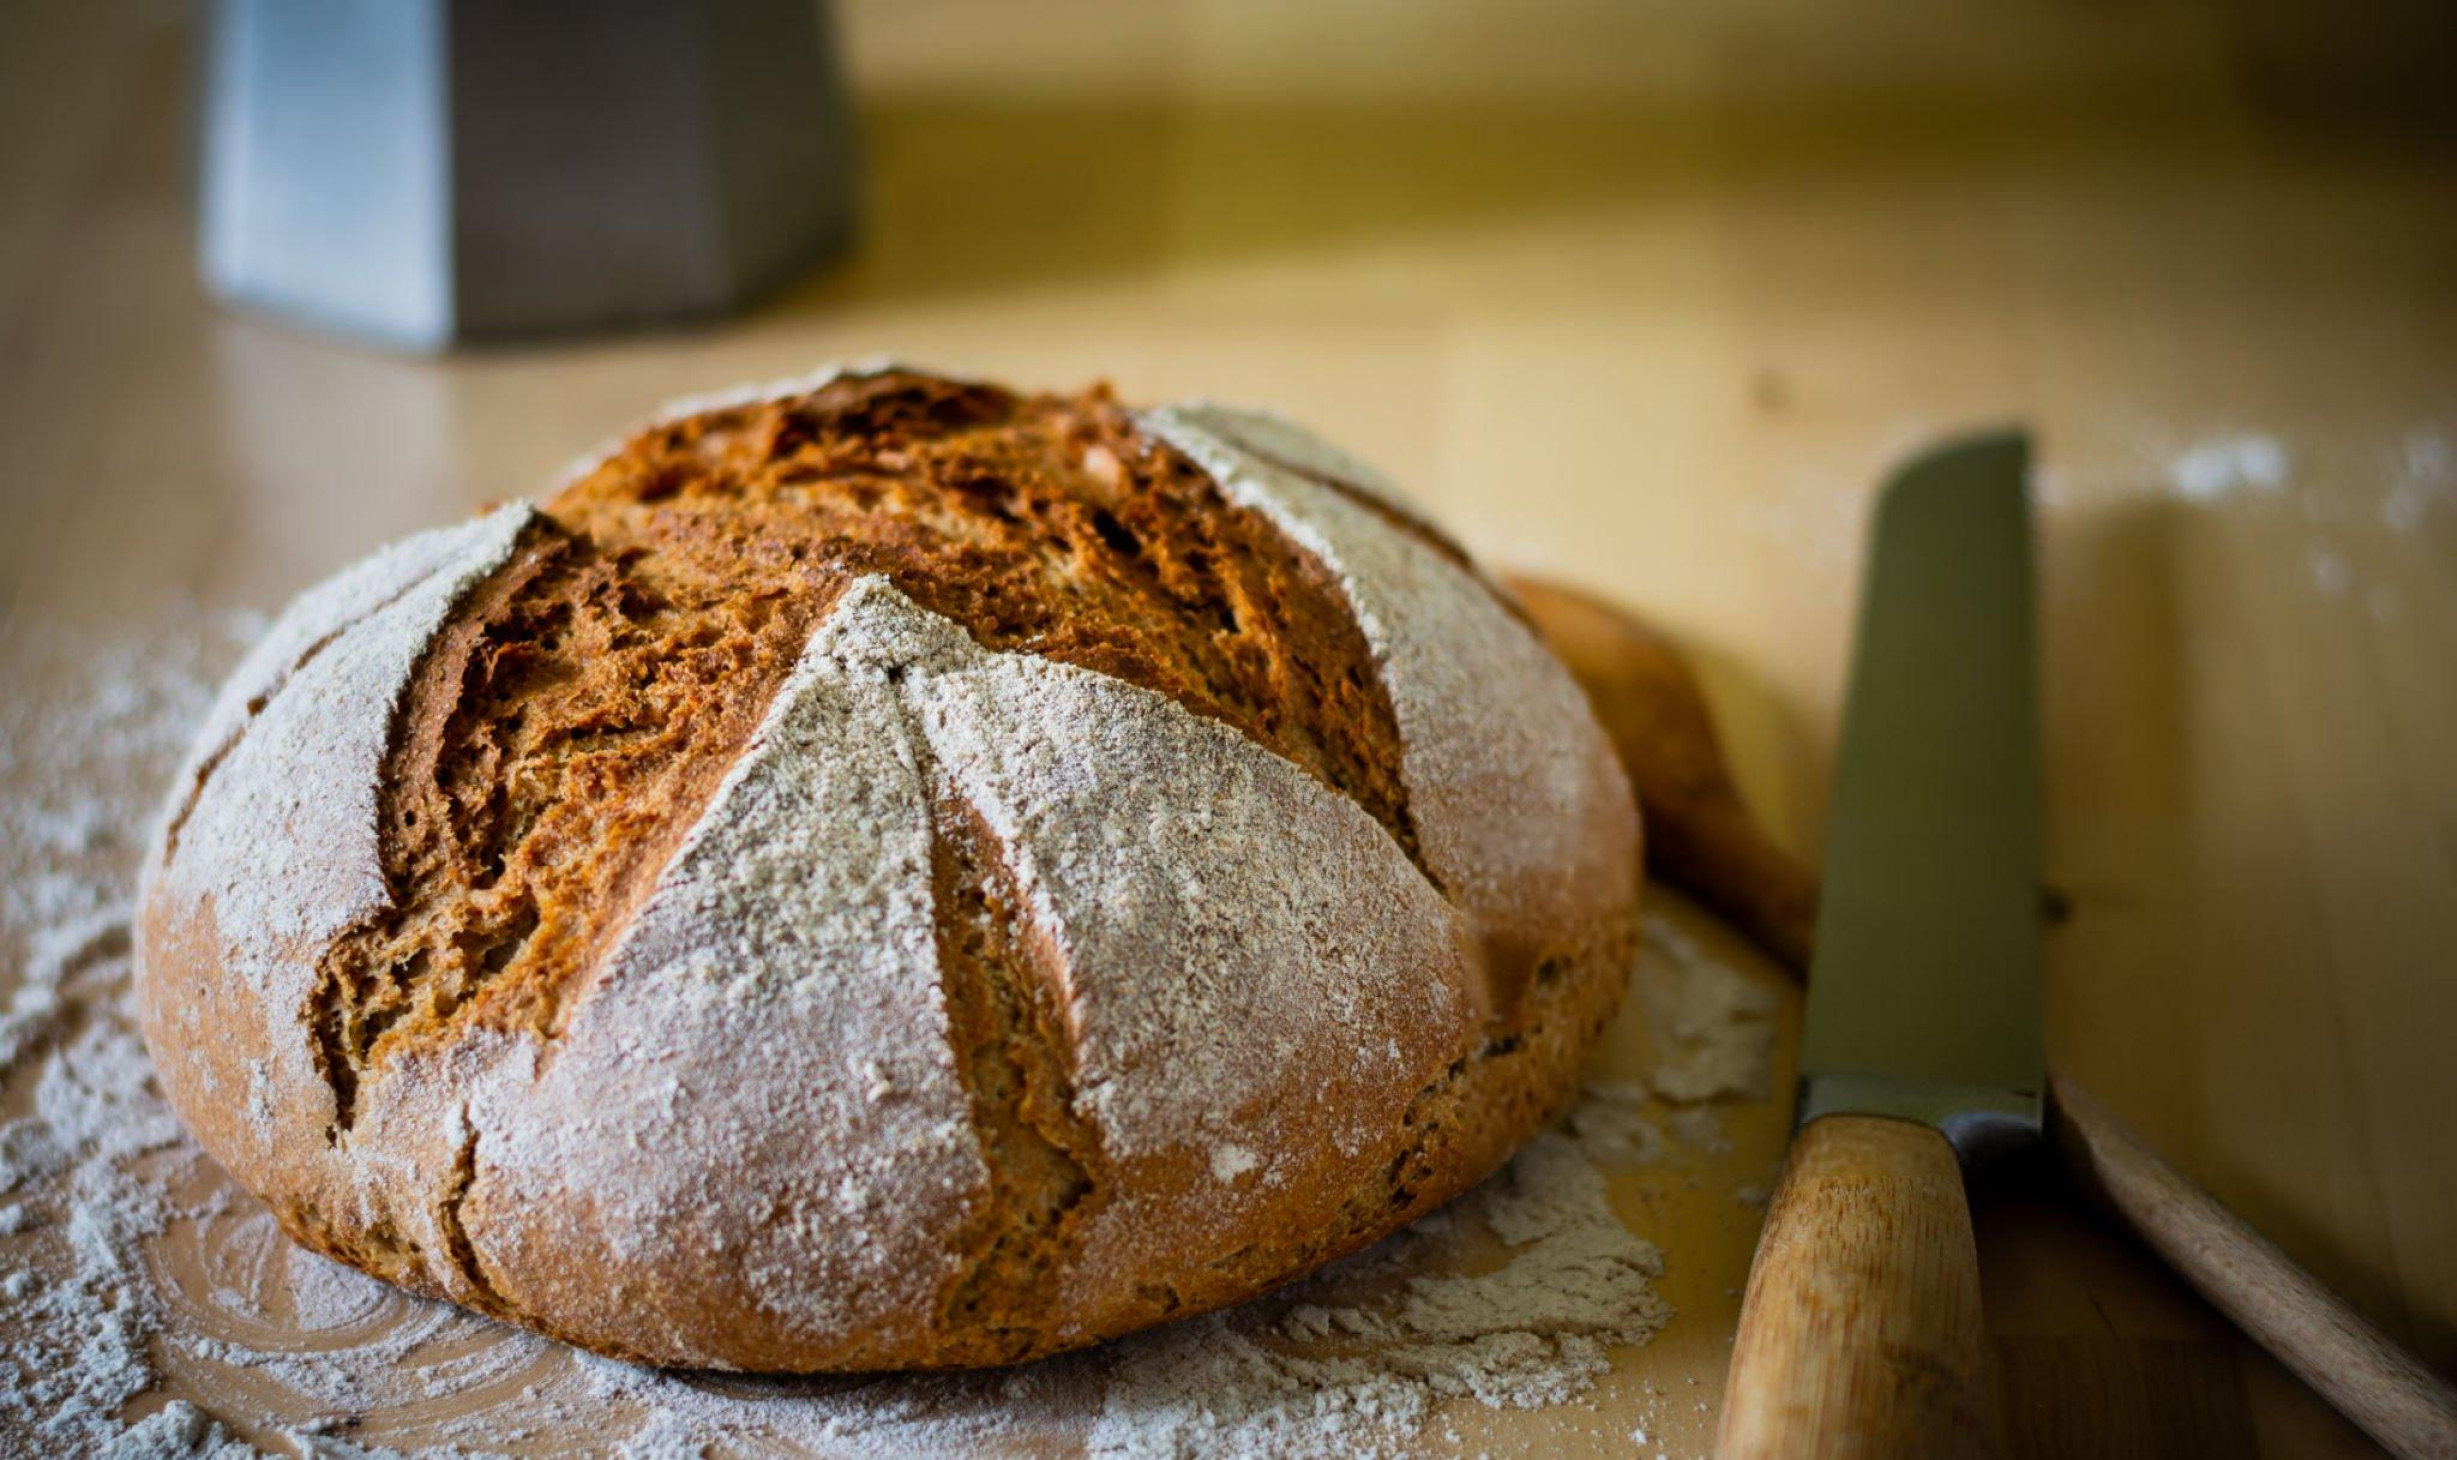
No knead bread is a game-changer for anyone looking to make homemade bread without the fuss of traditional techniques. It’s perfect for beginners and seasoned bakers alike, offering a simple yet incredibly flavorful loaf that requires very little hands-on time. With minimal effort and just a few ingredients, you can create a bakery-quality bread right in your kitchen.
This recipe is ideal for those new to baking or those who want to enjoy fresh, homemade bread without spending hours kneading dough. The long, slow fermentation allows the flavors to develop naturally, resulting in a loaf with a beautiful crust and chewy, airy crumb.

Ingredients Breakdown
At the heart of this recipe are a few key ingredients that come together to create magic. Flour, salt, and yeast form the foundation, while water activates the process, making the dough sticky and pliable.
Key Ingredients You’ll Need
All-purpose flour or bread flour serves as the base of the dough, giving the bread its structure. Salt adds flavor and helps control yeast activity, while a scant 1/2 teaspoon of instant yeast kickstarts the fermentation. These simple ingredients are all you need to make a wonderfully rustic loaf of bread.
Optional Additions for Enhanced Flavor
Though the basic ingredients are more than enough to create a delicious bread, you can always add a splash of olive oil for a subtle richness. Cornmeal, semolina, or wheat bran is used for dusting, providing texture and preventing the dough from sticking to the baking surface.
Importance of Choosing the Right Flour
The type of flour you choose can influence the texture and flavor of the bread. Bread flour, with its higher protein content, creates a chewier crumb, while all-purpose flour yields a slightly softer loaf. Both work well, but experimenting with different flours can give you varied results.
Step-by-Step Guide to Making No Knead Bread
The no knead method simplifies the entire bread-making process. By letting the dough rest for an extended period, the gluten develops naturally, eliminating the need for kneading.
Mixing the Dough: Achieving the Perfect Texture
Start by combining the flour, yeast, and salt in a large bowl. Gradually add lukewarm water, stirring until the mixture comes together into a shaggy, sticky dough. This texture might seem messy, but it’s exactly what you want. If the dough feels too dry, add a bit more water to achieve the right consistency.
The Overnight Rise: Let Time Do the Work
Once the dough is mixed, cover it with plastic wrap and let it sit at room temperature for about 18 hours. During this time, the yeast will work its magic, and the dough will slowly rise. The long fermentation time develops the dough’s flavor, while the yeast creates bubbles that give the bread its airy structure.
Shaping the Dough: How to Handle It With Care
After the dough has risen, transfer it to a lightly floured surface and fold it gently. The dough should feel soft and pliable, but not too sticky. Shape it into a ball, using just enough flour to prevent sticking. Let it rest again, covered, for about 15 minutes.
Baking the Bread: Tips for a Perfect Crust Every Time
Preheat your oven with a covered pot inside, ensuring it reaches 450°F. This step is crucial for achieving that beautifully crisp crust. When the dough has risen, carefully transfer it to the hot pot, cover it, and bake for 30 minutes. After removing the lid, bake for another 20-30 minutes until the bread is golden brown with a crispy exterior.

Recipe Tips & Frequently Asked Questions
How to Adjust the Recipe Based on Room Temperature:
In warmer climates, the dough may rise faster, so check on it earlier. In cooler environments, you might need to let it rise for a few more hours to achieve the desired texture.
Secrets to Preventing Sticky Dough:
Flour is your best friend when handling sticky dough. Lightly dust your hands and work surface to prevent it from sticking. If the dough feels too wet, incorporate a bit more flour during shaping.
The Best Tools for Shaping and Baking Your Bread:
A cast iron pot with a lid works wonders for this recipe, but a Pyrex or ceramic dish will also do the trick. Use a silicone spatula for mixing to avoid sticking, and a cotton kitchen towel for the final rise to ensure the dough doesn’t cling.
Can I Use Whole Wheat or Other Flours?
Yes, you can substitute some of the all-purpose or bread flour with whole wheat or other flours for a heartier flavor, but be aware that this may affect the texture and rise.
How Do I Know if My Dough Has Risen Enough?
The dough should be dotted with bubbles and more than doubled in size. A good test is to poke it gently with your finger—if the indentation stays, it’s ready to go.
What to Do If the Bread Crust Is Too Hard?
If the crust becomes too hard during baking, try lowering the oven temperature slightly, or wrap the loaf in a towel as it cools to soften the crust.
What to Serve With This Recipe
No knead bread is a versatile canvas for a variety of accompaniments, whether savory or sweet. Its crispy crust and chewy interior make it ideal for pairing with almost any dish.
Delicious Spreads and Dips for Fresh No Knead Bread
Spread it with rich, creamy butter, or dip it into a high-quality olive oil and balsamic vinegar for a simple yet elegant treat. Hummus, herb-infused oils, or a garlicky aioli are also excellent options to enhance the bread’s flavors.
Pairing With Soups and Stews for a Comforting Meal
Serve this rustic bread alongside a hearty soup or stew to soak up every last drop of broth. It pairs beautifully with creamy tomato soup, lentil stew, or a classic beef stew, turning a simple meal into a comforting feast.
Creative Ideas for Leftover Bread
If you find yourself with leftover bread, don’t worry—there are plenty of creative ways to use it. Turn it into crispy croutons, make a savory bread pudding, or whip up a batch of homemade breadcrumbs for future recipes.
Storage and Reheating Tips
Though freshly baked bread is best enjoyed right out of the oven, you can easily store and reheat it for later.
How to Keep Your Bread Fresh for Longer
To keep your bread fresh, wrap it in a clean kitchen towel and store it at room temperature for up to two days. Avoid storing it in plastic, as this can cause the crust to soften. For longer storage, freeze the bread in an airtight bag.
Freezing and Reheating for Later Use
Freeze your no knead bread by slicing it first, then store the slices in a zip-top bag. To reheat, simply pop a slice in the toaster or place the whole loaf in the oven for a few minutes until warmed through.
Ways to Revive Day-Old Bread
If your bread has gone a bit stale, refresh it by spritzing it with water and placing it in a hot oven for 5-10 minutes. The steam will revive the crust, making it crispy again while softening the interior.
No knead bread is the perfect solution for home bakers seeking a simple yet rewarding baking experience. With minimal effort, you can create a loaf that rivals those found in artisan bakeries. Enjoy the process, savor the results, and don’t be afraid to experiment with flavors and ingredients to make this recipe your own. Whether served fresh from the oven or revived from the freezer, this bread is sure to be a hit at any table.

Ingredients
2 teaspoons salt
4 cups all-purpose or bread flour, plus extra as needed
Scant 1/2 teaspoon instant yeast
2 tablespoons olive oil (optional)
Cornmeal, semolina, or wheat bran for dusting
Instructions
In a large mixing bowl, whisk together the flour, yeast, and salt. Gradually pour in 2 cups of lukewarm water (around 70°F) and mix until the dough forms a rough, sticky texture. If the mixture feels too dry, add a little more water. Cover the bowl with plastic wrap and let the dough sit undisturbed at room temperature for about 18 hours. If your kitchen is particularly warm, reduce this time slightly, or if cooler, extend it by a couple of hours. The dough will be ready when its surface is dotted with bubbles.
Once the dough has risen, lightly flour a clean work surface and transfer the dough onto it. Fold the dough once or twice, and it should feel soft but manageable with a light dusting of flour. Cover it loosely with plastic wrap and let it rest for about 15 minutes.
After resting, gently shape the dough into a round ball, using just enough flour to prevent it from sticking to your hands. Prepare a cotton kitchen towel (avoid terry cloth) by generously coating it with cornmeal, semolina, or wheat bran. Place the dough seam side down on the towel and sprinkle the top with more flour or cornmeal. Cover with another towel or plastic wrap and allow the dough to rise for approximately 2 hours. The dough will more than double in size and should retain an indentation when gently poked.
Preheat your oven to 450°F at least 30 minutes before the dough is fully risen. Place a 3- to 4-quart covered pot, such as a cast iron, enamel, Pyrex, or ceramic, inside the oven as it heats. When the dough is ready, carefully remove the pot from the oven and quickly but gently turn the dough into the pot, seam side up. It may not land perfectly, but it will even out during baking. Cover the pot with the lid and bake for 30 minutes. Remove the lid and continue baking for an additional 20 to 30 minutes, until the crust is a deep golden brown, and the internal temperature reaches at least 200°F. If you detect a burnt aroma, reduce the heat slightly.
Carefully lift the bread out of the pot using a spatula or tongs and allow it to cool on a wire rack for at least 30 minutes before slicing and serving.

No Knead Bread Recipe
Ingredients
- 2 teaspoons salt
- 4 cups all-purpose or bread flour plus extra as needed
- Scant 1/2 teaspoon instant yeast
- 2 tablespoons olive oil optional
- Cornmeal semolina, or wheat bran for dusting
Instructions
- In a large mixing bowl, whisk together the flour, yeast, and salt. Gradually pour in 2 cups of lukewarm water (around 70°F) and mix until the dough forms a rough, sticky texture. If the mixture feels too dry, add a little more water. Cover the bowl with plastic wrap and let the dough sit undisturbed at room temperature for about 18 hours. If your kitchen is particularly warm, reduce this time slightly, or if cooler, extend it by a couple of hours. The dough will be ready when its surface is dotted with bubbles.
- Once the dough has risen, lightly flour a clean work surface and transfer the dough onto it. Fold the dough once or twice, and it should feel soft but manageable with a light dusting of flour. Cover it loosely with plastic wrap and let it rest for about 15 minutes.
- After resting, gently shape the dough into a round ball, using just enough flour to prevent it from sticking to your hands. Prepare a cotton kitchen towel (avoid terry cloth) by generously coating it with cornmeal, semolina, or wheat bran. Place the dough seam side down on the towel and sprinkle the top with more flour or cornmeal. Cover with another towel or plastic wrap and allow the dough to rise for approximately 2 hours. The dough will more than double in size and should retain an indentation when gently poked.
- Preheat your oven to 450°F at least 30 minutes before the dough is fully risen. Place a 3- to 4-quart covered pot, such as a cast iron, enamel, Pyrex, or ceramic, inside the oven as it heats. When the dough is ready, carefully remove the pot from the oven and quickly but gently turn the dough into the pot, seam side up. It may not land perfectly, but it will even out during baking. Cover the pot with the lid and bake for 30 minutes. Remove the lid and continue baking for an additional 20 to 30 minutes, until the crust is a deep golden brown, and the internal temperature reaches at least 200°F. If you detect a burnt aroma, reduce the heat slightly.
- Carefully lift the bread out of the pot using a spatula or tongs and allow it to cool on a wire rack for at least 30 minutes before slicing and serving.

