
No Bake Cheesecake Recipe
Cheesecake lovers, rejoice! This no-bake cheesecake recipe is your ticket to indulgence without the need for an oven. Whether you’re short on time or simply avoiding the heat of the kitchen, this dessert delivers creamy, decadent satisfaction. It’s the perfect choice for both last-minute gatherings and planned celebrations, combining ease with elegance. This cheesecake’s simplicity ensures it will become a go-to recipe in your dessert repertoire, and it’s bound to be a crowd-pleaser at any event.

Ingredients Overview
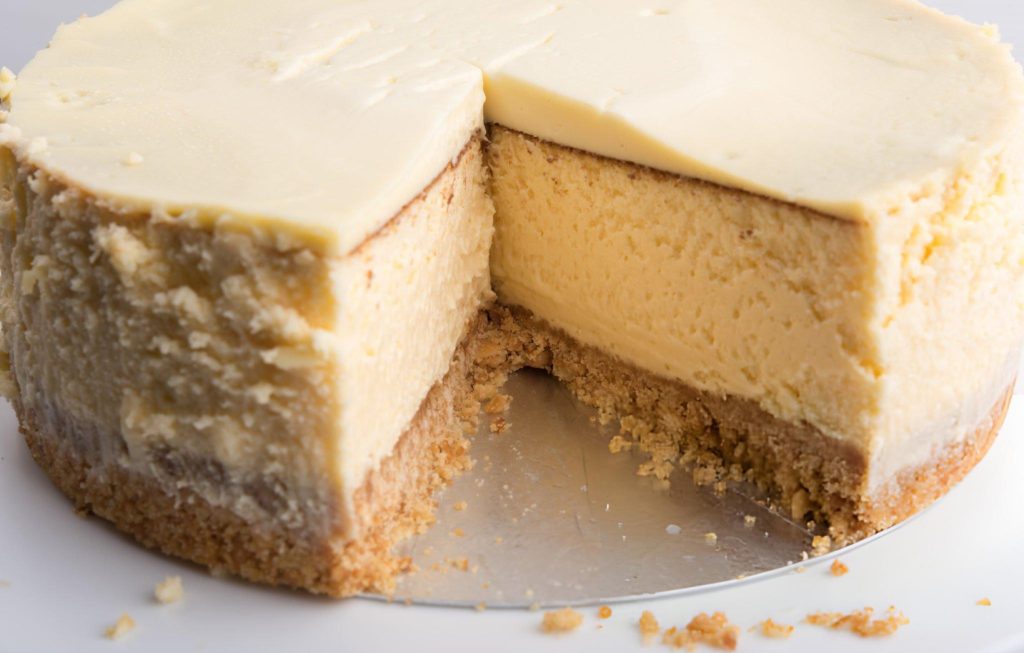
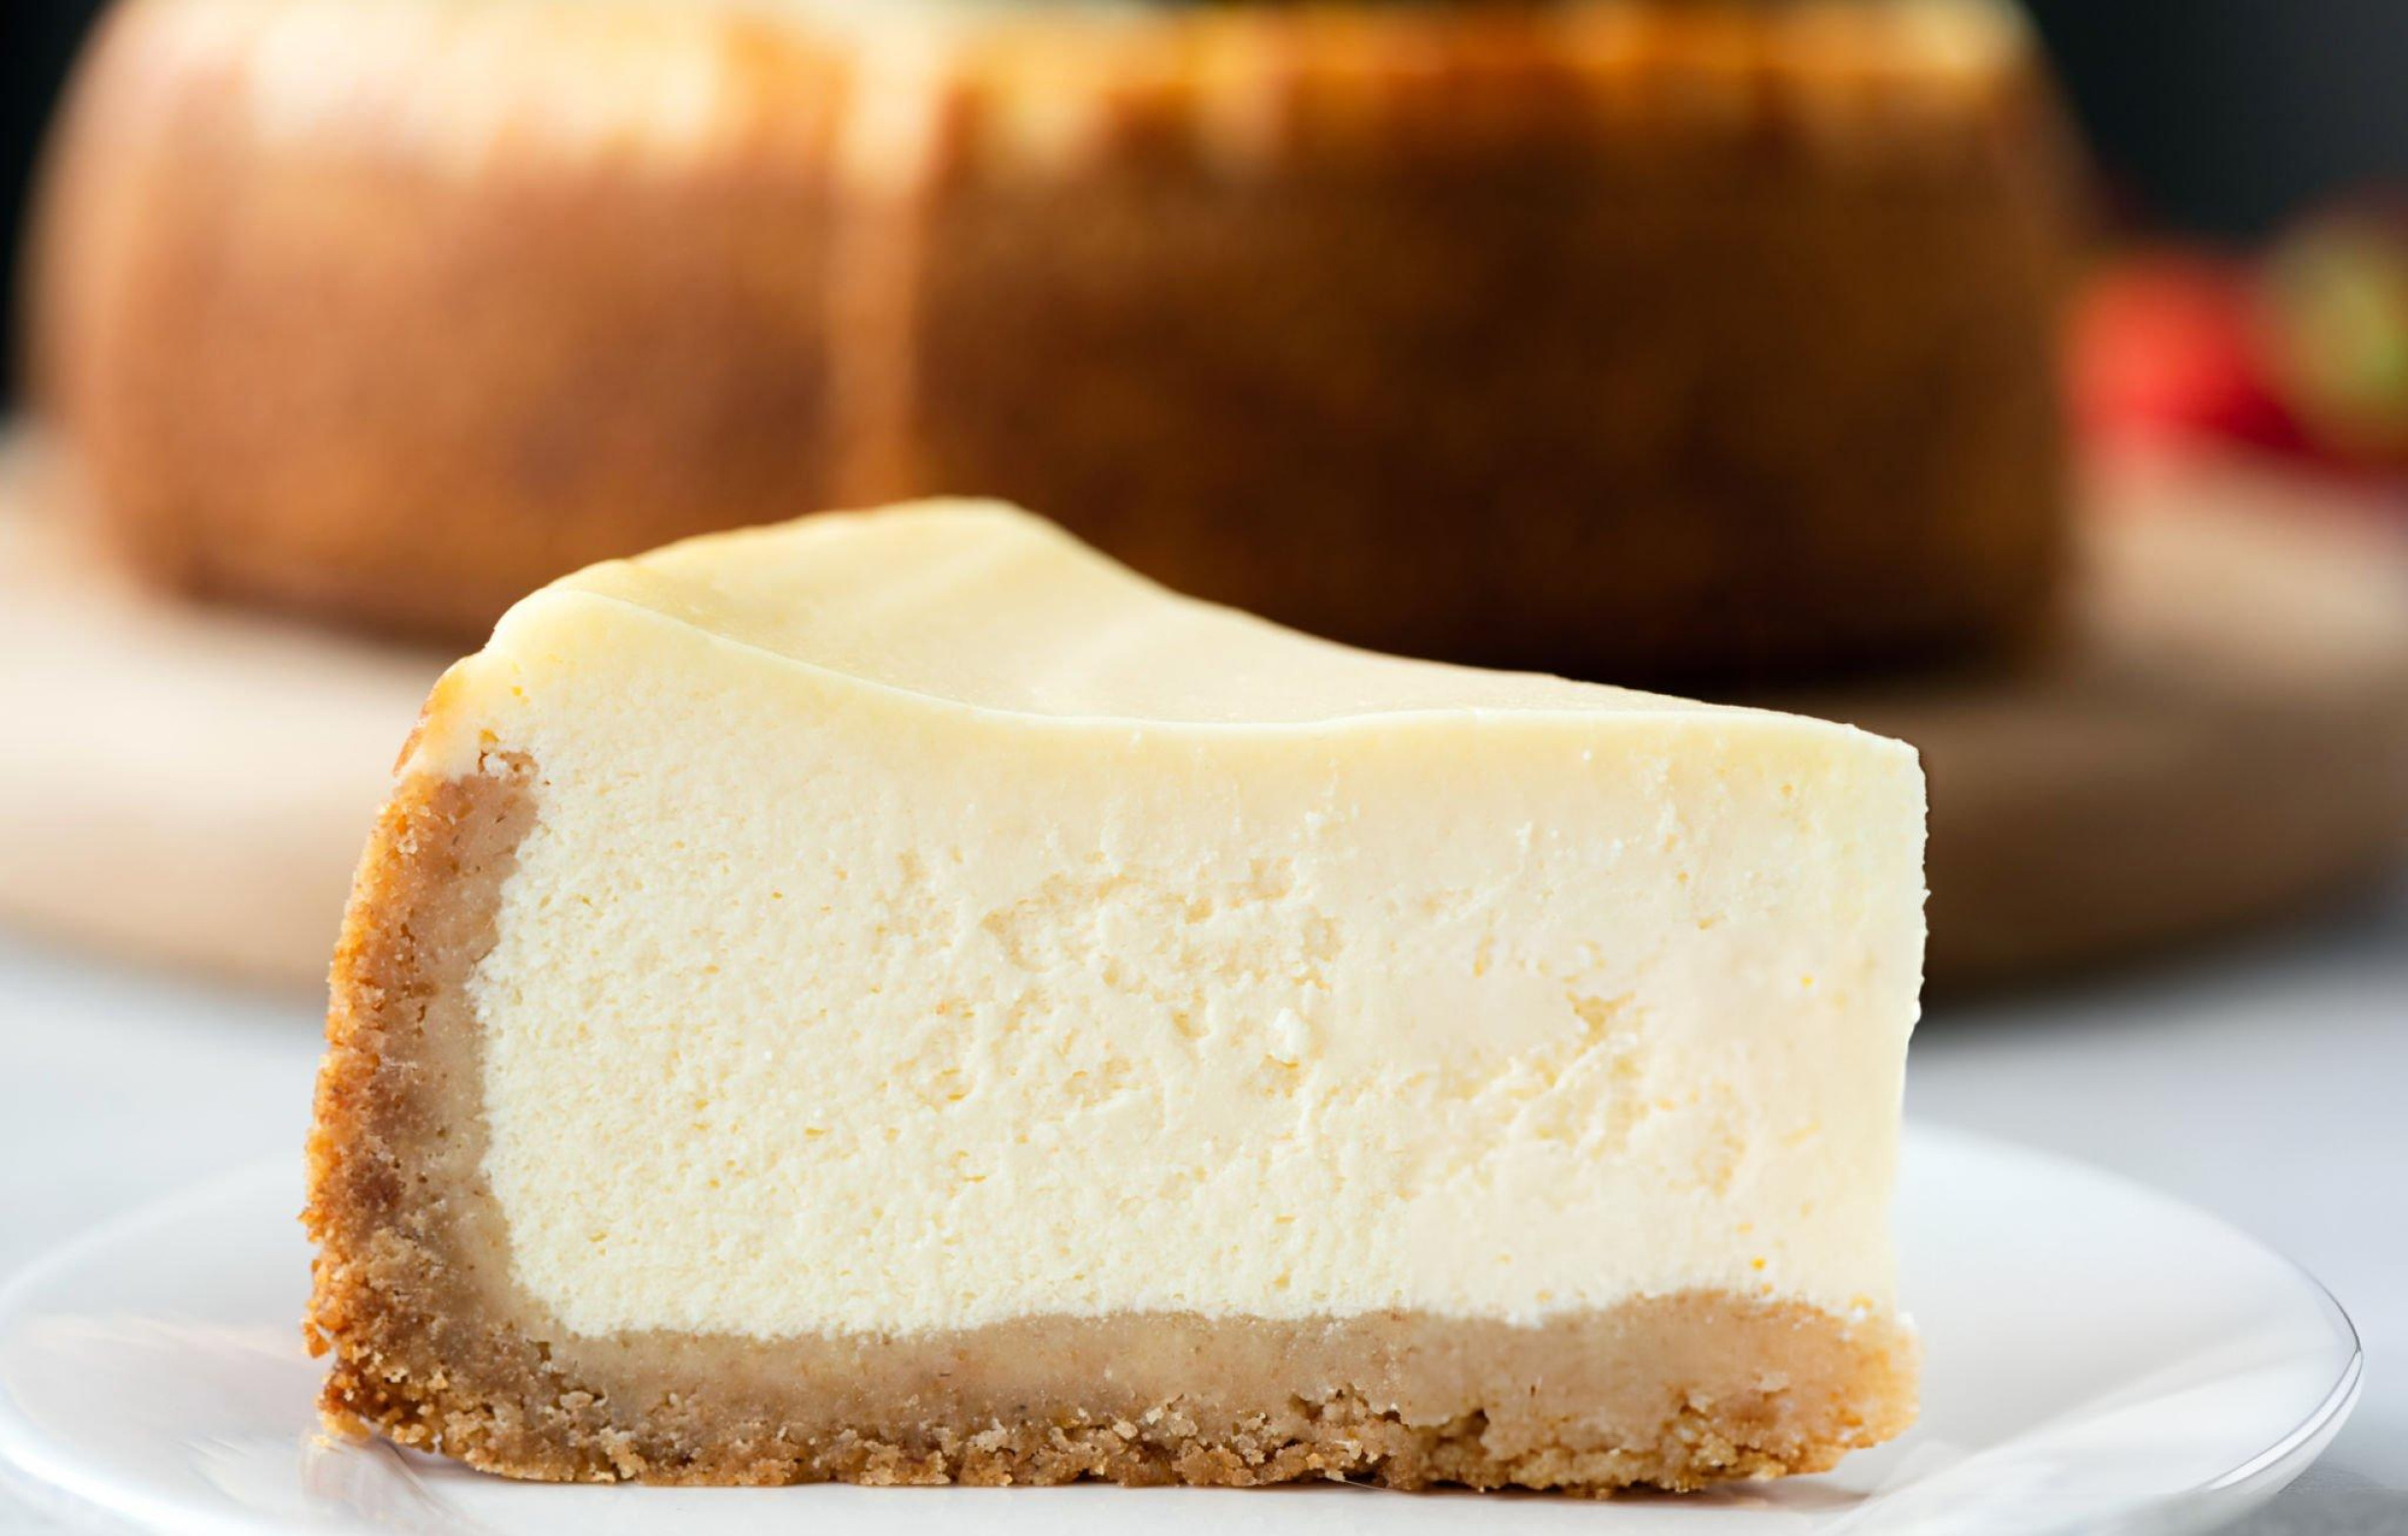
The foundation of this cheesecake is its luscious graham cracker crust and velvety filling. The crust, made from finely ground graham cracker crumbs, melted butter, and a touch of brown sugar, provides a sweet, slightly crunchy base that complements the smoothness of the cheesecake filling. Each component plays a crucial role in delivering that perfect bite.
For the filling, the full-fat brick cream cheese is essential to achieve the rich, creamy texture we all love. The addition of heavy cream, sour cream, and a hint of lemon juice not only enhances the cheesecake’s creaminess but also adds a subtle tang that balances the sweetness. Choosing the freshest and highest quality ingredients, like pure vanilla extract, ensures the best flavor for your cheesecake.
Step-by-Step Preparation
Creating this no-bake cheesecake is a straightforward process, yet each step requires attention to detail to ensure the best results.
To begin, the graham cracker crust is mixed and pressed into the springform pan. The key to a successful crust is packing it tightly—use the bottom of a measuring cup to press it firmly and evenly across the base and slightly up the sides of the pan. This will prevent the crust from crumbling when you cut into the cheesecake.
Next, you’ll whip the heavy cream to stiff peaks, a process that should not be rushed. Whipping the cream until it holds firm peaks is crucial for the light, airy texture of the cheesecake. Then, the softened cream cheese is beaten until completely smooth with granulated sugar, ensuring no lumps remain. The mixture of confectioners’ sugar, sour cream, lemon juice, and vanilla extract is gradually added to create a creamy, flavorful base.
The final step is folding the whipped cream into the cream cheese mixture. This requires a gentle touch to maintain the airiness of the whipped cream. Slowly incorporate the whipped cream, using a silicone spatula to avoid deflating the mixture, and ensure it is fully combined before spreading it over the prepared crust.
Recipe Tips & Frequently Asked Questions
Perfecting the Crust:
To ensure your crust doesn’t fall apart, make sure it’s packed as tightly as possible. If you find the crust isn’t holding together, you can add a bit more melted butter to help bind the crumbs.
Achieving the Ideal Cheesecake Texture:
Avoid overbeating the cream cheese to prevent lumps. It’s also crucial to let the cheesecake chill for at least 6 hours, though overnight is ideal for a firmer set. If you’re looking for flavor variations, try adding a tablespoon of cocoa powder for a chocolate twist, or swirl in some fruit puree before chilling.
Can I Use a Different Type of Crust?:
Certainly! Digestive biscuits or vanilla wafers can be substituted for graham crackers. You can even use a chocolate cookie crust for a different flavor profile.
How Long Should I Chill the Cheesecake?:
For the best texture, allow the cheesecake to chill for at least 12 hours. This gives the filling enough time to set properly, ensuring clean slices.
Can I Freeze the Cheesecake?:
Yes, you can freeze this cheesecake. Wrap it tightly in plastic wrap and foil before freezing. To serve, thaw it in the refrigerator overnight.
What If I Don’t Have a Springform Pan?:
A deep-dish pie pan or a 9×13 inch baking dish can be used as an alternative. Just line it with parchment paper for easier removal.
What to Serve With This Recipe
This no-bake cheesecake is a versatile dessert that pairs beautifully with various toppings and sides.
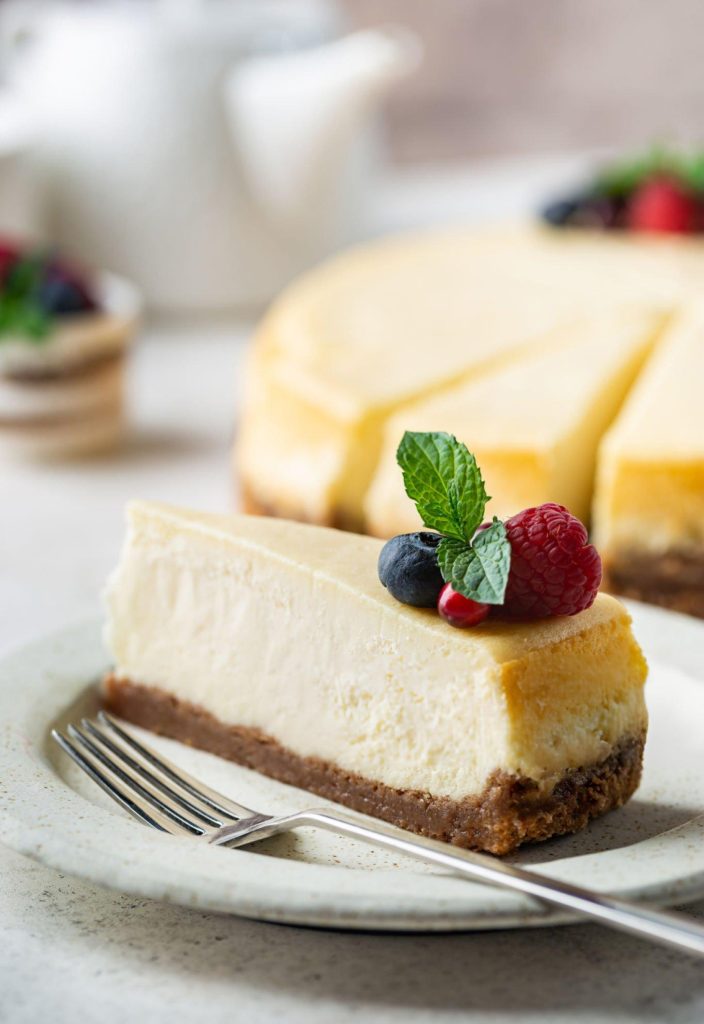
Fresh berries such as strawberries, blueberries, or raspberries add a burst of color and tartness that contrasts the cheesecake’s richness. For a more indulgent touch, drizzle it with a rich chocolate or caramel sauce, or add a dollop of freshly whipped cream.
To complement the dessert, consider pairing it with a light, refreshing beverage like iced tea, or a glass of sweet dessert wine. For a contrasting flavor, coffee or espresso also makes an excellent pairing.
If you want to serve a side dessert, consider a simple fruit salad or a tangy sorbet. These lighter options balance the richness of the cheesecake and make for a delightful end to any meal.
Storage and Make-Ahead Tips
Proper storage is essential to maintaining the cheesecake’s flavor and texture. Store any leftover cheesecake in an airtight container in the refrigerator, where it will keep fresh for up to 5 days.
If you’re planning ahead, this cheesecake can be made up to two days in advance. Simply prepare and store it in the refrigerator until you’re ready to serve. For those looking to save time on the day of an event, this make-ahead option is a real lifesaver.
When freezing, wrap the cheesecake tightly in both plastic wrap and aluminum foil to prevent freezer burn. It can be stored in the freezer for up to one month. To serve, thaw the cheesecake in the refrigerator overnight.
This no-bake cheesecake is a testament to how simple ingredients and straightforward techniques can create a dessert that is both impressive and irresistible. Whether you’re serving it at a casual family gathering or a more formal occasion, it’s sure to be a hit. Don’t be afraid to experiment with different toppings and flavors to make it your own, and most importantly, enjoy sharing this delicious creation with your loved ones.
Ingredients
For Graham Cracker Crust:
- 1/2 cup (8 Tbsp; 113g) unsalted butter, melted
- 2 cups (240g) graham cracker crumbs (approximately 16 full sheet graham crackers)
- 1/3 cup (67g) packed light or dark brown sugar
For Cheesecake:
- 1/4 cup (60g) sour cream, at room temperature
- 24 ounces (678g) full-fat brick cream cheese, softened to room temperature
- 1 and 1/4 cups (300ml) heavy cream or heavy whipping cream
- 1 teaspoon pure vanilla extract
- 1/2 cup (100g) granulated sugar
- 2 Tablespoons (15g) confectioners’ sugar
- 2 teaspoons lemon juice
Instructions
Make the crust: In a mixing bowl, thoroughly combine the graham cracker crumbs, melted butter, and brown sugar until the mixture resembles wet sand. Firmly press this mixture into the bottom and slightly up the sides of a 9-inch or 10-inch springform pan. Ensure the crust is packed tightly to prevent crumbling when sliced. For a smooth finish, use the bottom of a measuring cup to press the crust evenly. Place the crust in the freezer for 10 to 20 minutes to set while you prepare the cheesecake filling.
Make the filling: Begin by whipping the cold heavy cream in a stand mixer or with a hand mixer using the whisk attachment. Whip on medium-high speed until stiff peaks form, which should take around 4 to 5 minutes. Set the whipped cream aside.
Next, in a clean bowl, beat the softened cream cheese with the granulated sugar on medium speed until the mixture is completely smooth and creamy. Scrape down the sides and bottom of the bowl occasionally to ensure even mixing. Once smooth, add the confectioners’ sugar, sour cream, lemon juice, and vanilla extract. Continue to beat on medium-high speed for another 2 to 3 minutes until all the ingredients are well incorporated, and the mixture is silky smooth. Ensure there are no lumps of cream cheese remaining; if you find any, continue mixing until they disappear.
Gently fold the whipped cream into the cream cheese mixture using a silicone spatula or by running your mixer on a low setting. Take your time with this step to preserve the airiness of the whipped cream. It may take a few turns of the spatula to fully integrate the whipped cream into the cheesecake filling.
Retrieve the crust from the freezer and evenly spread the cheesecake filling over it. Use an offset spatula to smooth the top of the filling for a clean finish. Cover the pan tightly with plastic wrap or aluminum foil and place it in the refrigerator. Allow the cheesecake to chill for at least 6 to 8 hours, though 12 hours or overnight is ideal for the best results. The extended chill time will help the cheesecake set beautifully.
When ready to serve, run a knife along the edge of the cheesecake to release it from the pan, then remove the springform ring. Slice the cheesecake with a sharp knife, wiping the blade clean between each cut for neat slices.
Serve the cheesecake with your favorite toppings, and store any leftovers in the refrigerator for up to 5 days.
No Bake Cheesecake Recipe
Ingredients
For Graham Cracker Crust:
- 1/2 cup 8 Tbsp; 113g unsalted butter, melted
- 2 cups 240g graham cracker crumbs (approximately 16 full sheet graham crackers)
- 1/3 cup 67g packed light or dark brown sugar
For Cheesecake:
- 1/4 cup 60g sour cream, at room temperature
- 24 ounces 678g full-fat brick cream cheese, softened to room temperature
- 1 and 1/4 cups 300ml heavy cream or heavy whipping cream
- 1 teaspoon pure vanilla extract
- 1/2 cup 100g granulated sugar
- 2 Tablespoons 15g confectioners’ sugar
- 2 teaspoons lemon juice
Instructions
- Make the crust: In a mixing bowl, thoroughly combine the graham cracker crumbs, melted butter, and brown sugar until the mixture resembles wet sand. Firmly press this mixture into the bottom and slightly up the sides of a 9-inch or 10-inch springform pan. Ensure the crust is packed tightly to prevent crumbling when sliced. For a smooth finish, use the bottom of a measuring cup to press the crust evenly. Place the crust in the freezer for 10 to 20 minutes to set while you prepare the cheesecake filling.
- Make the filling: Begin by whipping the cold heavy cream in a stand mixer or with a hand mixer using the whisk attachment. Whip on medium-high speed until stiff peaks form, which should take around 4 to 5 minutes. Set the whipped cream aside.
- Next, in a clean bowl, beat the softened cream cheese with the granulated sugar on medium speed until the mixture is completely smooth and creamy. Scrape down the sides and bottom of the bowl occasionally to ensure even mixing. Once smooth, add the confectioners’ sugar, sour cream, lemon juice, and vanilla extract. Continue to beat on medium-high speed for another 2 to 3 minutes until all the ingredients are well incorporated, and the mixture is silky smooth. Ensure there are no lumps of cream cheese remaining; if you find any, continue mixing until they disappear.
- Gently fold the whipped cream into the cream cheese mixture using a silicone spatula or by running your mixer on a low setting. Take your time with this step to preserve the airiness of the whipped cream. It may take a few turns of the spatula to fully integrate the whipped cream into the cheesecake filling.
- Retrieve the crust from the freezer and evenly spread the cheesecake filling over it. Use an offset spatula to smooth the top of the filling for a clean finish. Cover the pan tightly with plastic wrap or aluminum foil and place it in the refrigerator. Allow the cheesecake to chill for at least 6 to 8 hours, though 12 hours or overnight is ideal for the best results. The extended chill time will help the cheesecake set beautifully.
- When ready to serve, run a knife along the edge of the cheesecake to release it from the pan, then remove the springform ring. Slice the cheesecake with a sharp knife, wiping the blade clean between each cut for neat slices.
- Serve the cheesecake with your favorite toppings, and store any leftovers in the refrigerator for up to 5 days.
Notes
-
Make Ahead Instructions:
- Prepare the cheesecake 1–2 days in advance.
- Refrigerate in step 6 for up to 2 days before serving.
- Make the crust 1–2 days ahead, freeze for up to 1 hour in step 1, then refrigerate tightly covered for 1–2 days before adding the filling.
- Alternatively, freeze the cheesecake for up to 3 months (detailed instructions available in the blog post).
-
Special Tools (Affiliate Links):
- Electric Mixer (Handheld or Stand)
- 9-inch or 10-inch Springform Pan
- Silicone Spatula
- Offset Spatula
-
Lemon Juice:
- Adds brightness to the flavor without making the cheesecake taste like lemon.
- For a lemon-flavored version, remove the sour cream and add 2 tablespoons of lemon juice plus 1 tablespoon of lemon zest.
-
Room Temperature Ingredients:
- Ensure cream cheese and sour cream are at room temperature before starting.
- Room temperature ingredients result in a smooth cheesecake filling.
- Cold ingredients will create a chunky texture in the filling.
- The heavy cream must be cold to whip into stiff peaks.
-
Toppings:
- Decorate before serving with whipped cream, lemon curd, strawberry sauce, fresh berries, salted caramel, or your preferred cheesecake toppings.
- For whipped cream, use Ateco 849 piping tip as shown in the pictured cheesecake.
-
Can I Make Mini No-Bake Cheesecakes?
- Yes, use a standard muffin pan to create mini no-bake cheesecakes (recipe available).
-
Non-US Readers:
- Substitute 270g ground digestive biscuits for graham crackers (about 18 biscuits), using the same amount of butter and slightly more brown sugar (about 1/2 cup, or 100g).
- Spreadable cream cheese in non-US countries may differ but is typically thicker and sturdier, making it suitable for cheesecake.