
Lemon Curd Recipe
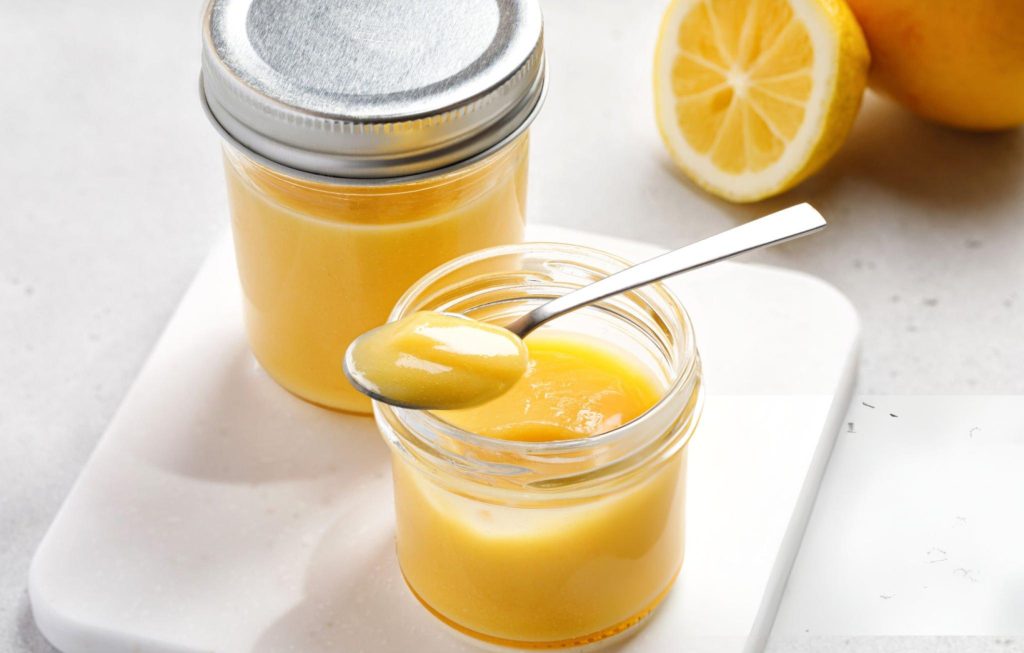
Lemon curd, with its bright, zesty flavor and velvety texture, is a true kitchen gem. This luscious spread is a versatile addition to your culinary repertoire, elevating everything from breakfast toast to sophisticated desserts. Whether dolloped on scones or swirled into yogurt, lemon curd brings a burst of sunshine to any dish.

Essential Ingredients for Perfect Lemon Curd
Creating the perfect lemon curd requires attention to a few key ingredients. Fresh lemons are paramount; their zest and juice infuse the curd with vibrant flavor. The zest, with its essential oils, adds depth, while the juice provides that unmistakable tang. Cold, unsalted butter is crucial for achieving a smooth, creamy texture, as it melts into the warm curd, creating a rich consistency. Finally, the balance between sugar and lemon juice must be just right to achieve the ideal sweet-tart harmony.
Step-by-Step Instructions for Making Lemon Curd
To begin, separate the egg yolks from the whites with care, ensuring no yolk spills into the whites. The yolks will be the base of your curd, offering a rich, smooth consistency. If you have leftover whites, consider freezing them for future use or making a Swiss meringue buttercream, which pairs wonderfully with lemon curd.
Next, zest and juice your lemons. Zesting releases aromatic oils that amplify the lemon flavor. If you’re looking to maximize this, pulse the zest with sugar in a food processor—a trick that ensures every ounce of zest is fully utilized. Once zested, juice the lemons until you have just under 1/2 cup. Strain out any seeds, leaving you with pure, tangy juice.
With the yolks ready and the lemon juice strained, it’s time to start cooking. Pour the yolks into a saucepan and whisk them gently until smooth. Add the sugar, continuing to whisk until the mixture lightens in color—this is a sign that the sugar is beginning to dissolve. Gradually pour in the lemon juice, ensuring everything is well combined.
Cook the mixture over low heat, stirring constantly. The goal is to thicken the curd without letting it curdle. You’ll know it’s ready when it begins to bubble slightly and thickens enough to coat the back of a wooden spoon. Remove the pan from the heat and immediately add the cold, cubed butter. Stir until the butter is fully melted, incorporating a silky richness into the curd.
For an extra smooth finish, strain the curd through a fine mesh sieve. This step removes any remaining bits of zest or coagulated egg, leaving you with a luxurious, velvety lemon curd. Transfer the curd to a sealable container or a bowl, pressing plastic wrap directly onto its surface if using a bowl. This prevents a skin from forming on the curd as it cools.
Recipe Tips & Frequently Asked Questions
- Avoiding Curdling: Keep the heat low and stir continuously to prevent the yolks from curdling. If the heat is too high, the eggs may cook too quickly, causing lumps.
- Straining the Curd: Strain the curd after cooking to achieve the smoothest possible texture. This step is especially important if you want to eliminate any tiny bits of cooked egg or zest.
- Storing Lemon Curd: Store the curd in an airtight container in the refrigerator for up to two weeks. To freeze, place in a freezer-safe container for up to three months—just thaw in the fridge before using.
- Can I make lemon curd ahead of time? Yes, lemon curd can be made ahead and stored in the refrigerator for up to two weeks. It actually develops more flavor as it sits.
- What if my lemon curd is too runny? If your curd is too runny, you may not have cooked it long enough. Return it to the heat and cook a bit longer until it thickens. Be sure to stir constantly to avoid curdling.
- Can I use margarine instead of butter? While you can use margarine, it will alter the flavor and texture of the curd. Butter provides a richness and creaminess that margarine simply can’t replicate.
What to Serve With This Recipe: Pairing Ideas for Lemon Curd
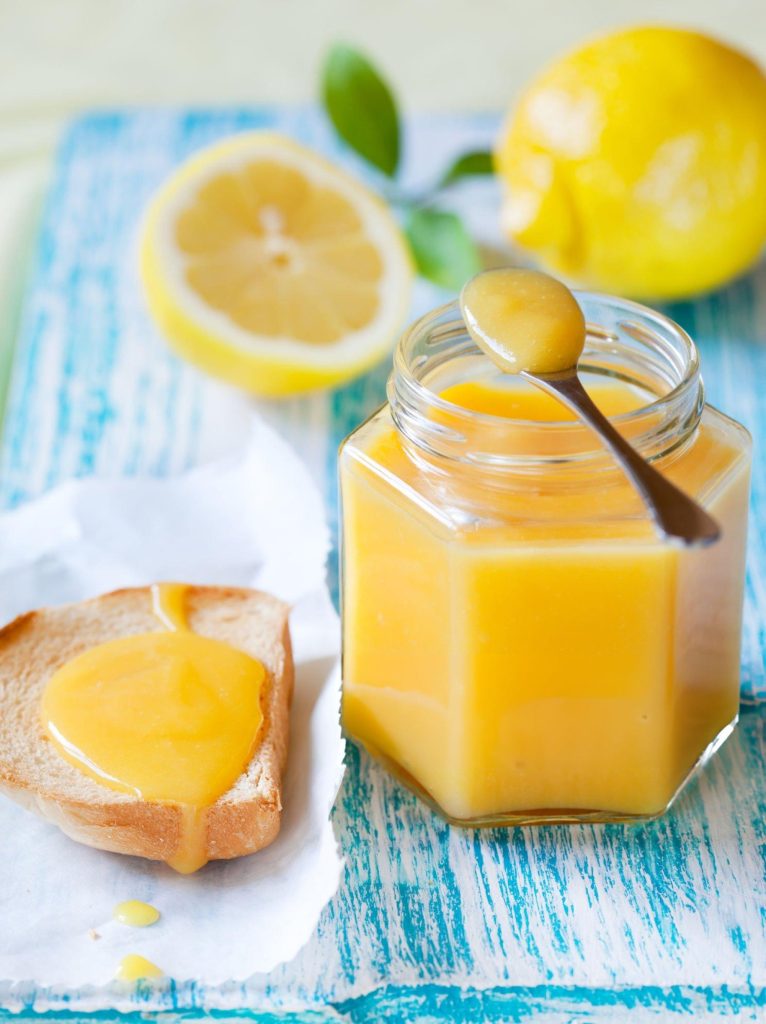
Lemon curd is incredibly versatile, and its uses are nearly endless. For a delightful breakfast, spread it on toast, scones, or pancakes. The tangy sweetness perfectly complements the warm, buttery flavors of these morning staples. For dessert, lemon curd shines as a topping for pavlovas, a filling for tarts, or a layer in a sophisticated cake. Its brightness cuts through the richness of desserts, providing a perfect balance. And if you’re feeling creative, try swirling lemon curd into yogurt, folding it into whipped cream for a quick mousse, or layering it in a parfait with fresh berries.
Variations and Customizations for Your Lemon Curd
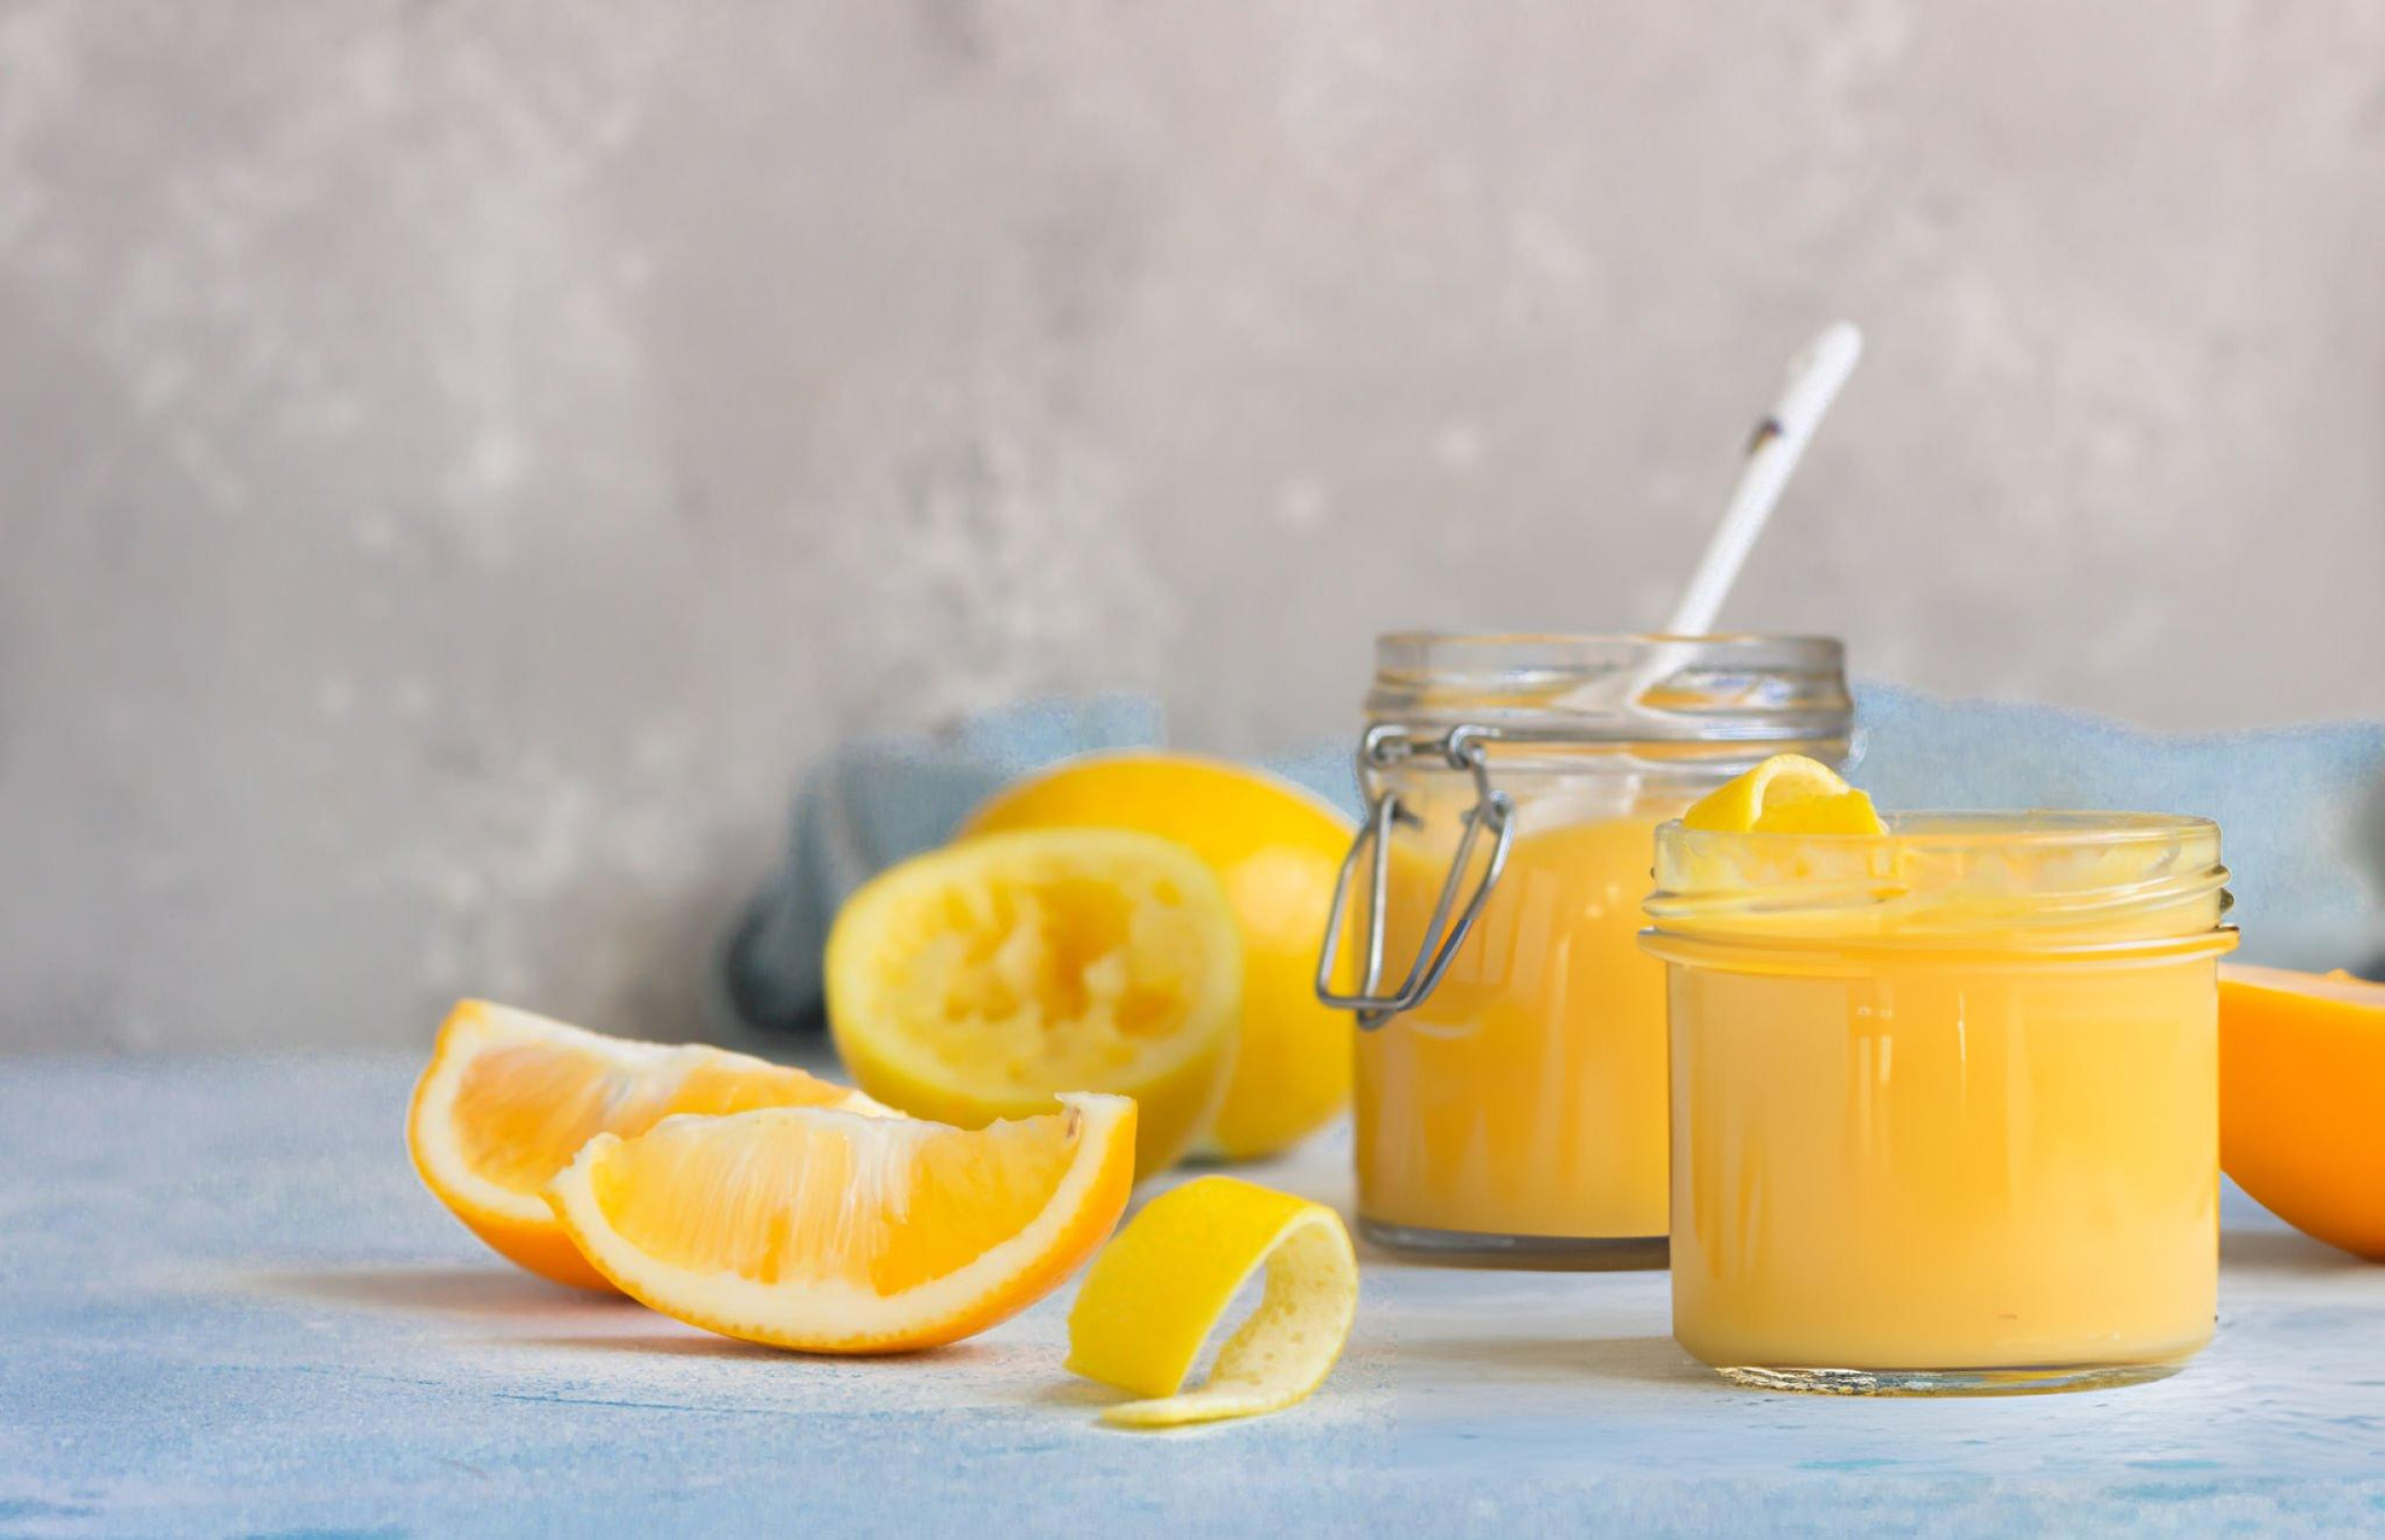
While lemon curd is delightful on its own, don’t be afraid to experiment with variations. Consider making a citrus twist by substituting lime, orange, or grapefruit for the lemon juice—each brings its own unique flavor. For a more complex flavor profile, infuse your curd with herbs like thyme or lavender. Simply add the herbs to the lemon juice and let it steep before straining them out. If you prefer a sweeter or tarter curd, adjust the sugar content to suit your taste. The beauty of lemon curd is its adaptability to your preferences.
Enjoying Your Homemade Lemon Curd
With its simple ingredients and straightforward process, homemade lemon curd is a rewarding recipe that yields delicious results. Its versatility means you can enjoy it in countless ways, from breakfast to dessert. So go ahead, experiment with flavors and pairings, and delight in the zesty, creamy goodness of lemon curd. It’s a little jar of sunshine that brightens any meal.
Ingredients
- 6 egg yolks
- 1 cup granulated sugar (200g)
- 1/2 cup cold unsalted butter, cubed
- 2 tablespoons lemon zest (from two lemons)
- 1/2 cup lemon juice (100mL), minus one tablespoon
Instructions
Begin by separating the egg yolks from the whites, which can be stored for future use, such as making Swiss meringue buttercream.
Next, zest the lemons. For maximum flavor, pulse the lemon zest and sugar together in a food processor to release the essential oils, though this step is optional.
Juice the lemons until you have just under 1/2 cup of juice. Be sure to strain out any seeds.
Strain the egg yolks into a saucepan and gently whisk them until smooth. Add the sugar, whisking thoroughly until the mixture becomes lighter in color. Gradually incorporate the lemon juice while continuing to stir.
Place the saucepan over low heat, stirring constantly with a whisk until the mixture thickens, begins to bubble slightly, and coats the back of a wooden spoon.
Remove the pan from the heat, and immediately add the cold, cubed butter. Stir until the butter has completely melted.
For an extra smooth texture, strain the curd to remove any zest or other small particles. The result will be a silky, luxurious lemon curd.
Transfer the finished curd to a sealable container or a bowl. If using a bowl, press plastic wrap directly onto the surface of the curd to prevent a skin from forming.
Lemon Curd Recipe
Ingredients
- 6 egg yolks
- 1 cup granulated sugar 200g
- 1/2 cup cold unsalted butter cubed
- 2 tablespoons lemon zest from two lemons
- 1/2 cup lemon juice 100mL, minus one tablespoon
Instructions
- Begin by separating the egg yolks from the whites, which can be stored for future use, such as making Swiss meringue buttercream.
- Next, zest the lemons. For maximum flavor, pulse the lemon zest and sugar together in a food processor to release the essential oils, though this step is optional.
- Juice the lemons until you have just under 1/2 cup of juice. Be sure to strain out any seeds.
- Strain the egg yolks into a saucepan and gently whisk them until smooth. Add the sugar, whisking thoroughly until the mixture becomes lighter in color. Gradually incorporate the lemon juice while continuing to stir.
- Place the saucepan over low heat, stirring constantly with a whisk until the mixture thickens, begins to bubble slightly, and coats the back of a wooden spoon.
- Remove the pan from the heat, and immediately add the cold, cubed butter. Stir until the butter has completely melted.
- For an extra smooth texture, strain the curd to remove any zest or other small particles. The result will be a silky, luxurious lemon curd.
- Transfer the finished curd to a sealable container or a bowl. If using a bowl, press plastic wrap directly onto the surface of the curd to prevent a skin from forming.