
Halloween Cookies Recipe
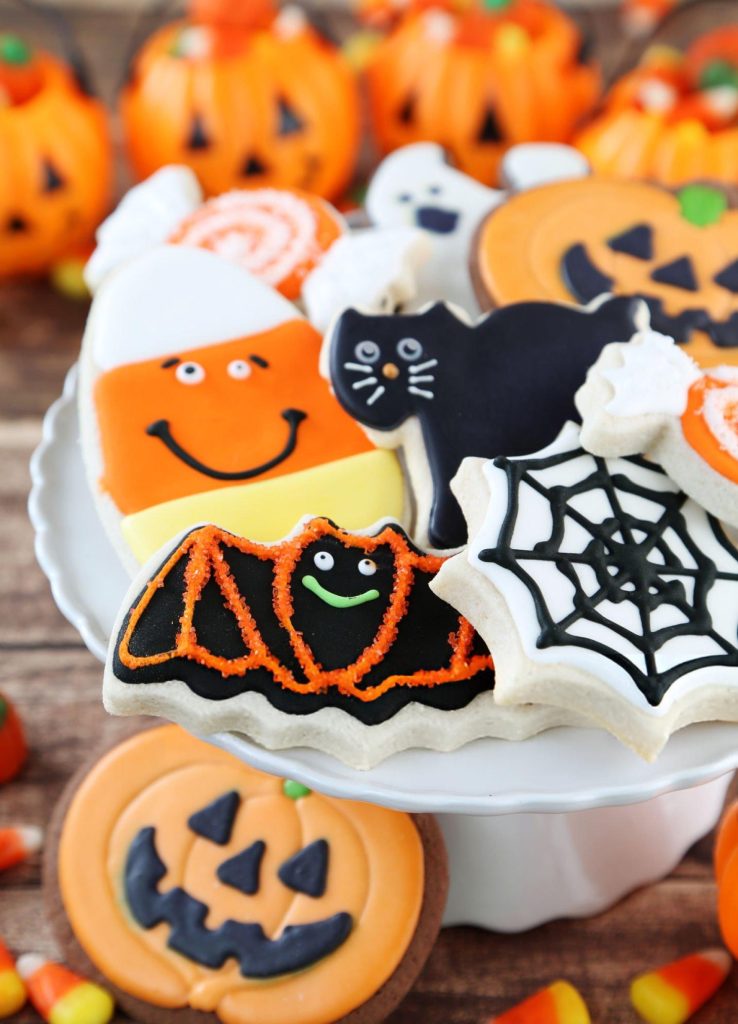
These delightful Halloween cookies are the perfect treat for any spooky celebration. With a tender, buttery texture and the fun addition of icing and decorative sprinkles, they’re both visually captivating and irresistibly delicious. Whether you’re hosting a Halloween party or just want to indulge in a festive baking session, these cookies will add a fun, eerie charm to your dessert table. Their soft crumb, lightly sweetened flavor, and intricate decoration make them a hit with both kids and adults alike.

Ingredients Overview
The magic behind these cookies lies in the simplicity and harmony of the ingredients. The combination of unsalted butter and sugar forms the creamy base that gives these cookies their richness, while the two extracts—vanilla and almond—add layers of warmth and nuttiness. Almond extract, though subtle, introduces a distinctive touch, elevating the flavor beyond the ordinary sugar cookie.
The decorating process is where you can let your creativity shine. Black and white Betty Crocker cookie icing gives you the ability to create stark contrasts, making spooky ghosts, bats, or webs. Black decorating sugar and an edible food marker add texture and fine details, taking the eerie designs to another level. For those wanting to add a pop of color, round red sprinkles make a wonderful addition, particularly for eyes or blood-like accents.
Substitutions can be made depending on dietary needs. For those avoiding almond extract, simply replace it with more vanilla, or try a hint of lemon extract for a citrusy twist. For a dairy-free version, vegan butter works just as well in place of regular butter, and gluten-free flour can substitute all-purpose flour without losing the integrity of the cookie structure.
Step-by-Step Instructions
Making these Halloween cookies is as much fun as decorating them. Start by blending softened butter and sugar into a fluffy, creamy mixture. This stage is crucial, as it sets the foundation for a soft and smooth dough. Once your butter and sugar are well combined, add the eggs one by one, ensuring each is fully incorporated. Vanilla and almond extracts follow, infusing the dough with a fragrant aroma.
In a separate bowl, whisk together the baking soda and salt before gradually adding them to the butter mixture. Slowly fold in the flour until a soft dough forms, ensuring it is smooth and pliable. Dividing the dough into two halves and chilling it not only helps the cookies hold their shape during baking but also enhances their flavor as the dough rests. An hour of refrigeration will suffice, but for the best results, leave it overnight.
When you’re ready to bake, preheat the oven to 350°F (175°C). Roll out the chilled dough on a lightly floured surface, making sure it maintains a consistent 1/4 inch thickness. Cookie cutters come in handy here, allowing you to make all kinds of spooky shapes. To prevent the cookies from spreading and losing definition during baking, chill the cut shapes on the baking sheet for about 15 minutes before baking.
Bake the cookies for 8 to 11 minutes, depending on their size. Keep an eye out for the edges—they should just start to brown but not darken. After removing them from the oven, let them cool on the sheet for a few minutes before transferring them to a wire rack. This step ensures the cookies don’t crack or crumble.
Once cooled, the real fun begins. Use the white and black icing to create ghostly or gothic designs, adding sprinkles or edible markers for those fine, haunting details. Allow the cookies to dry for at least 4 hours, ensuring the icing sets perfectly before storing or displaying them.

Recipe Tips & Frequently Asked Questions
Chill the dough for at least one hour or overnight for easier handling and well-shaped cookies.
Roll the dough evenly to ensure consistent baking. A thickness of 1/4 inch is ideal for soft yet sturdy cookies.
Use a variety of Halloween-themed cookie cutters like pumpkins, ghosts, and bats for a fun assortment.
How long do these cookies stay fresh?
Store the cookies in an airtight container, and they will remain fresh for up to one week.
Can I make the dough ahead of time?
Yes, you can refrigerate the dough for up to 2 days or freeze it for up to 3 months.
What if I don’t have almond extract?
You can substitute with vanilla extract or lemon extract for a different but still delicious flavor.
Can these cookies be frozen?
Yes, both the dough and baked cookies freeze well. Ensure they’re properly wrapped to avoid freezer burn.
How can I store the decorated cookies without damaging the icing?
Once the icing has fully dried, layer the cookies between sheets of parchment paper in an airtight container.
What to Serve With This Recipe
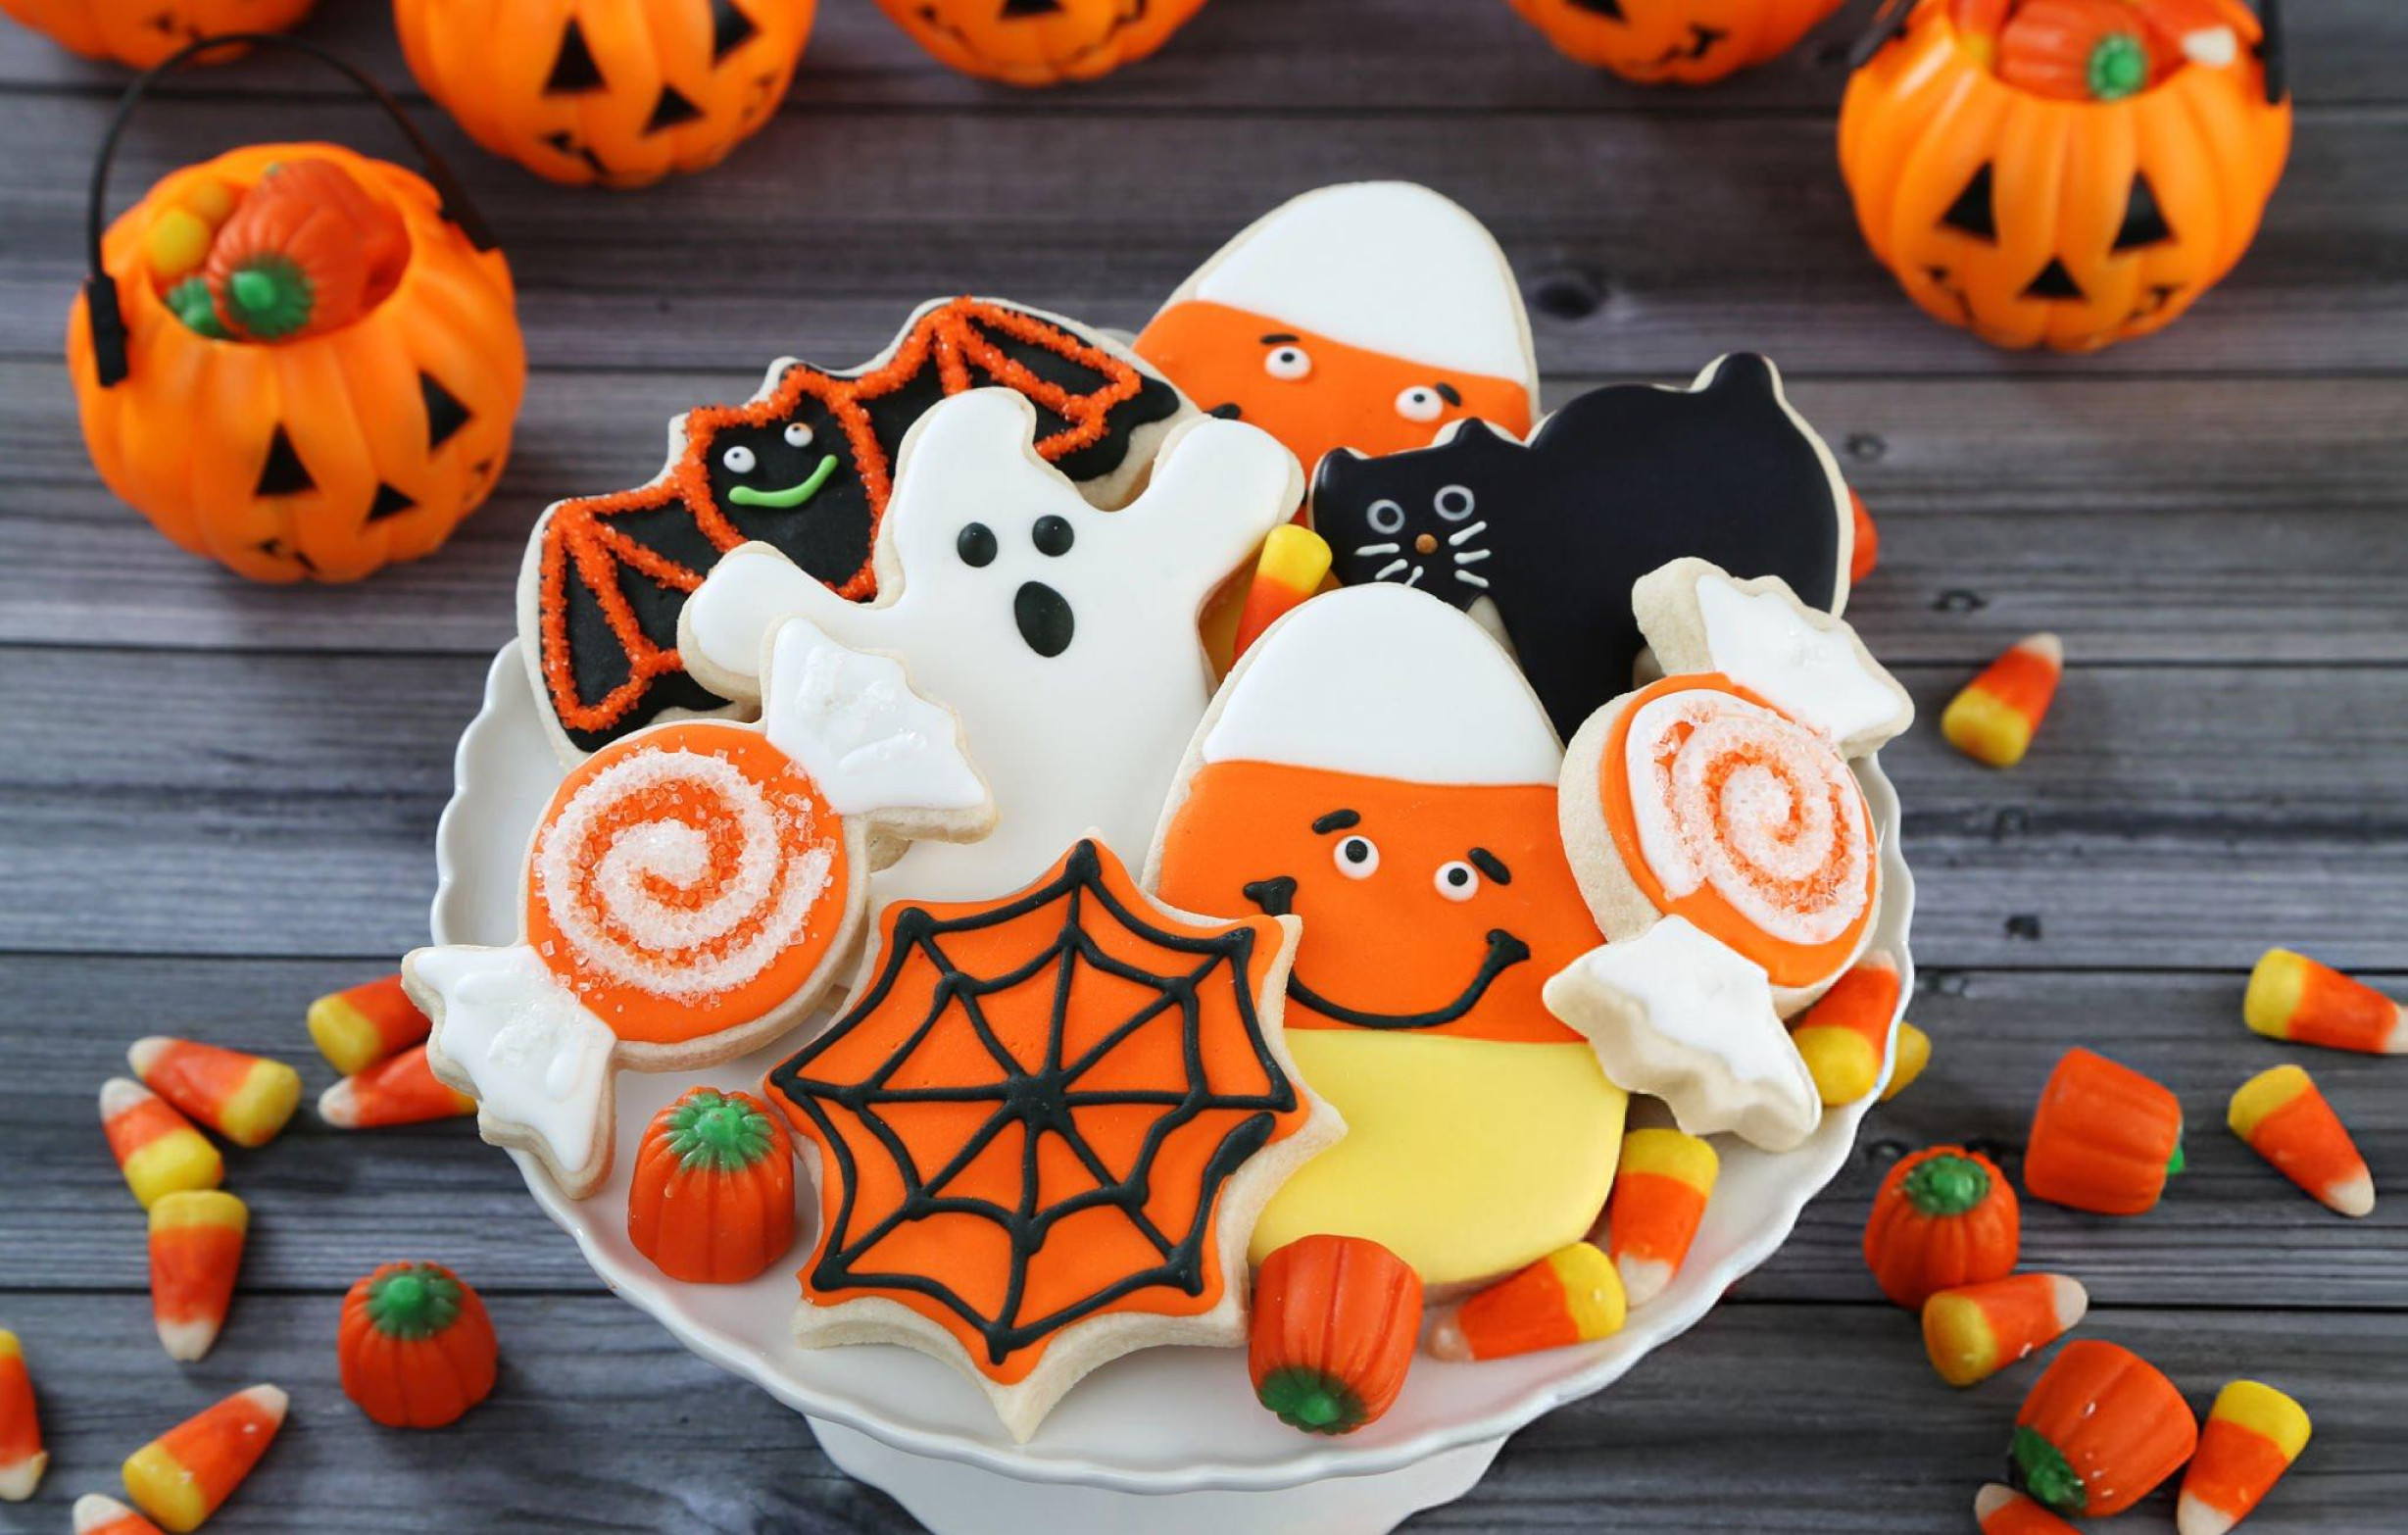
These Halloween cookies make for the perfect centerpiece at any spooky-themed dessert table. Pair them with warm, comforting beverages like spiced lattes or hot chocolate topped with marshmallows for a cozy Halloween evening. For a more elaborate spread, you could serve them alongside other Halloween treats such as pumpkin cupcakes or caramel apples, creating a delightful mix of textures and flavors.
If you’re hosting a party, consider serving these cookies with themed cocktails or mocktails like a bubbling witch’s brew made from dry ice and punch. Their subtle sweetness complements both light and rich drinks, making them versatile enough for any Halloween gathering.
Decorating Ideas
The real charm of these cookies lies in their decoration. Using the contrasting white and black icings, you can create intricate Halloween motifs—think white ghosts with eerie black eyes, bats with shimmering black sugar wings, or spider webs outlined in black against white. The edible black marker allows for finer details, like drawing faces on your ghost cookies or outlining the contours of a witch’s hat.
For a bolder, more colorful effect, food-safe dyes can be added to the white icing, creating vibrant shades of orange, green, or purple. This adds a pop of color to the traditional black-and-white palette, making your cookies even more eye-catching. Feel free to experiment with textures as well—using sanding sugar gives a sparkly, rough texture that works wonderfully for spooky designs like black cats or creepy graveyards.
Storage and Make-Ahead Tips
To ensure your cookies stay fresh, store them in an airtight container at room temperature, layering parchment paper between them to prevent any smudging of the icing. If you need to prepare them ahead of time, the dough can be made and frozen for up to three months. Simply thaw in the fridge overnight before rolling and baking.
If freezing baked cookies, wait until they are completely cooled and undecorated. Once ready to use, thaw them at room temperature, then decorate as desired. This way, you can have fresh, beautifully decorated Halloween cookies without the last-minute rush.
Ingredients
3 cups all-purpose flour
1 cup sugar
1 cup unsalted butter, softened
2 eggs
1 teaspoon baking soda
1/2 teaspoon salt
1 teaspoon vanilla extract
1 teaspoon almond extract
1-2 containers white Betty Crocker cookie icing
1-2 containers black Betty Crocker cookie icing
Round red sprinkles (optional)
Black decorating sugar (also known as sprinkles or sanding sugar)
Black edible food marker
Instructions
Begin by beating the softened butter and sugar together in a large mixing bowl until the mixture becomes light and fluffy, which should take about 3 minutes. Add the eggs one at a time, along with the vanilla and almond extracts, and continue to mix until everything is well combined.
In a separate bowl, whisk together the baking soda and salt, then gradually add this to the butter mixture. Slowly incorporate the flour, blending until the dough is smooth and cohesive. Once the dough is ready, divide it into two equal parts, wrap each in plastic wrap, and refrigerate for at least an hour—overnight is even better for optimal results.
When you’re ready to bake, preheat the oven to 350°F (175°C). Take one portion of the chilled dough and roll it out on a lightly floured surface to a thickness of about 1/4 inch (1 cm). Rotate the dough as you roll to prevent sticking. Use cookie cutters to shape the dough as desired, then transfer the cut-out cookies to a baking sheet. Place the baking sheet in the fridge for 15 minutes to help the cookies hold their shape during baking.
Bake the cookies for 8 to 11 minutes, depending on their size, just until the edges start to turn golden. Once baked, let them cool on the baking sheet for a few minutes before moving them to a wire rack to cool completely.
Once your cookies are fully cooled, frost them with the white or black cookie icing. If you like, sprinkle some black sanding sugar for added texture and visual appeal. Allow the cookies to dry for at least 4 hours before using a black edible marker to draw on faces or designs. Ensure the icing is fully dry before storing the cookies to maintain their perfect finish.
Halloween Cookies Recipe
Ingredients
- 3 cups all-purpose flour
- 1 cup sugar
- 1 cup unsalted butter softened
- 2 eggs
- 1 teaspoon baking soda
- 1/2 teaspoon salt
- 1 teaspoon vanilla extract
- 1 teaspoon almond extract
- 1-2 containers white Betty Crocker cookie icing
- 1-2 containers black Betty Crocker cookie icing
- Round red sprinkles optional
- Black decorating sugar also known as sprinkles or sanding sugar
- Black edible food marker
Instructions
- Begin by beating the softened butter and sugar together in a large mixing bowl until the mixture becomes light and fluffy, which should take about 3 minutes. Add the eggs one at a time, along with the vanilla and almond extracts, and continue to mix until everything is well combined.
- In a separate bowl, whisk together the baking soda and salt, then gradually add this to the butter mixture. Slowly incorporate the flour, blending until the dough is smooth and cohesive. Once the dough is ready, divide it into two equal parts, wrap each in plastic wrap, and refrigerate for at least an hour—overnight is even better for optimal results.
- When you’re ready to bake, preheat the oven to 350°F (175°C). Take one portion of the chilled dough and roll it out on a lightly floured surface to a thickness of about 1/4 inch (1 cm). Rotate the dough as you roll to prevent sticking. Use cookie cutters to shape the dough as desired, then transfer the cut-out cookies to a baking sheet. Place the baking sheet in the fridge for 15 minutes to help the cookies hold their shape during baking.
- Bake the cookies for 8 to 11 minutes, depending on their size, just until the edges start to turn golden. Once baked, let them cool on the baking sheet for a few minutes before moving them to a wire rack to cool completely.
- Once your cookies are fully cooled, frost them with the white or black cookie icing. If you like, sprinkle some black sanding sugar for added texture and visual appeal. Allow the cookies to dry for at least 4 hours before using a black edible marker to draw on faces or designs. Ensure the icing is fully dry before storing the cookies to maintain their perfect finish.