Fresh Oysters Recipe
Enjoying oysters fresh from the sea is an experience like no other, celebrating the delicate brininess and natural flavors of the ocean. Whether it’s your first time or you’re a seasoned oyster lover, selecting and preparing oysters is a skill that enhances the pleasure of eating them. Choosing high-quality, sustainably sourced oysters ensures not only the best flavor but also supports responsible fishing practices, helping to protect marine ecosystems. Here, we explore the essentials of preparing oysters to bring out their best flavor while enjoying them in the freshest form possible.

Ingredients for Preparing Fresh Oysters
To enjoy oysters to the fullest, only a few simple ingredients are needed. Start with fresh, sustainably sourced oysters—about six for a small serving. Opt for plump, heavy oysters with tightly closed shells, a sign of freshness. As for garnishes, the classics include a wedge of fresh lemon and a dash of Tabasco sauce, which pair beautifully with the briny taste of the oyster. These flavors highlight the oyster’s freshness and add a hint of zest or spice as you desire. Having these minimal accompaniments on hand allows the pure taste of the oyster to shine.
Step-by-Step Guide to Preparing Oysters
Choosing and preparing oysters requires care, but it’s a rewarding process that allows you to experience their unique texture and taste fully.
Selecting the Right Oysters
When choosing oysters, look for those with tightly closed shells. A fresh oyster will feel heavy in the hand, an indicator of the seawater it holds inside, preserving its flavor and freshness. Light or open oysters may be a sign of spoilage, so avoid these. Sustainable sources are ideal, as they guarantee freshness and align with environmental conservation efforts.
Rinsing and Cleaning
Before handling, rinse the oysters in cold water. This not only cleans off any debris or sand but also makes them easier to work with. Handle them gently to avoid cracking the shell or losing the natural seawater, which is a key part of the oyster’s flavor.
How to Open Oysters Safely
Opening oysters, also known as “shucking,” requires the right tool. An oyster knife is the best choice—short, robust, and designed specifically for the task. If unavailable, a flathead screwdriver can serve as a substitute but should be used carefully. Standard kitchen knives are unsuitable and can easily snap or slip, causing injury.
Proper Handling Techniques
Place the oyster curved side down on a chopping board. Fold a kitchen towel and place it between the shell and your hand for protection and a better grip. Locate the hinge at the oyster’s base, where the top and bottom shells meet. Insert the knife tip into this hinge, apply gentle pressure, and wiggle it to break the seal. It may require a few tries, so practice makes a difference. Wearing an apron can also help, as it may get a bit messy during this process.
Removing Shell Fragments and Plating
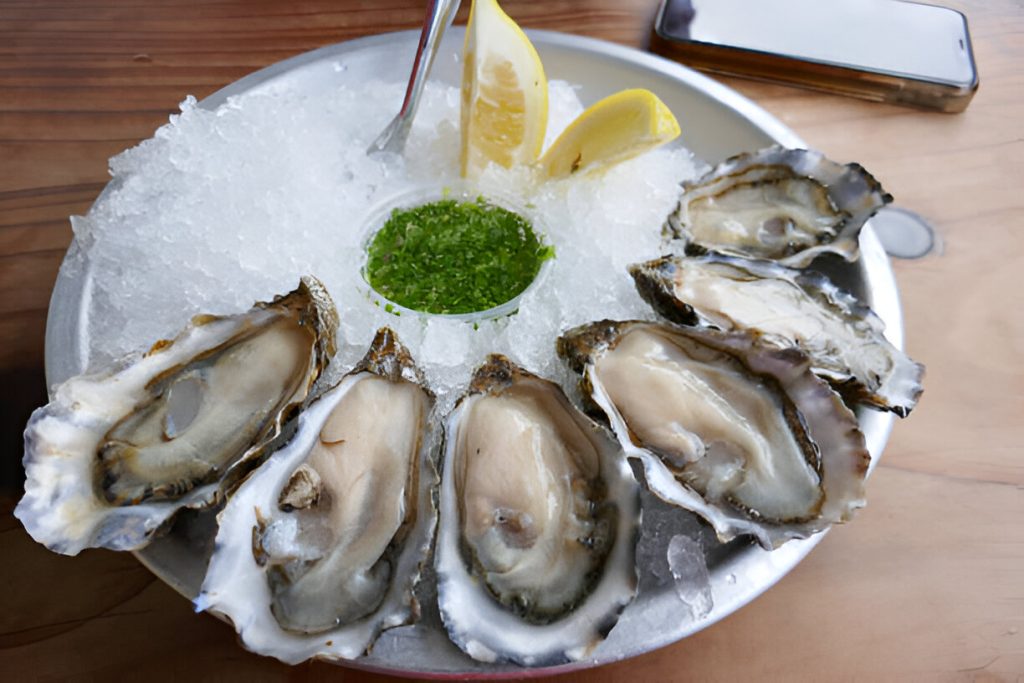
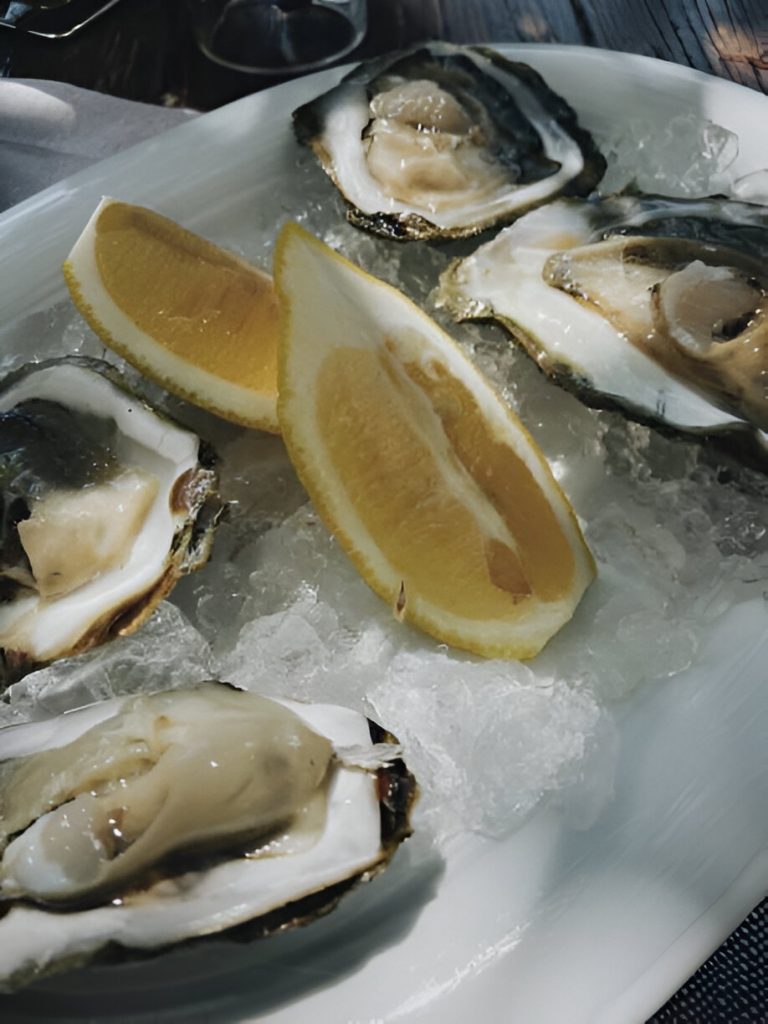
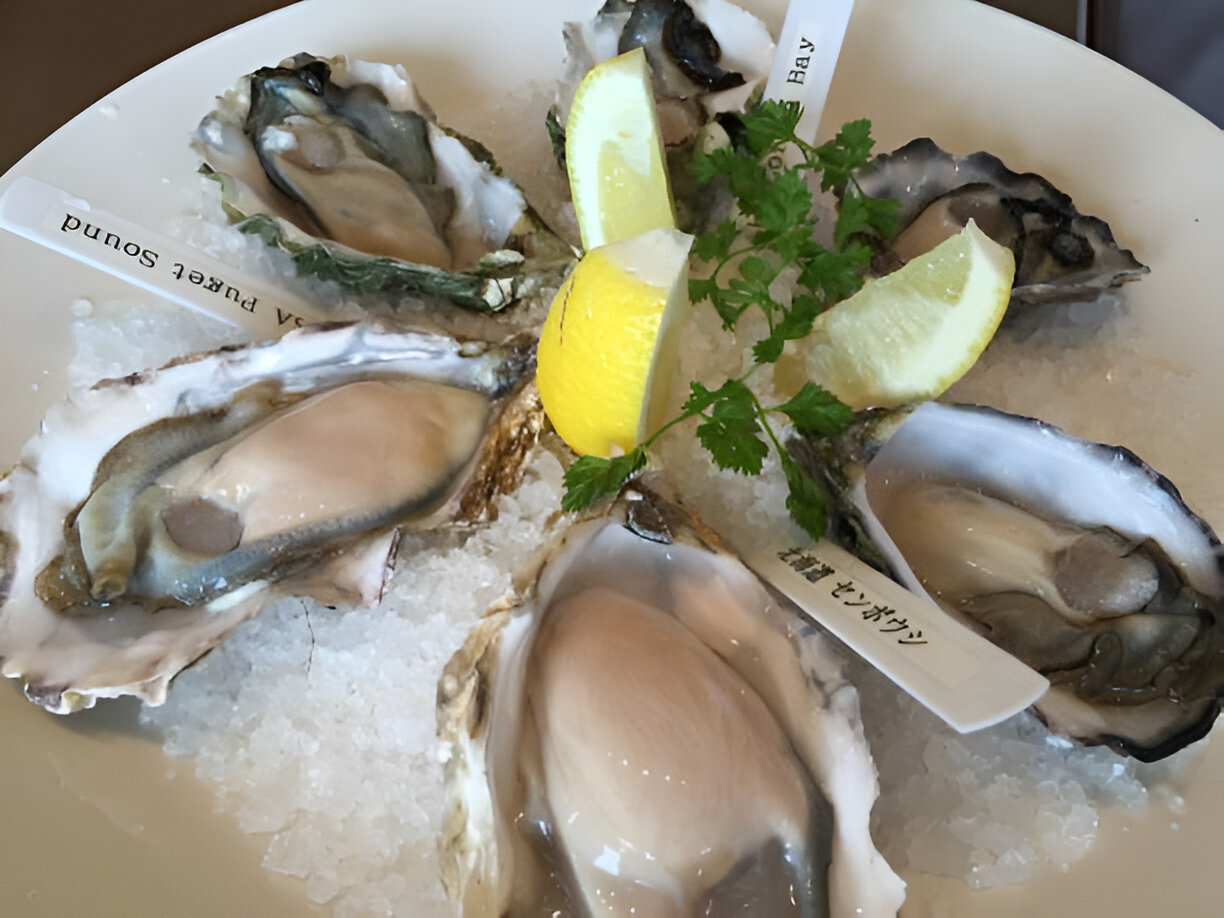
After prying open the shell, discard the top half. Carefully remove any shell fragments that may have fallen in and check for bits of grit. Retain any seawater in the bottom shell, as this adds a rich, briny flavor. To serve, arrange the oysters on a plate lined with crushed ice or a bed of rock salt, which stabilizes them and adds a touch of elegance.
Adding Flavor: Best Seasonings for Fresh Oysters
Oysters are a delicacy best enjoyed with minimal seasoning to highlight their natural taste. A fresh squeeze of lemon juice adds brightness without overwhelming the oyster’s delicate flavors, while a few drops of Tabasco bring a hint of heat. For a more adventurous touch, seasoned oyster enthusiasts might try a dash of rice vinegar with finely chopped shallots or a touch of fresh herb oil, such as chive or tarragon. These toppings enhance the oyster’s taste, allowing its briny, oceanic notes to come through.

Recipe Tips & Frequently Asked Questions
Safety Tips for Handling:
Always use an oyster knife or a similar blunt tool and wear a towel for protection to avoid accidents.
Practice Makes Perfect:
If this is your first time shucking oysters, practice a few before serving to gain confidence.
Storage and Freshness:
Keep oysters in the refrigerator covered with a damp cloth and consume them as soon as possible for the best flavor.
Can I use any knife to open oysters?
Using a regular knife is not recommended as it may snap or slip. An oyster knife is designed for safe, easy shucking.
What if there’s no seawater inside the oyster?
Some oysters may lose their seawater in transit; they’re still safe to eat, but add a pinch of sea salt or a squeeze of lemon to enhance the flavor.
How can I tell if an oyster is truly fresh?
Fresh oysters have tightly closed shells, feel heavy, and smell clean, like the sea. Any odor or lightness can indicate spoilage.
Can I prepare oysters ahead of time?
It’s best to shuck oysters right before serving, but if prepared slightly in advance, keep them on ice and consume within an hour.
What to Serve with This Recipe
Oysters are a delight to savor on their own but pair wonderfully with light beverages and sides. For drinks, chilled white wine, crisp sparkling water, or even champagne complements their briny flavor beautifully. As for sides, serve them alongside crusty bread, thinly sliced radishes, or a light seafood salad to create a harmonious seafood experience without overpowering the oysters’ delicate taste.
Serving oysters fresh from the shell is a true experience for the senses. Encourage guests to savor each oyster directly from the shell, tipping it back to capture the full burst of flavor. To elevate the presentation, arrange the oysters on a platter lined with crushed ice or rock salt to keep them steady and chilled. Adding sprigs of fresh herbs or lemon wedges not only enhances the display but also invites guests to add their own preferred garnish, making the occasion as enjoyable as it is memorable.

Ingredients
1-2 lemons, optional
Tabasco sauce, optional
6 oysters, sustainably sourced
Instructions
To ensure peak freshness, select oysters that feel weighty and tightly closed, ideally plucked straight from the sea. Give them a rinse in cold water before starting – be cautious, as handling them can be a bit challenging.
An oyster knife is essential for opening them; this tool is short, robust, and blunt-edged, unlike typical kitchen knives, which are unsuitable and risky. If an oyster knife is unavailable, a flathead screwdriver could work as a substitute.
Place the oyster on a cutting board with the rounded side facing down. Use a folded kitchen towel between your hand and the shell for stability and protection. Look for the hinge connecting the upper and lower shells, and gently but firmly insert the knife’s tip into the hinge. Apply some pressure and maneuver the blade until the top shell can be lifted off – this may take a few tries, so practice beforehand. Wearing an apron can be helpful, as this process can get a bit messy.
Once opened, discard the top shell. Retain any natural seawater resting in the bottom shell with the oyster, as it adds to the taste. Remove any small shell pieces before setting the oyster on a plate prepared with a layer of crushed ice or rock salt in the center.
Finish by adding your favorite seasonings – a squeeze of fresh lemon juice or a few drops of Tabasco are wonderful choices. Then, savor the fresh taste by tipping the oyster straight from the shell into your mouth.

Fresh Oysters Recipe
Ingredients
- 1-2 lemons optional
- Tabasco sauce optional
- 6 oysters sustainably sourced
Instructions
- To ensure peak freshness, select oysters that feel weighty and tightly closed, ideally plucked straight from the sea. Give them a rinse in cold water before starting – be cautious, as handling them can be a bit challenging.
- An oyster knife is essential for opening them; this tool is short, robust, and blunt-edged, unlike typical kitchen knives, which are unsuitable and risky. If an oyster knife is unavailable, a flathead screwdriver could work as a substitute.
- Place the oyster on a cutting board with the rounded side facing down. Use a folded kitchen towel between your hand and the shell for stability and protection. Look for the hinge connecting the upper and lower shells, and gently but firmly insert the knife’s tip into the hinge. Apply some pressure and maneuver the blade until the top shell can be lifted off – this may take a few tries, so practice beforehand. Wearing an apron can be helpful, as this process can get a bit messy.
- Once opened, discard the top shell. Retain any natural seawater resting in the bottom shell with the oyster, as it adds to the taste. Remove any small shell pieces before setting the oyster on a plate prepared with a layer of crushed ice or rock salt in the center.
- Finish by adding your favorite seasonings – a squeeze of fresh lemon juice or a few drops of Tabasco are wonderful choices. Then, savor the fresh taste by tipping the oyster straight from the shell into your mouth.

