
Cherry Cobbler Recipe
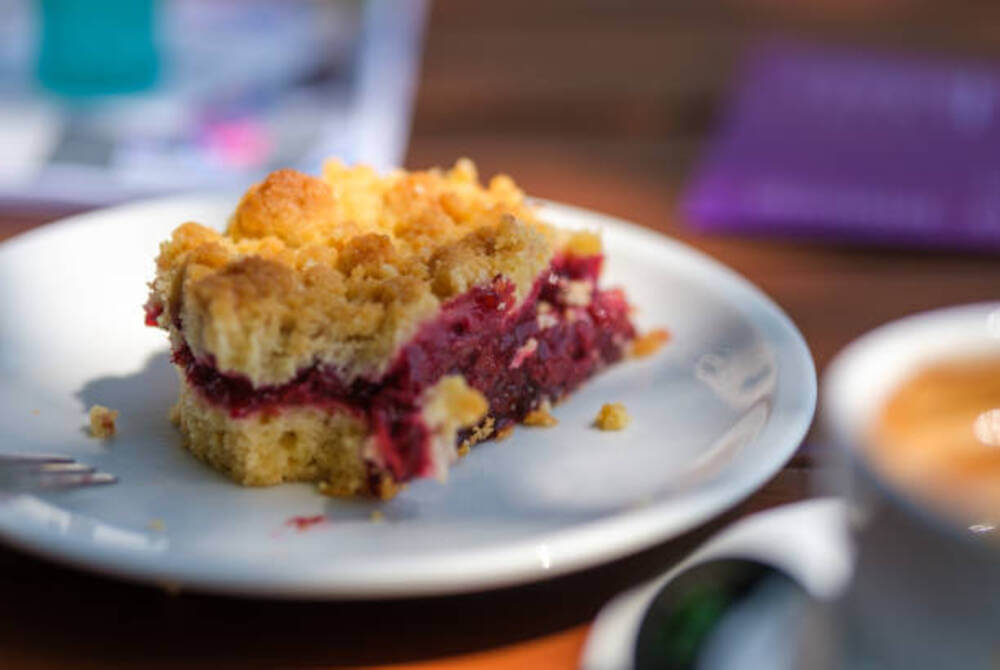
Cherry cobbler stands as a quintessential dessert that wins hearts with its deep, vibrant fruit flavors and golden, crumbly crust. Renowned for its delightful simplicity, this dessert allows even novice bakers to achieve a scrumptious result with minimal effort, making it a perfect treat for any occasion.
Detailed Ingredient List
Creating this cherry cobbler requires a few staple kitchen ingredients: all-purpose flour, milk, baking powder, white sugar, butter, and cherry pie filling. For those looking to adapt the recipe to dietary restrictions, gluten-free flour can substitute all-purpose flour, and plant-based milk can replace regular milk without compromising the texture or flavor.
Step-by-Step Baking Instructions
Begin by preheating your oven to a cozy 275 degrees F (135 degrees C). Place the butter in a 9×13-inch baking dish and let it melt in the warming oven. In a separate bowl, mix flour, sugar, and baking powder. Gradually add milk to form a smooth batter. Once the butter has melted, pour the batter over it without stirring, then carefully layer on the cherry pie filling. Increase the oven temperature to 350 degrees F (175 degrees C) and bake until a golden crust forms, about 50-60 minutes.
Recipe Tips & Frequently Asked Questions
- Best practices for ensuring a perfect cobbler every time: Ensure your oven is correctly calibrated for accurate temperature settings, and always use fresh baking powder to guarantee the perfect rise.
- Suggestions for ingredient measurements and baking temperatures: Measure ingredients with precision and avoid opening the oven frequently, as this can cause temperature fluctuations that affect baking.
- How long does cherry cobbler last in the fridge? Properly stored, cherry cobbler can last up to 4 days in the refrigerator.
- Can cherry cobbler be frozen? Yes, you can freeze it for up to 3 months, tightly covered.
- Is it necessary to use only cherry pie filling? While cherry pie filling is traditional, this recipe is versatile enough to accommodate any pie filling you prefer.
What to Serve With This Recipe
This cobbler pairs beautifully with vanilla ice cream or whipped cream, creating a creamy contrast to the fruit’s tartness. For a more indulgent twist, serve alongside a glass of dessert wine or a simple cup of strong coffee. This dish suits both a relaxed family dinner or as the star of a festive holiday table.
Customizing Your Cobbler
Experiment with different fillings such as blueberry, apple, or peach to tailor it to your taste or seasonal availability. Adding a sprinkle of cinnamon or nutmeg can enhance the fruit flavors, while a dash of almond extract in the batter introduces a subtle, nutty aroma that complements the cherries beautifully.
Enjoy the process of making this cherry cobbler as much as you relish eating it. Every bite of this comforting dessert is a testament to the joy of baking at home. Feel encouraged to share your culinary creation with friends and family or tweak the recipe with your personal touches to make it uniquely yours.
Ingredients
1 cup of all-purpose flour
1 cup milk
1 teaspoon baking powder
1 cup white sugar
½ cup butter
One 21-ounce can of cherry pie filling
Instructions:
- Begin by preheating your oven to 275 degrees F (135 degrees C). As the oven warms, place half a cup of butter into a 9×13-inch baking dish. Insert the dish into the oven to allow the butter to melt gently.
- While the butter is melting, take a medium-sized mixing bowl and combine the all-purpose flour, white sugar, and baking powder. Mix these dry ingredients thoroughly before blending in the milk to form a smooth batter.
- Once the butter has completely melted, carefully remove the baking dish from the oven. Pour the prepared batter over the melted butter. It’s important not to stir the mixture at this point. Next, evenly distribute the cherry pie filling over the batter, taking care to maintain distinct layers.
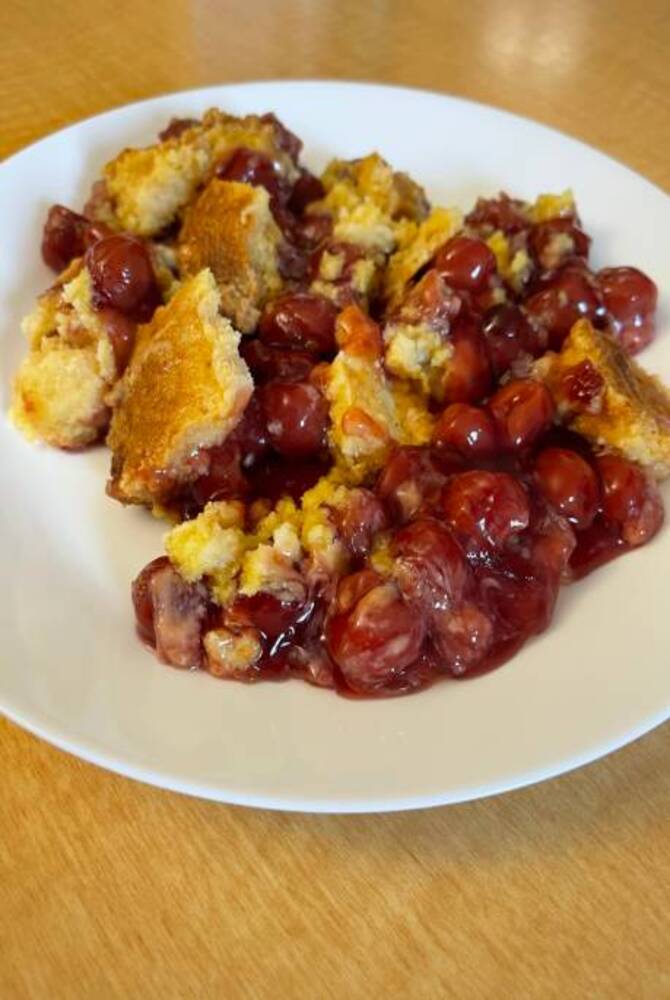
- Adjust the oven’s temperature to 350 degrees F (175 degrees C). Place the dish back into the oven and bake for 50 to 60 minutes. You’re looking for a beautifully golden crust to form on top, indicating it’s perfectly done.
Cherry Cobbler Recipe
Ingredients
- 1 cup of all-purpose flour
- 1 cup milk
- 1 teaspoon baking powder
- 1 cup white sugar
- ½ cup butter
- 1 can cherry pie filling 21 ounce
Instructions
- Begin by preheating your oven to 275 degrees F (135 degrees C). As the oven warms, place half a cup of butter into a 9×13-inch baking dish. Insert the dish into the oven to allow the butter to melt gently.
- While the butter is melting, take a medium-sized mixing bowl and combine the all-purpose flour, white sugar, and baking powder. Mix these dry ingredients thoroughly before blending in the milk to form a smooth batter.
- Once the butter has completely melted, carefully remove the baking dish from the oven. Pour the prepared batter over the melted butter. It’s important not to stir the mixture at this point. Next, evenly distribute the cherry pie filling over the batter, taking care to maintain distinct layers.
- Adjust the oven’s temperature to 350 degrees F (175 degrees C). Place the dish back into the oven and bake for 50 to 60 minutes. You’re looking for a beautifully golden crust to form on top, indicating it’s perfectly done.