Candy Cane Recipe
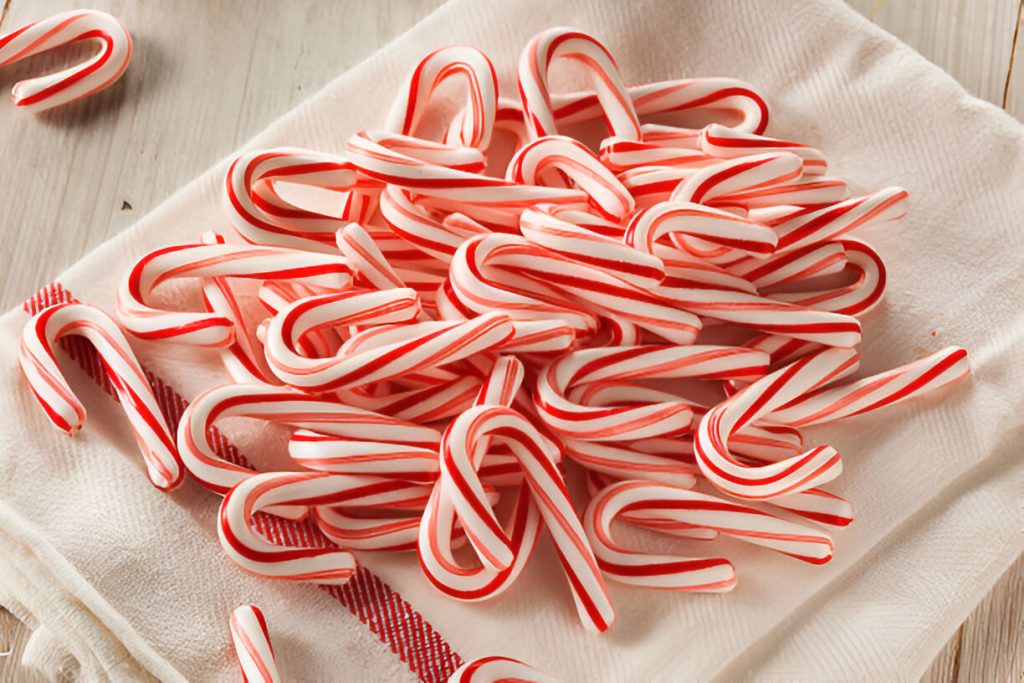
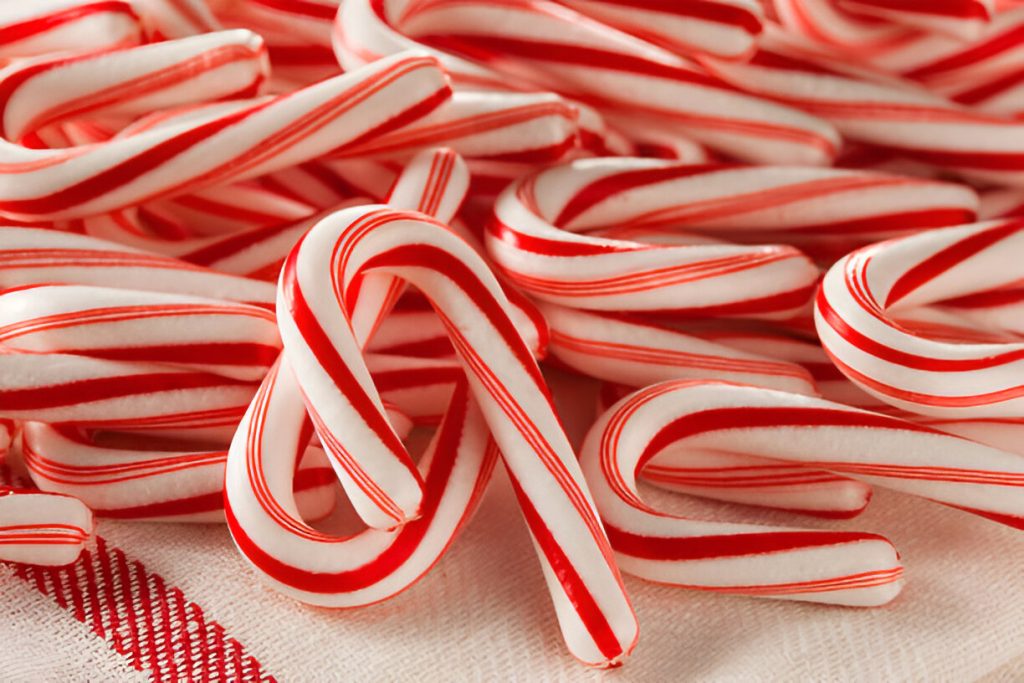
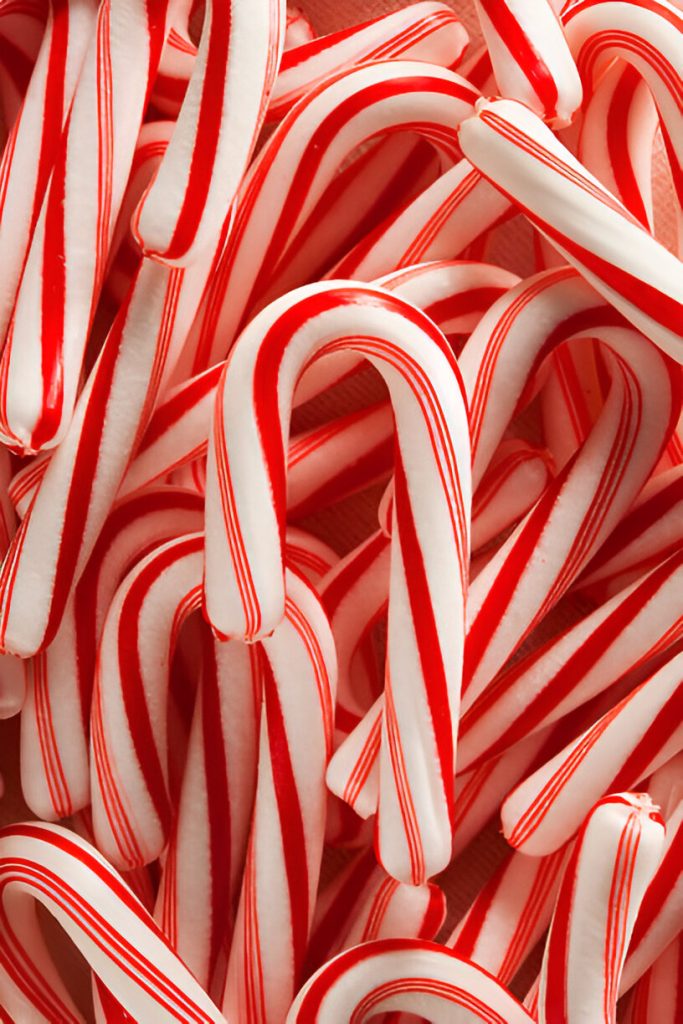
Homemade candy canes embody the festive spirit with their vibrant swirls of color and delightful minty aroma. Crafting these sweet treats is not just a culinary process but a cherished tradition that brings joy to the holiday season. With their playful twists and glossy finish, candy canes are as much a feast for the eyes as they are for the palate. This recipe allows you to create customized, handmade candy canes that are perfect for decorating, gifting, or enjoying with family and friends.

Ingredients and Substitutions
The foundation of this recipe lies in a few simple yet critical ingredients that transform into beautiful candy canes with the right technique.
Sugar serves as the structural base, providing the necessary sweetness and firmness. Vinegar acts as an acid to prevent the sugar from crystallizing during cooking, ensuring a smooth texture. Water helps dissolve the sugar and creates the syrupy consistency needed for shaping.
To make these candy canes your own, essential oils offer endless flavor possibilities, from classic peppermint to festive cinnamon or citrusy orange. Food color paste adds vibrant hues, and you can experiment with combinations like red and green for a traditional holiday look or blue and white for a wintry theme.
For those seeking alternatives, lemon juice or cream of tartar can replace vinegar as an acid component. While liquid food coloring can work, it may dilute the sugar mixture slightly, so paste is preferred for intense colors without compromising texture.
Instructions for Crafting Perfect Candy Canes
Creating candy canes requires patience and precision, but the results are well worth the effort.
Begin by combining sugar, vinegar, and water in a saucepan over high heat. A candy thermometer is essential to monitor the temperature, ensuring the mixture reaches exactly 320°F. During cooking, brush the pan’s sides with cold water to remove sugar crystals that may cause recrystallization.
Once the mixture reaches the desired temperature, carefully pour it onto silicone baking mats. This is the perfect moment to infuse personality into your candy canes. Add a few drops of your chosen food color paste and flavoring oils, then mix thoroughly with a wooden skewer. Dividing the sugar into separate sections for each color allows for creative combinations later.
As the sugar cools, begin folding it inward from the edges using the silicone mat. This motion ensures the sugar remains pliable and evenly colored. When it’s cool enough to handle, wear heat-resistant gloves and pull the sugar repeatedly. This process incorporates air, giving the sugar its glossy finish and smooth texture.
To form the candy canes, shape colored sugar into long, thin rectangles. Layer pieces of different colors side by side, adding a narrow strip of white sugar in the center for contrast. Gently press the layers together, then roll and twist while pulling to create the iconic cane shape. Use scissors to cut the candy into desired lengths and bend the tops to form hooks. Allow the candy canes to cool completely before handling.

Recipe Tips
Preventing Sugar Burns:
Always wear gloves and handle sugar cautiously to avoid burns from its intense heat.
Maintaining Sugar Pliability:
Use a sugar lamp or position your workspace near an open oven set to 300°F to keep the sugar workable.
Achieving Perfect Twists:
Ensure even pressure while twisting to maintain a consistent shape and color distribution.
What to Serve With This Recipe
Candy canes are a delightful addition to holiday beverages. Stir one into a steaming mug of hot cocoa for a hint of peppermint, or pair it with a cup of robust coffee for a sweet finish. They also work beautifully with spiced teas or mulled cider.
For dessert platters, arrange candy canes alongside cookies, fudge, and festive cupcakes to create a colorful, eye-catching display. Wrap individual candy canes in clear cellophane tied with ribbon for charming edible gifts that spread holiday cheer.
Frequently Asked Questions
Can I Make Candy Canes Without a Sugar Lamp?
Absolutely. Place your work surface near an open oven door or use a heated silpat mat to keep the sugar pliable.
How Long Do Candy Canes Last?
Store them in an airtight container at room temperature for up to three weeks to maintain their texture and flavor.
Can I Use Liquid Food Coloring Instead of Paste?
Liquid food coloring is usable but may slightly dilute the sugar mixture. Paste is recommended for vibrant colors without compromising the consistency.
Crafting homemade candy canes is a rewarding way to celebrate the holiday season. These festive treats not only taste incredible but also serve as beautiful decorations and thoughtful gifts. With a bit of practice and creativity, you can transform simple ingredients into dazzling candy canes that bring joy to every celebration.

Ingredients
1 cup plus 2 tablespoons water (250 grams)
Scant 5 cups sugar (1 kilo)
3 tablespoons vinegar (40 grams)
Food color paste – assorted colors
Essential oils – assorted flavors
Instructions
Before attempting this recipe, it is highly recommended to take a professional class on working with sugar. Handling hot sugar requires specialized skills, and you should be prepared for the possibility of minor burns as the process involves extreme heat.
Combine the sugar, vinegar, and water in a saucepan. Place the pan over high heat and insert a candy thermometer to monitor the temperature. Cook the mixture until it reaches 320°F. To prevent the sugar from recrystallizing during cooking, use a pastry brush dipped in cold water to carefully clean the inner sides of the saucepan.
Once the sugar has reached the correct temperature, pour it immediately onto three or four silicone baking mats. If you plan to add food coloring or flavoring oils, now is the time to do so. Add a few drops of the desired color to the sugar and mix it thoroughly using a wooden skewer. Begin working the sugar by pushing it from the edges toward the center. This process requires patience and consistency, so keep the sugar divided by color while working. Use the baking mat to fold and manipulate the sugar, keeping it pliable.
When the sugar becomes firmer, it’s time to handle it with your hands. To avoid burns, wear heat-resistant gloves. Place each colored sugar batch under a sugar lamp to maintain its pliability. Pull and stretch the sugar until it develops a glossy sheen and an even distribution of color. Continue rotating and folding the sugar to keep it warm and manageable, taking care not to let it melt entirely under the lamp.
Begin assembling the candy cane by selecting two pieces of colored sugar. For a festive appearance, red and green work beautifully. Shape each piece into rectangles approximately 1 1/2 inches wide, 3 inches long, and 1/2 inch thick. Place these pieces side by side, and position a piece of white sugar, shaped similarly but narrower at 1/2 inch wide, between them. Gently close the red and green sugar around the white, pressing them together.
Roll and twist the combined sugar pieces while pulling them to form the candy cane shape. When the candy reaches your desired thickness, use scissors to cut it into individual lengths. Shape the top of each piece into a cane form and allow them to cool completely. The white center will reveal itself when the candy is bitten into or broken.

Candy Cane Recipe
Ingredients
- 1 cup plus 2 tablespoons water 250 grams
- Scant 5 cups sugar 1 kilo
- 3 tablespoons vinegar 40 grams
- Food color paste – assorted colors
- Essential oils – assorted flavors
Instructions
- Before attempting this recipe, it is highly recommended to take a professional class on working with sugar. Handling hot sugar requires specialized skills, and you should be prepared for the possibility of minor burns as the process involves extreme heat.
- Combine the sugar, vinegar, and water in a saucepan. Place the pan over high heat and insert a candy thermometer to monitor the temperature. Cook the mixture until it reaches 320°F. To prevent the sugar from recrystallizing during cooking, use a pastry brush dipped in cold water to carefully clean the inner sides of the saucepan.
- Once the sugar has reached the correct temperature, pour it immediately onto three or four silicone baking mats. If you plan to add food coloring or flavoring oils, now is the time to do so. Add a few drops of the desired color to the sugar and mix it thoroughly using a wooden skewer. Begin working the sugar by pushing it from the edges toward the center. This process requires patience and consistency, so keep the sugar divided by color while working. Use the baking mat to fold and manipulate the sugar, keeping it pliable.
- When the sugar becomes firmer, it’s time to handle it with your hands. To avoid burns, wear heat-resistant gloves. Place each colored sugar batch under a sugar lamp to maintain its pliability. Pull and stretch the sugar until it develops a glossy sheen and an even distribution of color. Continue rotating and folding the sugar to keep it warm and manageable, taking care not to let it melt entirely under the lamp.
- Begin assembling the candy cane by selecting two pieces of colored sugar. For a festive appearance, red and green work beautifully. Shape each piece into rectangles approximately 1 1/2 inches wide, 3 inches long, and 1/2 inch thick. Place these pieces side by side, and position a piece of white sugar, shaped similarly but narrower at 1/2 inch wide, between them. Gently close the red and green sugar around the white, pressing them together.
- Roll and twist the combined sugar pieces while pulling them to form the candy cane shape. When the candy reaches your desired thickness, use scissors to cut it into individual lengths. Shape the top of each piece into a cane form and allow them to cool completely. The white center will reveal itself when the candy is bitten into or broken.

