
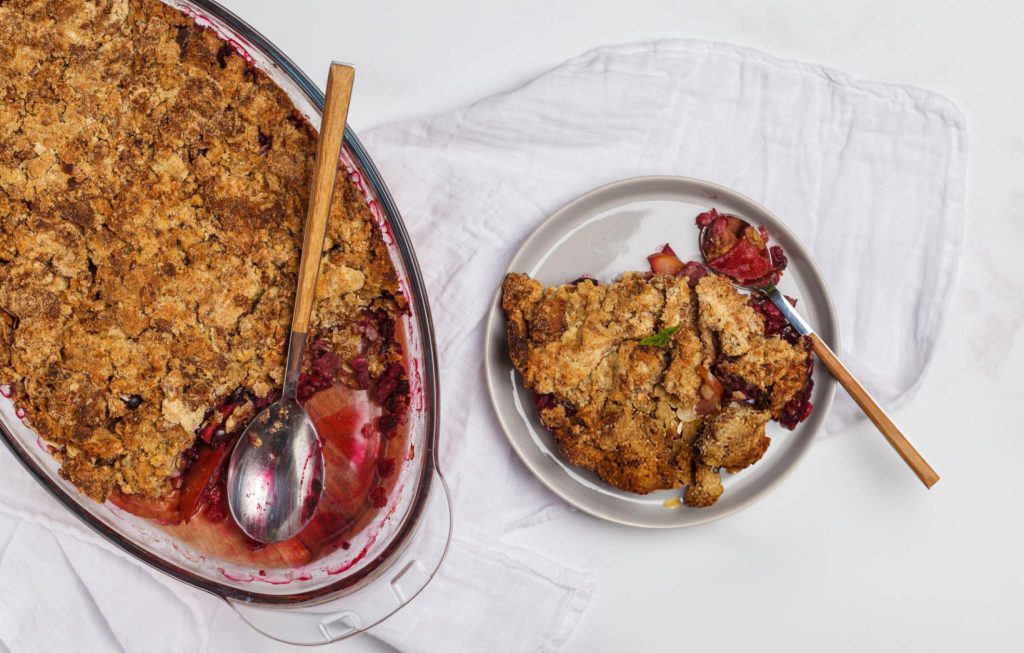
Cherry Dump Cake Recipe
Cherry Dump Cake is the quintessential quick-fix dessert, perfect for when you crave something sweet without the hassle of an elaborate recipe. This cake is the epitome of simplicity, requiring just three basic ingredients and minimal prep time. It’s an ideal choice for both novice bakers who want to dip their toes into baking and seasoned pros looking for a fuss-free dessert. The best part? It delivers on taste, offering a delightful combination of tart cherries, buttery cake, and a golden, crisp topping that’s sure to satisfy any sweet tooth.

Ingredients Overview
This Cherry Dump Cake is made with three key ingredients, each playing a crucial role in the final product. The yellow cake mix provides a sweet, tender crumb that complements the tartness of the cherry pie filling. Opt for a high-quality cake mix for the best results. The cherry pie filling brings a burst of fruity flavor and a slightly tart note that balances the sweetness of the cake. Canned cherry pie filling is a convenient option, but feel free to explore other fruit fillings if you’re feeling adventurous. Finally, the salted butter, when melted and drizzled over the cake mix, creates a rich, buttery crust that’s irresistible. For those looking to experiment, try substituting different flavors of cake mix or pie filling to put a unique spin on this classic recipe.
Step-by-Step Instructions
Preparing the Baking Dish
Start by preheating your oven to 350°F. This ensures your cake bakes evenly and achieves the perfect golden-brown finish. Prepare a 9×13-inch baking dish by giving it a thorough coating of cooking spray. This step is essential to prevent sticking and ensure that every slice comes out clean. For an even more foolproof approach, consider lining the bottom of the dish with parchment paper.
Layering the Ingredients
Once your dish is prepped, it’s time to assemble the cake. Begin by spreading the cherry pie filling evenly across the bottom of the baking dish. Take care to cover the entire surface, ensuring each bite is packed with cherry goodness. Next, grab your box of yellow cake mix and sprinkle it evenly over the cherries. The key here is to distribute the mix uniformly, so every inch of the cake is covered. Don’t worry about mixing the ingredients; the magic happens in the oven. Finally, drizzle the melted butter over the top. It’s okay if you can’t cover the entire surface— the butter will melt into the cake mix as it bakes, creating that deliciously crispy topping.
Baking to Perfection
Place the dish in the preheated oven and bake for up to 1 hour. Keep an eye on it as the cake bakes, and look for a golden-brown crust on top. The baking time may vary slightly depending on your oven, so use visual cues to determine when it’s done. A perfectly baked Cherry Dump Cake will have a bubbly, golden top and a moist, fruity layer beneath. Allow the cake to cool slightly before serving to let the flavors meld together beautifully.
Recipe Tips
Achieving the Ideal Texture:
To ensure a moist filling with a crispy top, make sure to spread the cherry pie filling evenly and don’t skimp on the butter. If you prefer a richer texture, you can add a little extra butter.
Using Different Cake Mixes:
Experiment with different flavors of cake mix, like chocolate or white cake, to create new variations of this dessert. Each mix adds a unique twist to the flavor profile.
Storing Leftovers:
If you have leftovers, store them in an airtight container at room temperature for up to two days. To reheat, simply pop a slice in the microwave for a few seconds, or warm it in the oven to regain that crisp topping.
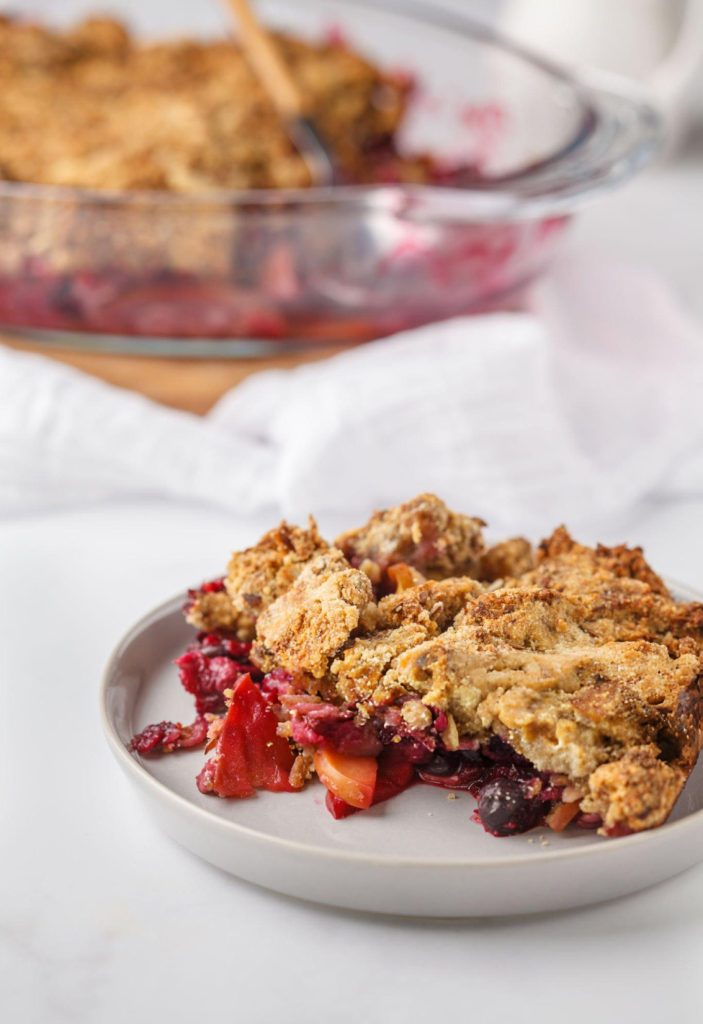
What to Serve With This Recipe
A warm slice of Cherry Dump Cake pairs beautifully with a scoop of vanilla ice cream. The creamy, cold ice cream contrasts wonderfully with the warm, buttery cake, creating a delightful dessert experience. For a lighter option, consider serving the cake with a dollop of whipped cream. A drizzle of caramel or chocolate sauce can add an extra layer of indulgence, turning this simple cake into a show-stopping dessert. When it comes to presentation, consider adding a few fresh cherries on top or a dusting of powdered sugar for a touch of elegance.
Frequently Asked Questions
Can I use a different fruit filling?
Absolutely! This recipe is incredibly versatile. Feel free to experiment with different fruit fillings like blueberry, apple, or peach. Each will bring a new flavor dimension to the cake.
How can I make this cake dairy-free?
To make a dairy-free version, substitute the butter with a plant-based alternative, such as vegan margarine or coconut oil. The results will be just as delicious.
What should I do if the top isn’t browning evenly?
If you notice uneven browning, rotate the baking dish halfway through the baking time. If it’s still not browning, you can place it under the broiler for a minute or two at the end, but watch it closely to prevent burning.
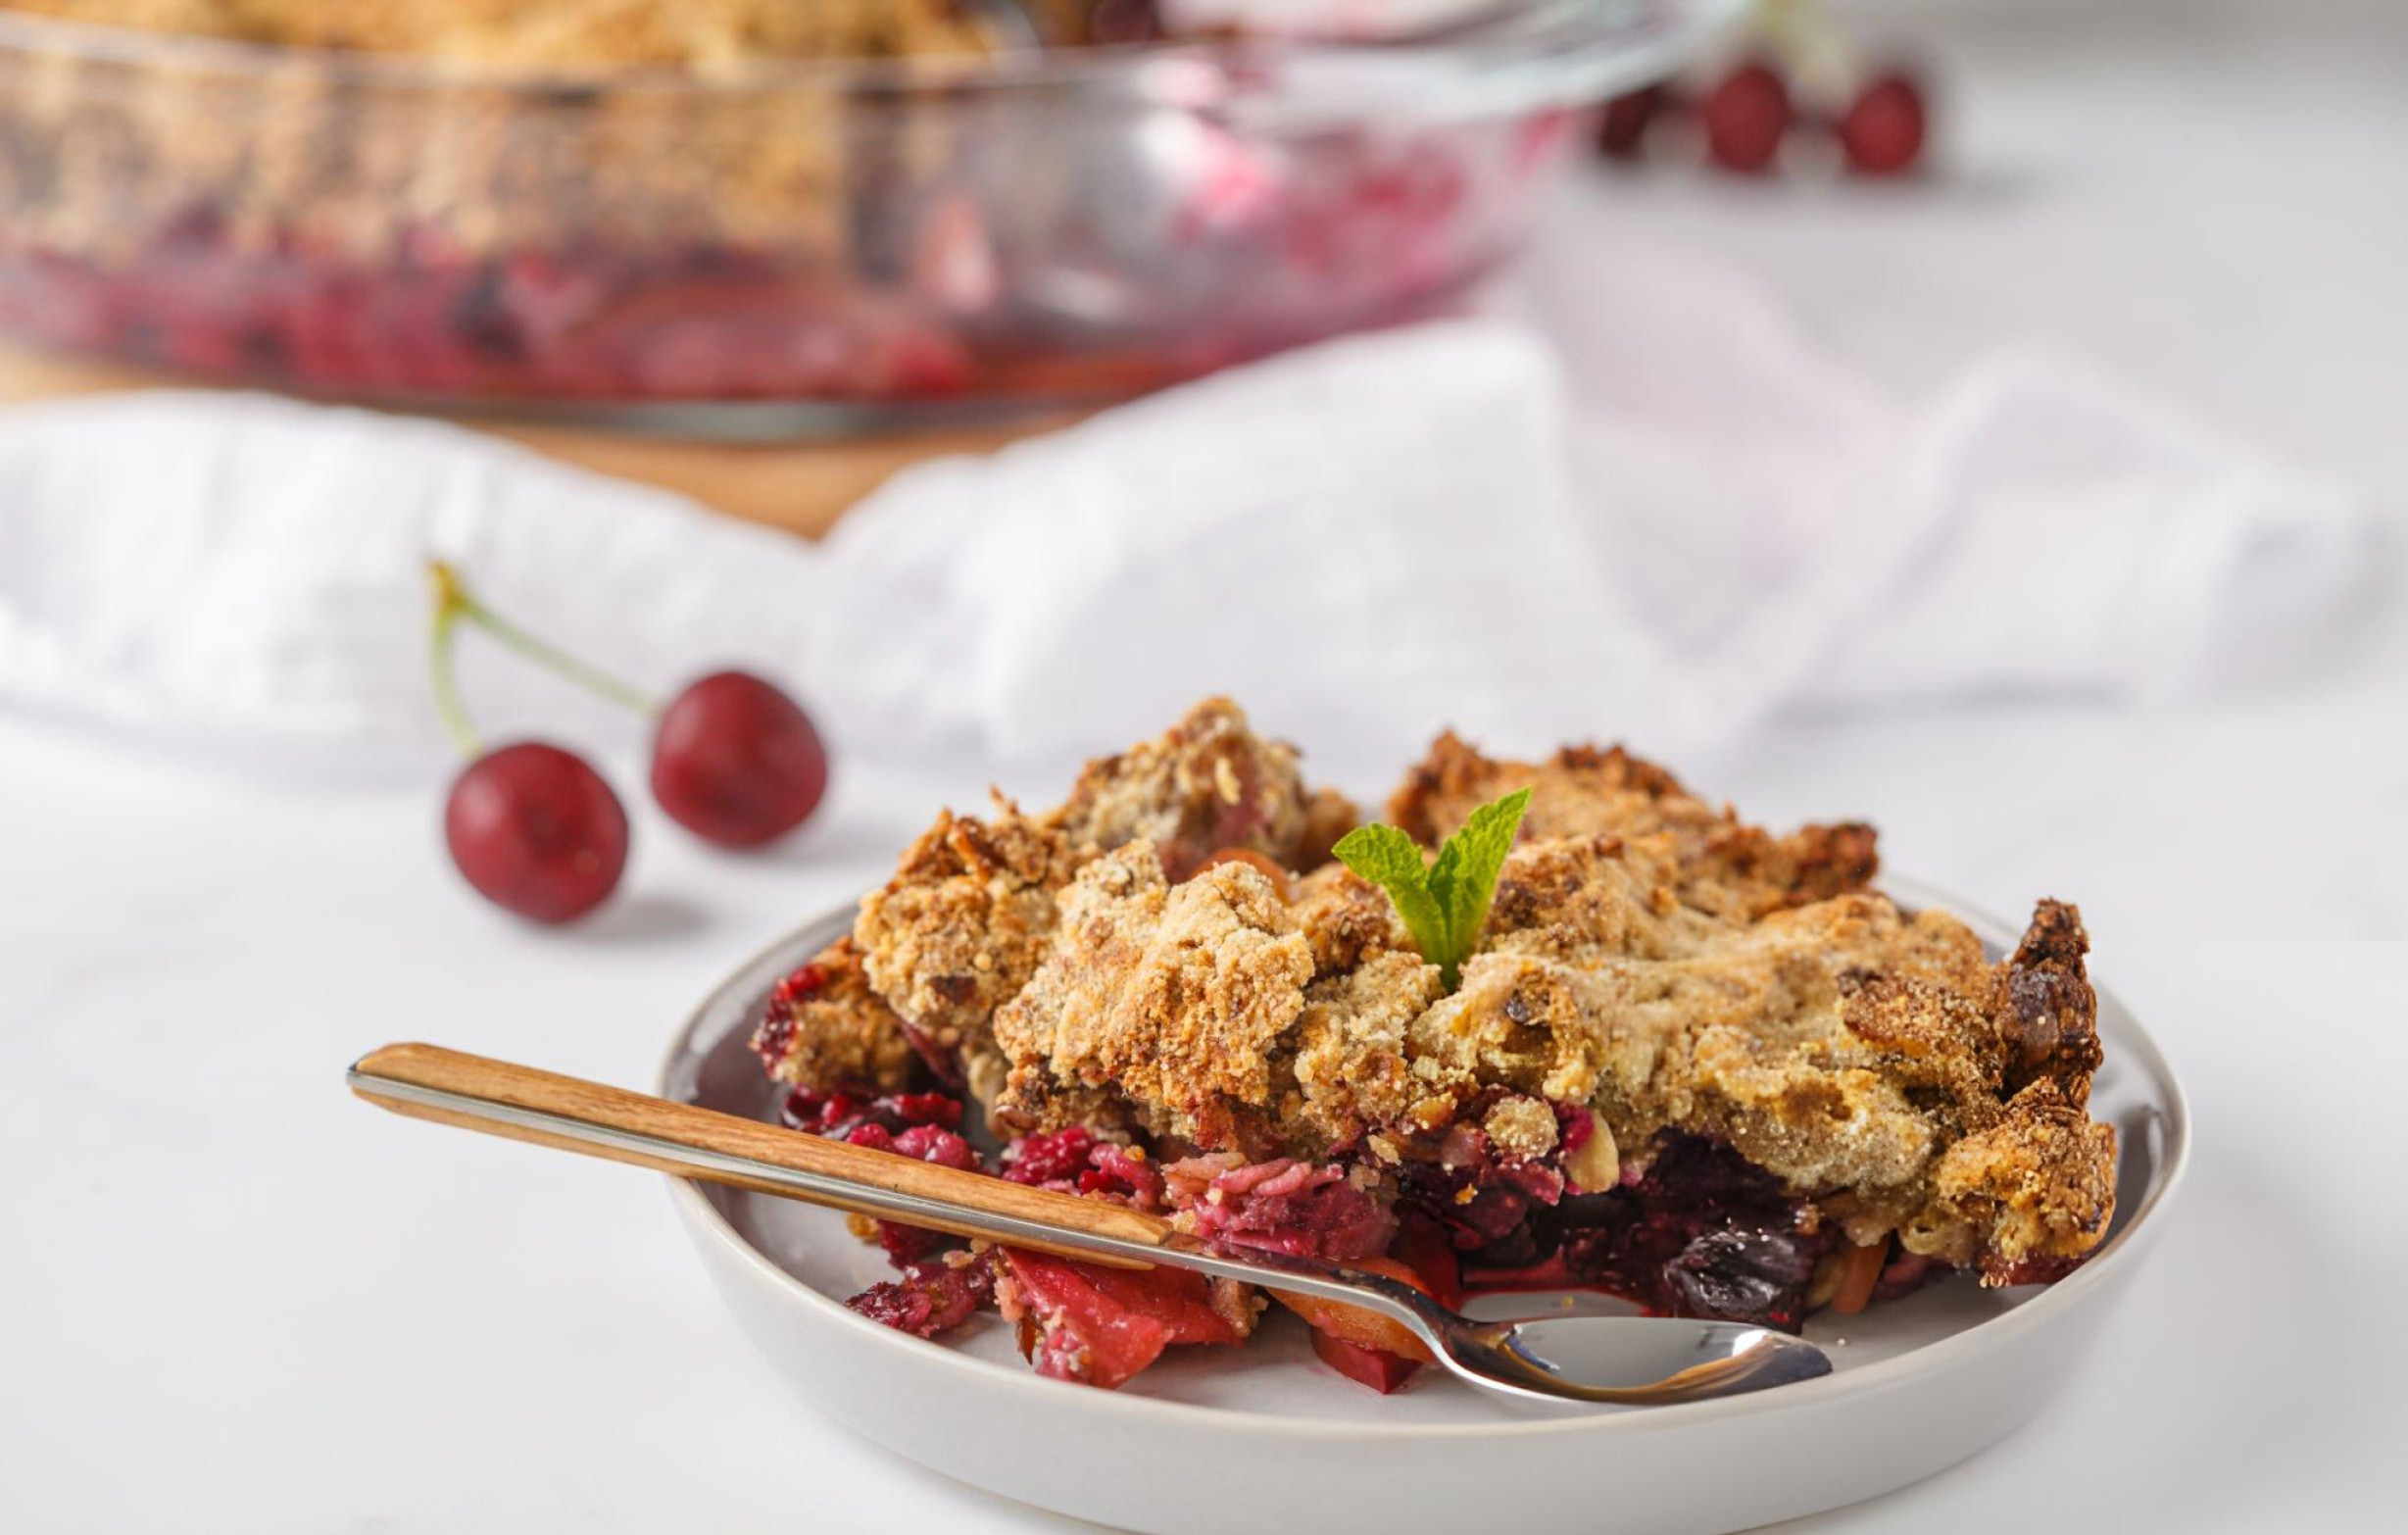
Final Touches
Before serving, consider adding a few garnishes to elevate the presentation of your Cherry Dump Cake. Fresh cherries make a lovely topping, adding a burst of color and a hint of freshness. A dusting of powdered sugar can also enhance the visual appeal, giving the cake a polished, bakery-style finish. For those who like a bit of crunch, sprinkle some toasted nuts, like almonds or pecans, over the top before serving. If you’re feeling creative, mix in some chocolate chips or shredded coconut into the cake mix before baking for an extra layer of flavor and texture.
Cherry Dump Cake is the ultimate easy dessert, perfect for any occasion. Its simplicity is matched only by its deliciousness, making it a favorite in households everywhere. Whether you stick to the classic recipe or experiment with different flavors and additions, this cake is sure to impress. Try it today, and don’t be afraid to get creative— the possibilities are endless!
Ingredients
1 box yellow cake mix
½ cup salted butter, melted
2 cans cherry pie filling (20 oz each, 40 oz total)
Instructions
Preheat your oven to 350°F and prepare a 9×13-inch baking dish by coating it with cooking spray.
Begin by spreading the cherry pie filling evenly across the bottom of your prepared baking dish. Next, sprinkle the yellow cake mix evenly over the cherries, making sure it covers the entire surface. Finally, drizzle the melted butter over the top of the cake mix. It’s okay if the butter doesn’t cover the entire surface; it will spread as it bakes.
Place the dish in the oven and bake for up to 1 hour, or until the top is beautifully golden brown.
Serve the cake warm, preferably with a generous scoop of ice cream on top for an extra treat.
Cherry Dump Cake Recipe
Ingredients
- 1 box yellow cake mix
- ½ cup salted butter melted
- 2 cans cherry pie filling 20 oz each, 40 oz total
Instructions
- Preheat your oven to 350°F and prepare a 9×13-inch baking dish by coating it with cooking spray.
- Begin by spreading the cherry pie filling evenly across the bottom of your prepared baking dish. Next, sprinkle the yellow cake mix evenly over the cherries, making sure it covers the entire surface. Finally, drizzle the melted butter over the top of the cake mix. It’s okay if the butter doesn’t cover the entire surface; it will spread as it bakes.
- Place the dish in the oven and bake for up to 1 hour, or until the top is beautifully golden brown.
- Serve the cake warm, preferably with a generous scoop of ice cream on top for an extra treat.
Notes
- Serve it warm or cold; it’s especially delightful with a scoop of vanilla ice cream.
- Once cooled, store the cake in the fridge, tightly covered with plastic wrap, for up to 5 days.