Baby Shower Cake Recipe
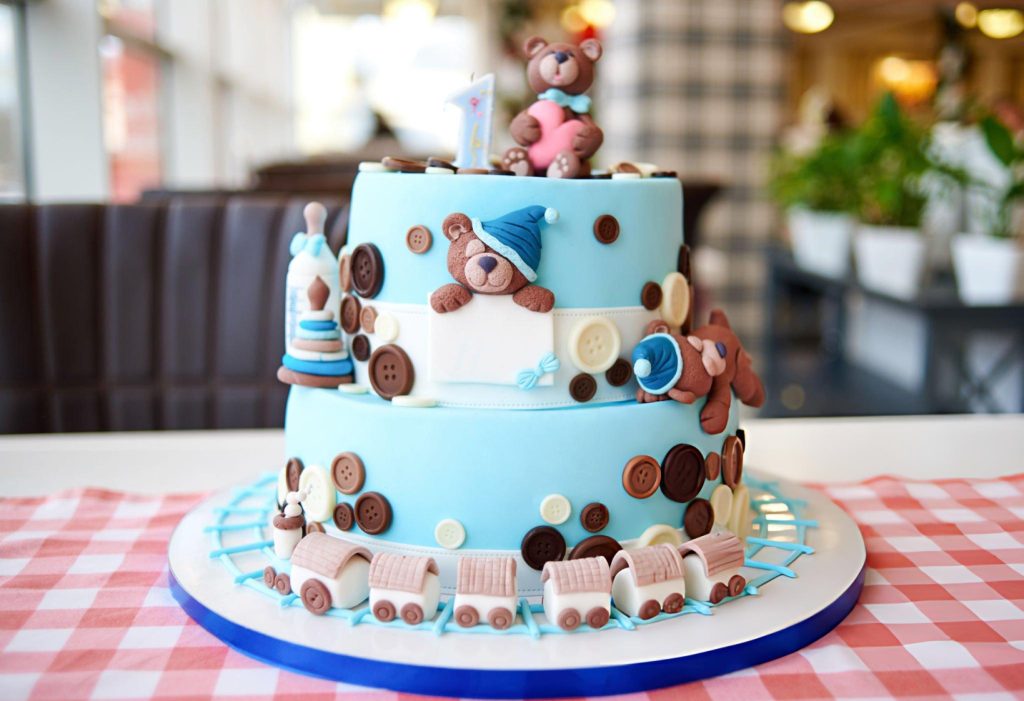
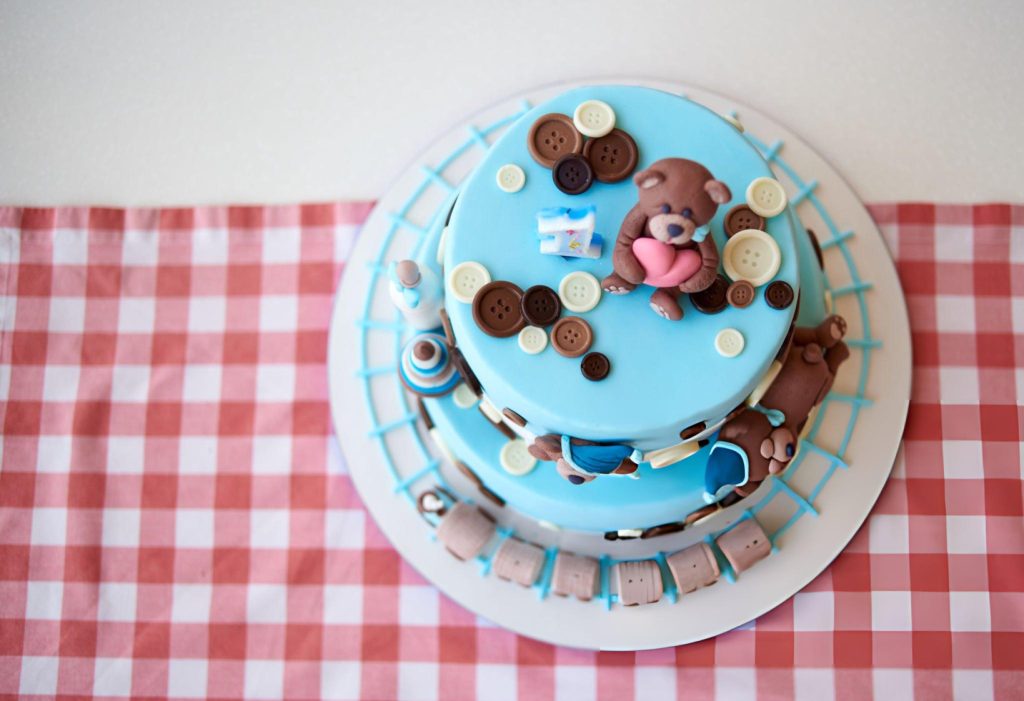
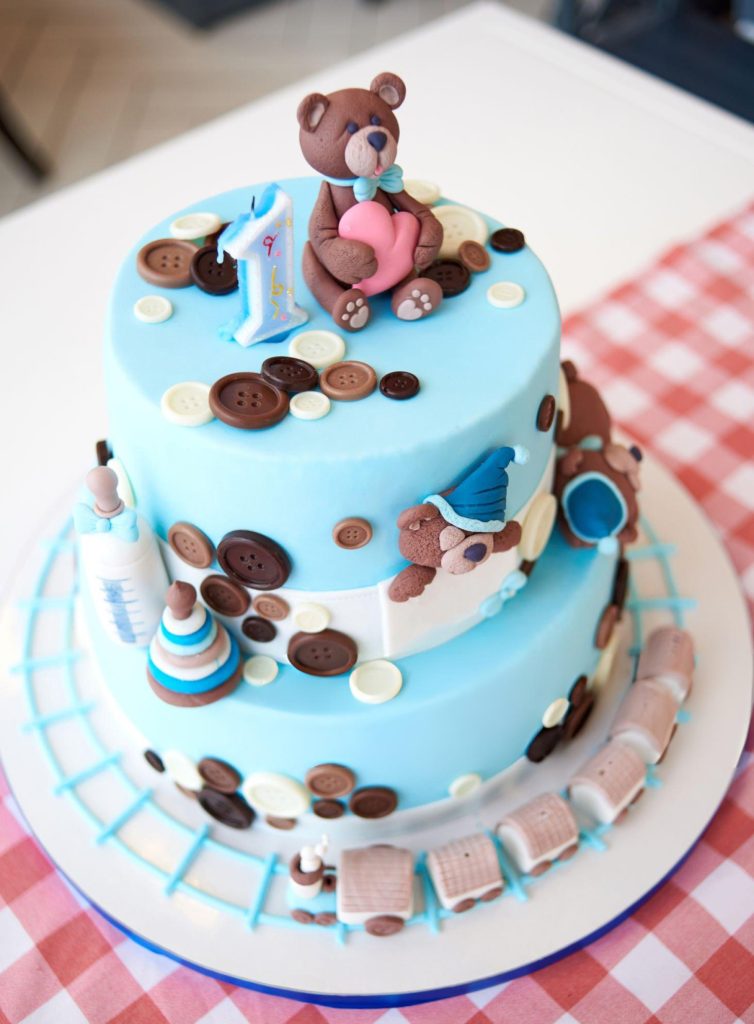
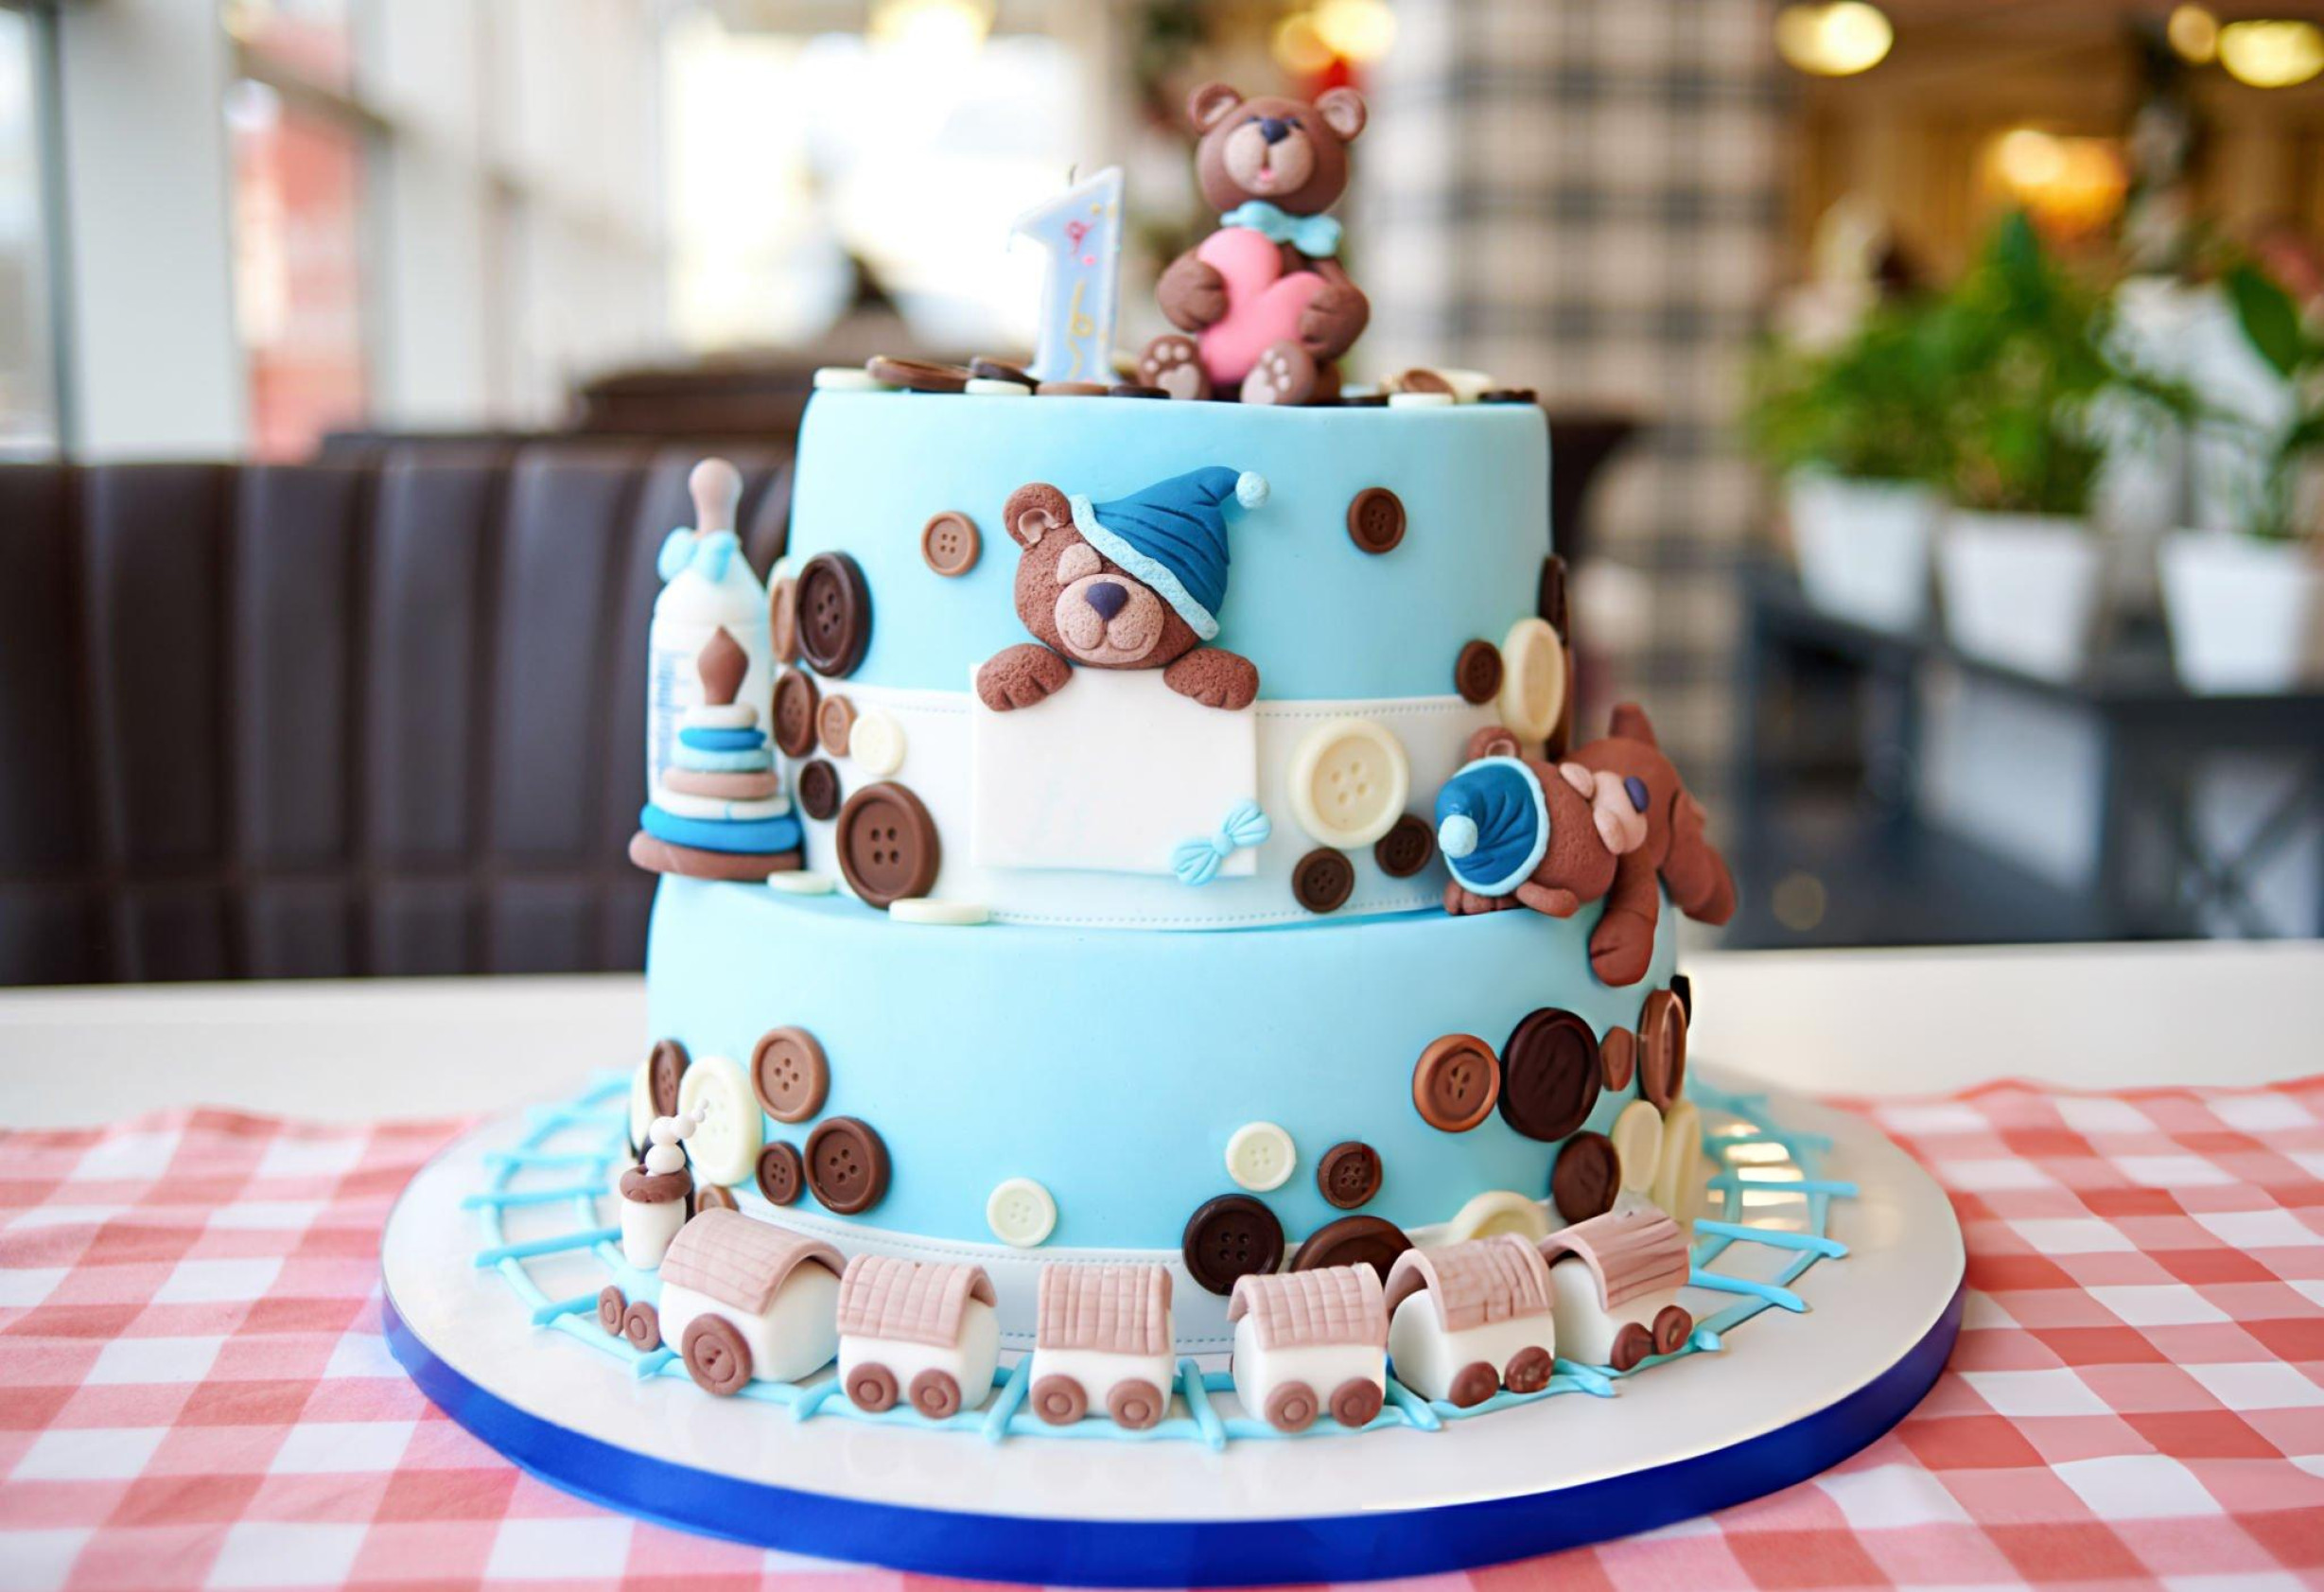
A baby shower cake is not just a centerpiece; it’s a celebration in edible form. This delightful combination of a rich 15cm fruitcake and a vibrant 23cm lemon cake creates a truly special treat. Each layer brings its own distinct flavor, from the deep and aromatic fruitcake infused with rum or brandy to the bright and zesty lemon cake. With intricate decorations, including a charming teddy bear made of icing, this cake is sure to impress at any baby shower.

Ingredients Overview
The recipe involves several unique ingredients to create the two cakes and their decorative layers. Marzipan provides the fruitcake with a smooth surface and a subtle almond flavor, while the ready-to-roll icing ‘regal ice’ ensures a polished finish. For decorations, colored pastes like light brown, pink, and blue add playful touches, transforming the cake into a baby shower centerpiece. Meanwhile, the buttercream frosting, made with unsalted butter, icing sugar, and lemon zest, enhances the lemon cake’s freshness. The combination of these ingredients not only delivers on taste but also creates a visually stunning cake, perfectly suited for such a joyous occasion.
Step-by-Step Cake Preparation
Preparing this cake involves two key components:
the rich 15cm fruitcake and the zingy 23cm lemon cake. Each brings its own personality to the table, making the final presentation one of both elegance and variety.
Preparing the 15cm Fruitcake:
The fruitcake can be baked well in advance, providing plenty of time for the flavors to develop and deepen. Wrapping the cake in cling film keeps it fresh, while weekly doses of dark rum or brandy add a rich, indulgent taste. This gradual infusion of alcohol helps the cake maintain its moisture and intensifies its depth of flavor. For an event like a baby shower, planning ahead is key, and this fruitcake is an excellent candidate for early preparation.
Preparing the 23cm Zingy Lemon Cake:
The lemon cake, on the other hand, is a refreshing contrast to the dense fruitcake. The zing from the lemon zest elevates the overall flavor profile, making it lighter and more vibrant. Like the fruitcake, the lemon cake can also be prepared a few days in advance and kept in the freezer, allowing the flavors to settle. Its citrusy brightness balances the more intense, fruity tones of the bottom layer, offering guests two distinct experiences in one cake.
Marzipan and Icing Application
Now that the cakes are baked, it’s time to transform them with marzipan and icing, which provide not only a smooth surface but also a blank canvas for the decorations.
Marzipanning the Fruitcake:
The marzipan layer is essential for sealing in the moisture of the fruitcake while also creating an even surface for the icing to adhere to. After heating the apricot jam, apply it to the cake as an adhesive for the marzipan. Rolling the marzipan out to cover the cake requires precision. Dust your work area with icing sugar and carefully drape the marzipan over the fruitcake, smoothing it down gently to avoid any creases or folds. Achieving a flawless finish ensures the final layer of icing will sit perfectly, creating a sleek appearance.
Icing the Cake Drum:
Before stacking the cakes, prepare the cake drum by covering it in a thin layer of white icing. This step may seem minor, but it provides a professional touch, ensuring the cake’s presentation is polished from top to bottom. Smooth out any air bubbles with a rolling pin and trim the edges for a clean finish.
Icing the Lemon Cake:
The lemon cake is enveloped in a luscious layer of buttercream before the final coat of icing is applied. The buttercream acts as both a flavor enhancer and an adhesive, ensuring the icing stays in place. After smoothing out the buttercream with a palette knife, let it firm up in the fridge before rolling out the icing. Gently cover the cake, smoothing it down for a polished look.
Cake Stacking and Stabilization
Stacking a two-tiered cake requires some structural support to ensure it stays intact and level.
Inserting the Dowels:
Dowels are essential for keeping the two layers stable. Inserting them into the bottom lemon cake creates a solid foundation for the smaller fruitcake to rest on. Measure carefully to ensure the dowels are all the same height before placing them in a triangular formation under the smaller cake.
Aligning the Cakes:
Carefully lowering the 15cm fruitcake onto the lemon cake requires precision. Take care to center it perfectly so the final result is not only structurally sound but also visually pleasing. A palette knife can be used to assist in the positioning of the top cake without disturbing the icing.
Decorating the Cake
The finishing touches of the baby shower cake lie in its playful decorations, making it both a showstopper and a conversation piece.
Creating Colored Icing:
To begin decorating, separate the icing into smaller portions and gradually add food coloring to achieve the desired pastel tones. Light brown, pink, and blue are perfect for creating a baby-themed aesthetic. Kneading the coloring paste into the icing evenly ensures a smooth, streak-free finish.
Forming the Teddy Bear and Other Decorations:
The centerpiece of the decoration is the adorable teddy bear made from icing. Roll small balls of brown icing for the head, body, arms, and legs, then assemble them using edible glue. Flattening the ends of the limbs creates little paws, while smaller pieces of icing are shaped into ears, eyes, and a nose. This charming addition not only makes the cake visually appealing but also adds a touch of whimsy that’s perfect for a baby shower.

Recipe Tips & Frequently Asked Questions
Use Marzipan for a Flawless Finish:
Marzipan provides a smooth surface for the icing, ensuring that it adheres perfectly to the fruitcake.
Avoid Fingerprints on Icing:
Work quickly and use a smoother to eliminate imperfections in the icing layer.
Time Management is Key:
Prepare both cakes in advance to ensure stress-free decorating.
Cracking Icing?
Always knead the icing thoroughly before rolling it out, and avoid letting it dry out by wrapping any unused portions in cling film.
Can I make the cakes in advance?
Yes, both cakes can be prepared ahead of time. The fruitcake can be baked and stored for up to a month, while the lemon cake can be made up to four days in advance or frozen for longer storage.
What if I don’t have food coloring paste?
You can substitute with natural food dyes or use gel-based colors, but remember that liquid food coloring can alter the icing’s consistency.
How do I prevent icing from cracking?
Keep the icing well-covered when not in use to prevent it from drying out, and knead it until soft before rolling it out.
What to Serve with This Recipe
The Baby Shower Cake is a centerpiece dessert, but it pairs beautifully with other treats. Consider serving alongside delicate cupcakes decorated in matching pastel colors, finger sandwiches filled with light spreads, or mini scones with clotted cream. For beverages, complement the cake with a selection of teas, coffee, or refreshing mocktails, perfect for the occasion. A baby shower tea table featuring this cake will surely make the celebration even more memorable.

Ingredients
500g white ready-to-roll icing ‘regal ice’ (for the cake drum)
1 x 23cm zingy lemon cake (see related recipes)
1 x 15cm light fruitcake (see related recipes)
200g smooth apricot jam
500g white ready-to-roll icing ‘regal ice’ (for the 15cm fruitcake)
1kg white ready-to-roll icing ‘regal ice’ (for the 23cm lemon cake)
Icing sugar, for dusting
500g pack marzipan
Light brown or ‘teddy bear brown’ food colouring paste
Blue or ‘bluebell’ food colouring paste
Pink or ‘fuschia’ food colouring paste
Edible glue
Buttercream
250g unsalted butter, softened
500g icing sugar, sifted
Finely grated zest of 1 lemon
Instructions
Prepare your 15cm fruitcake in advance, ideally up to a month prior, and wrap it in cling film for preservation. Each week, infuse it with a bit of dark rum or brandy by poking small holes on top and spooning the liquor inside.
Apply the marzipan layer to the fruitcake. Start by heating the apricot jam until it begins to bubble, then remove it from heat and sieve it to ensure smoothness. Trim the top of your fruitcake using a serrated bread knife, and brush the surface with the warm jam. Position the cake on the 15cm cake board, inverted. Knead the marzipan briefly into a smooth ball, dusting your work area with icing sugar. Measure the cake’s circumference using string or a tape measure to ensure accurate marzipan coverage. Roll out the marzipan into a large circle, ensuring it’s big enough to cover the cake. Apply another layer of jam on the cake and carefully drape the marzipan over it. Smooth the top first and gently coax the marzipan down the sides without overlapping, using your hands. Trim any excess marzipan with a sharp knife. This can be done up to a month in advance.
Next, cover the cake drum with icing. Knead 500g of white icing into a ball, then roll it into a large circle on a surface dusted with icing sugar, ensuring it’s wide enough to cover the 30cm cake drum. Brush the drum with cooled boiled water and lay the icing over it. Smooth out any air bubbles with a rolling pin, and trim the edges neatly with a sharp knife. If done in advance, store it in a cake box to avoid dust accumulation.
Bake the 23cm lemon cake. Once cooled, wrap it in baking parchment and cling film. It will keep fresh for up to 4 days, or you can freeze it for up to a month.
Prepare the buttercream by thoroughly beating together the softened butter, sifted icing sugar, and lemon zest. This can be prepared the day before you need it.
Trim and level the top of the lemon cake using a serrated bread knife. Spread a thin layer of buttercream onto the 23cm cake board, then invert the lemon cake onto the board. Brush the entire cake with a light coating of sieved apricot jam to prevent crumbs from mixing with the buttercream. Slice the cake in half horizontally, and spread a layer of buttercream on the bottom half. Replace the top half and press gently to level. Apply the remaining buttercream on the top and sides, smoothing it with a palette knife. Chill in the fridge until firm.
Roll 500g of icing for the smaller fruitcake and 900g for the larger lemon cake. Shape each into a ball and roll them out on a surface dusted with icing sugar. Measure to ensure the icing is large enough to cover each cake. For the fruitcake, brush the marzipan with cooled boiled water before covering it with icing. For the lemon cake, simply lay the icing over the buttercream layer. Smooth the icing over each cake, trimming any excess, and save the trimmings in cling film within a freezer bag for decorations.
To stabilize and stack the cakes, insert three plastic dowels in a triangular pattern about 2cm inside the smaller cake’s intended placement. Mark the top of each dowel where it meets the icing, remove them, and trim each to the highest mark. Insert the dowels back into the cake, rounded side down, and spread a thin layer of buttercream over them. Carefully position the smaller fruitcake on top of the larger lemon cake, using a palette knife for support if needed.
For the decoration, separate a small portion of icing and keep it white. Divide the remaining icing into four portions. Tint two quarters with the brown food colouring using a toothpick to achieve your desired shade, kneading until smooth. Gradually colour the remaining two portions with pink and blue, kneading well until evenly distributed. Wrap the icing in cling film and place it in a freezer bag to prevent it from drying out.
Begin decorating by rolling out the icing and cutting desired shapes. For a teddy bear, roll a small ball of icing for the head and a slightly larger one for the body. Attach the head to the body with edible glue. Create sausages of icing for arms and legs, attaching them to the body and flattening the ends to form paws. Add ears, eyes, and other details as desired using small pieces of icing. Use a toothpick dipped in food colouring paste for adding facial features. Complete the look with any additional decorations you wish to add.

Baby Shower Cake Recipe
Ingredients
- 500 g white ready-to-roll icing ‘regal ice’ for the cake drum
- 1 x 23cm zingy lemon cake see related recipes
- 1 x 15cm light fruitcake see related recipes
- 200 g smooth apricot jam
- 500 g white ready-to-roll icing ‘regal ice’ for the 15cm fruitcake
- 1 kg white ready-to-roll icing ‘regal ice’ for the 23cm lemon cake
- Icing sugar for dusting
- 500 g pack marzipan
- Light brown or ‘teddy bear brown’ food colouring paste
- Blue or ‘bluebell’ food colouring paste
- Pink or ‘fuschia’ food colouring paste
- Edible glue
Buttercream
- 250 g unsalted butter softened
- 500 g icing sugar sifted
- Finely grated zest of 1 lemon
Instructions
- Prepare your 15cm fruitcake in advance, ideally up to a month prior, and wrap it in cling film for preservation. Each week, infuse it with a bit of dark rum or brandy by poking small holes on top and spooning the liquor inside.
- Apply the marzipan layer to the fruitcake. Start by heating the apricot jam until it begins to bubble, then remove it from heat and sieve it to ensure smoothness. Trim the top of your fruitcake using a serrated bread knife, and brush the surface with the warm jam. Position the cake on the 15cm cake board, inverted. Knead the marzipan briefly into a smooth ball, dusting your work area with icing sugar. Measure the cake’s circumference using string or a tape measure to ensure accurate marzipan coverage. Roll out the marzipan into a large circle, ensuring it’s big enough to cover the cake. Apply another layer of jam on the cake and carefully drape the marzipan over it. Smooth the top first and gently coax the marzipan down the sides without overlapping, using your hands. Trim any excess marzipan with a sharp knife. This can be done up to a month in advance.
- Next, cover the cake drum with icing. Knead 500g of white icing into a ball, then roll it into a large circle on a surface dusted with icing sugar, ensuring it’s wide enough to cover the 30cm cake drum. Brush the drum with cooled boiled water and lay the icing over it. Smooth out any air bubbles with a rolling pin, and trim the edges neatly with a sharp knife. If done in advance, store it in a cake box to avoid dust accumulation.
- Bake the 23cm lemon cake. Once cooled, wrap it in baking parchment and cling film. It will keep fresh for up to 4 days, or you can freeze it for up to a month.
- Prepare the buttercream by thoroughly beating together the softened butter, sifted icing sugar, and lemon zest. This can be prepared the day before you need it.
- Trim and level the top of the lemon cake using a serrated bread knife. Spread a thin layer of buttercream onto the 23cm cake board, then invert the lemon cake onto the board. Brush the entire cake with a light coating of sieved apricot jam to prevent crumbs from mixing with the buttercream. Slice the cake in half horizontally, and spread a layer of buttercream on the bottom half. Replace the top half and press gently to level. Apply the remaining buttercream on the top and sides, smoothing it with a palette knife. Chill in the fridge until firm.
- Roll 500g of icing for the smaller fruitcake and 900g for the larger lemon cake. Shape each into a ball and roll them out on a surface dusted with icing sugar. Measure to ensure the icing is large enough to cover each cake. For the fruitcake, brush the marzipan with cooled boiled water before covering it with icing. For the lemon cake, simply lay the icing over the buttercream layer. Smooth the icing over each cake, trimming any excess, and save the trimmings in cling film within a freezer bag for decorations.
- To stabilize and stack the cakes, insert three plastic dowels in a triangular pattern about 2cm inside the smaller cake’s intended placement. Mark the top of each dowel where it meets the icing, remove them, and trim each to the highest mark. Insert the dowels back into the cake, rounded side down, and spread a thin layer of buttercream over them. Carefully position the smaller fruitcake on top of the larger lemon cake, using a palette knife for support if needed.
- For the decoration, separate a small portion of icing and keep it white. Divide the remaining icing into four portions. Tint two quarters with the brown food colouring using a toothpick to achieve your desired shade, kneading until smooth. Gradually colour the remaining two portions with pink and blue, kneading well until evenly distributed. Wrap the icing in cling film and place it in a freezer bag to prevent it from drying out.
- Begin decorating by rolling out the icing and cutting desired shapes. For a teddy bear, roll a small ball of icing for the head and a slightly larger one for the body. Attach the head to the body with edible glue. Create sausages of icing for arms and legs, attaching them to the body and flattening the ends to form paws. Add ears, eyes, and other details as desired using small pieces of icing. Use a toothpick dipped in food colouring paste for adding facial features. Complete the look with any additional decorations you wish to add.

