
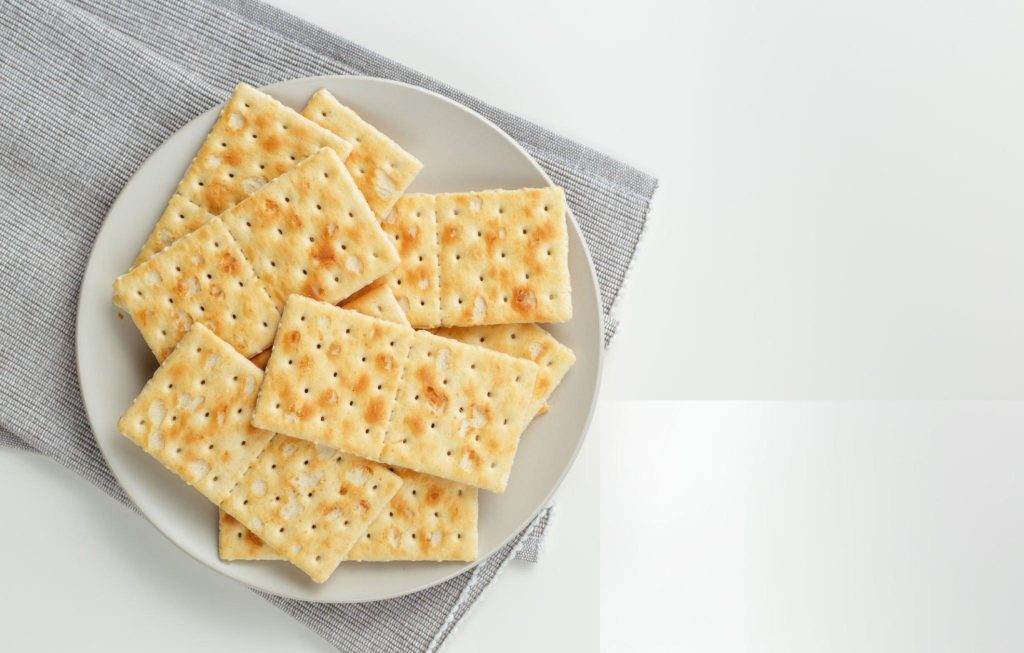
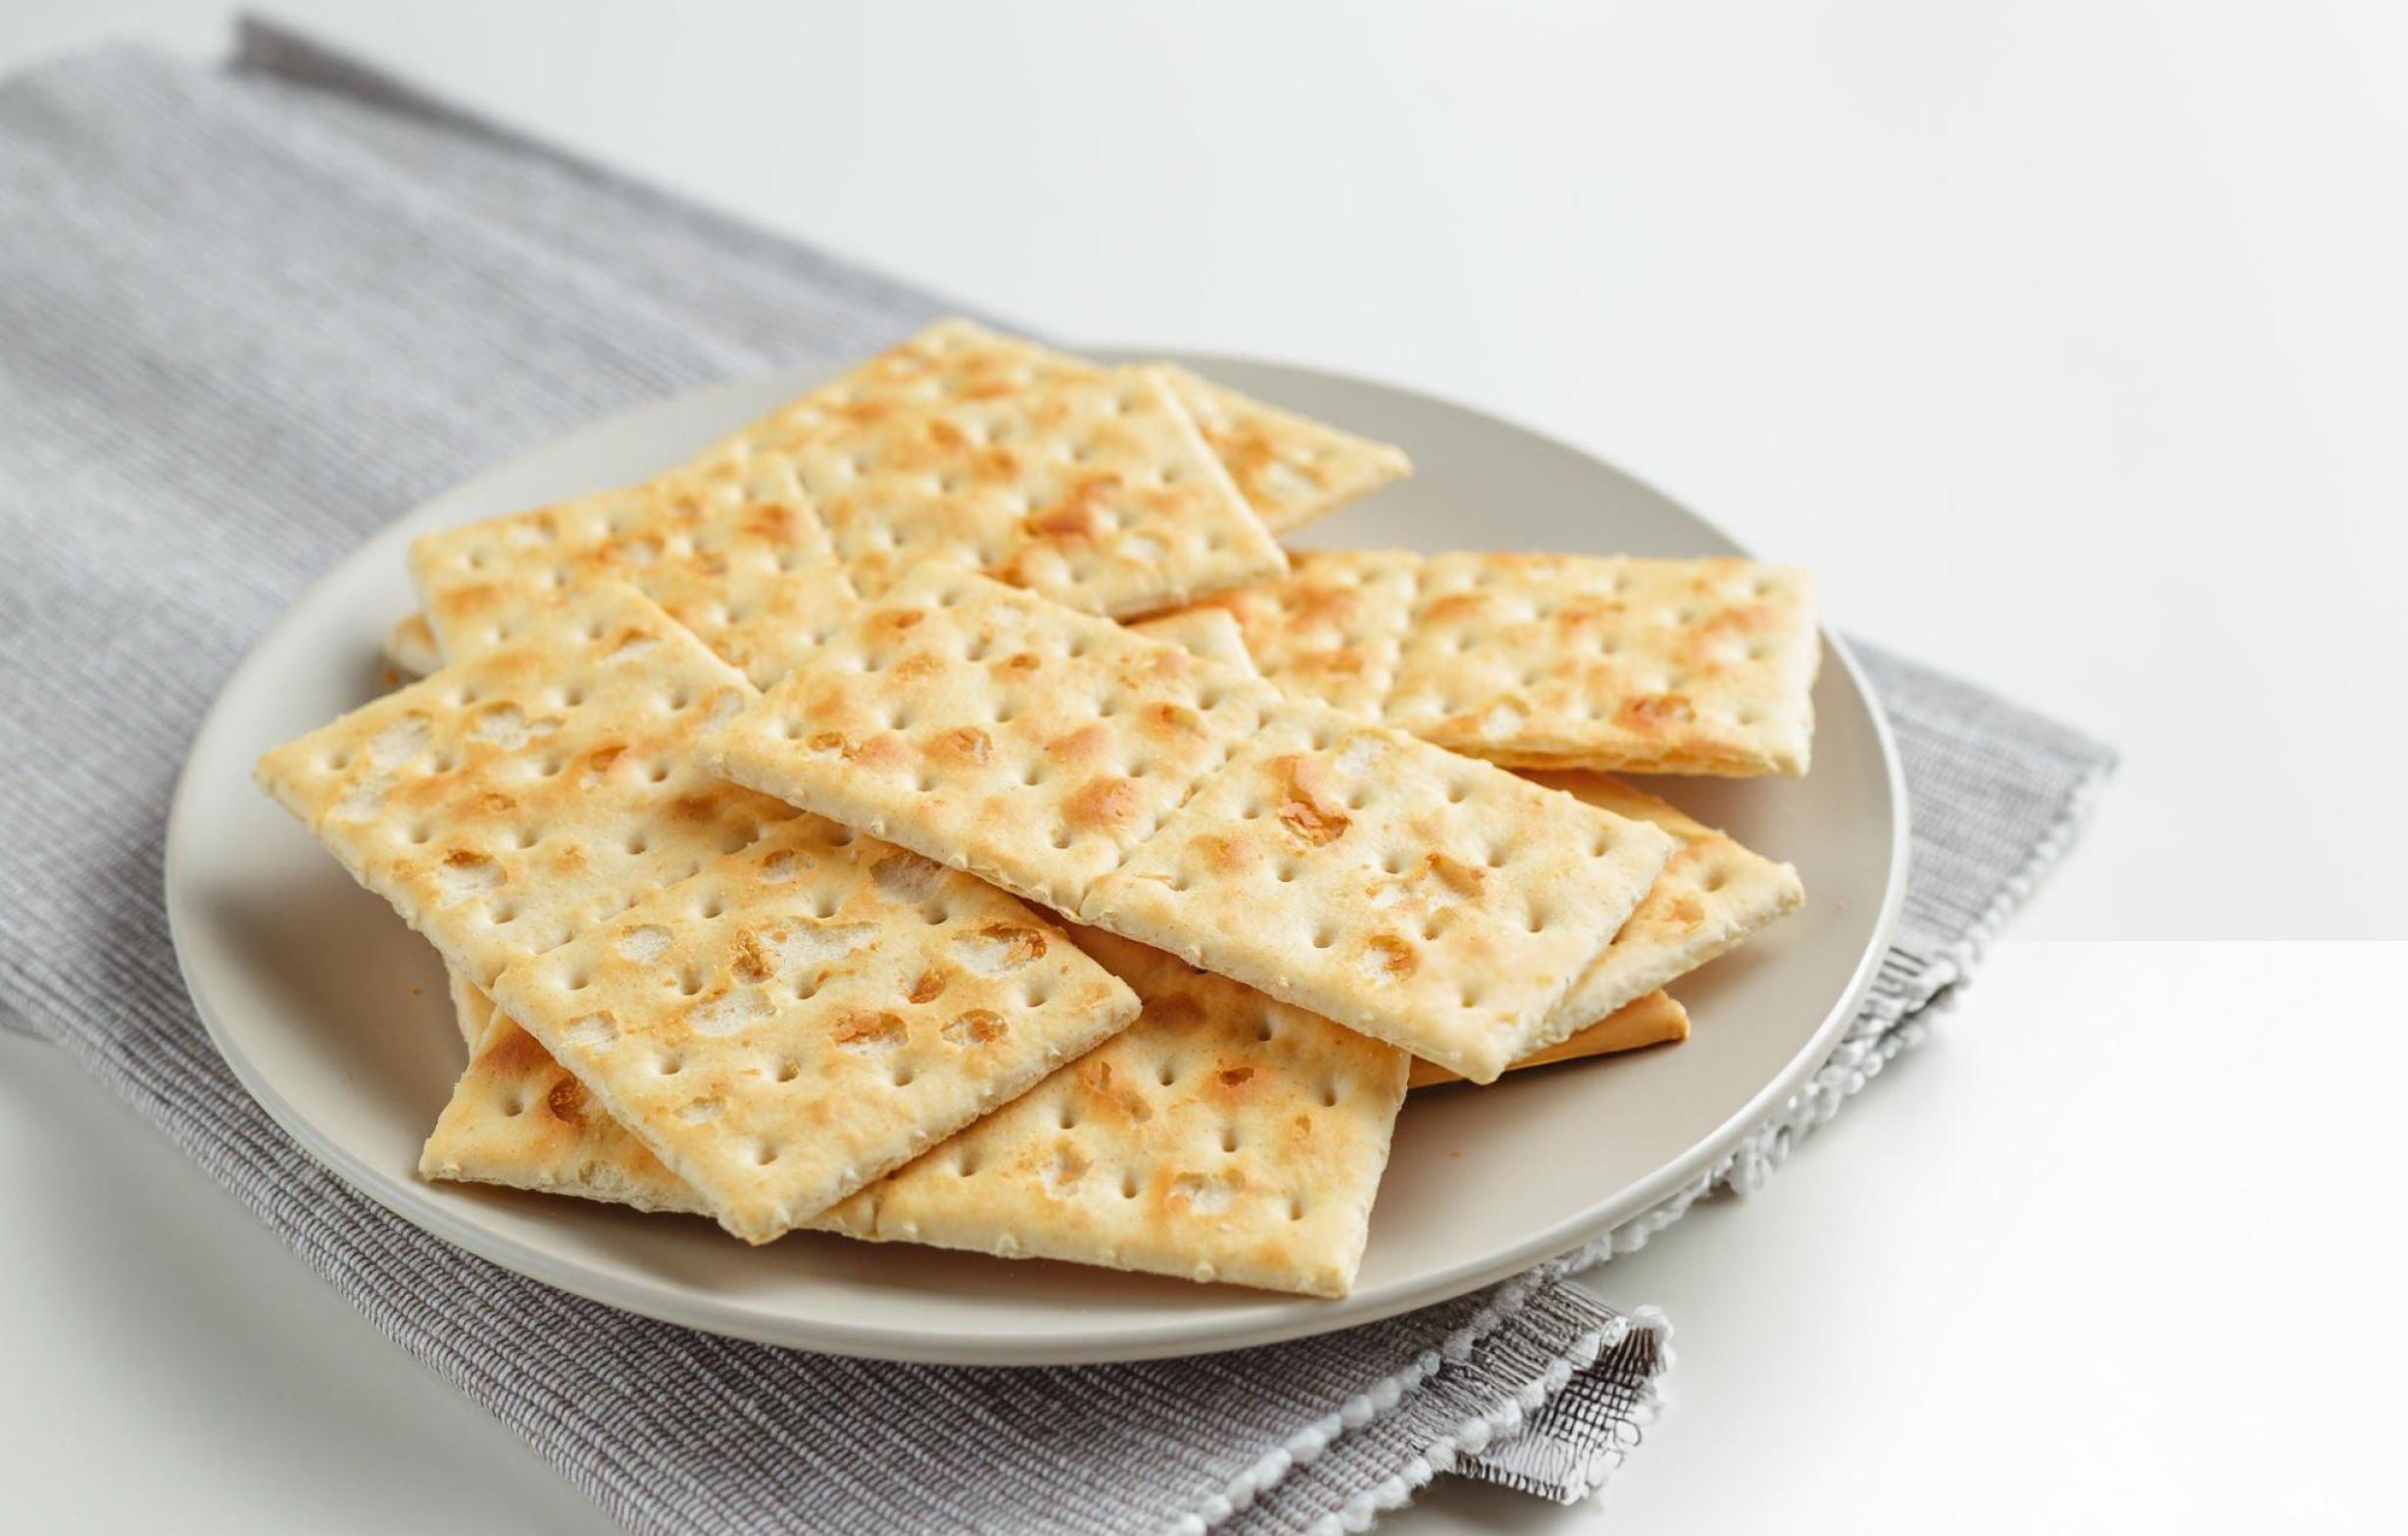
Saltines Recipe
There’s something undeniably satisfying about biting into a crisp, salty cracker, and nothing compares to the joy of making your own saltines from scratch. This recipe brings simplicity and crunch together in perfect harmony, allowing you to craft your own batch of these delightful crackers. Whether you’re looking for a crunchy snack to pair with cheese or just want to experience the freshness of homemade saltines, this recipe will deliver that satisfying snap with each bite.

Ingredients Breakdown
Every ingredient in this saltine recipe plays a crucial role in achieving the perfect cracker. Cake flour, with its lower protein content, provides a lighter texture, ensuring the crackers aren’t too dense. Softened butter and vegetable oil combine to give these saltines a subtle richness without overpowering their signature crunch. The water hydrates the dough, while the instant yeast ensures the crackers have just enough rise to maintain their structure. Baking soda and cream of tartar work together as leavening agents, giving the crackers their signature lightness and crispiness. The sugar balances the flavor, while the sea salt, added at the end, delivers that essential savory note. Each component contributes to the overall texture and flavor, creating crackers that are light, crisp, and perfectly salty.
Step-by-Step Preparation
Making homemade saltines is a straightforward process, but attention to detail is key for the best results. Start by combining the dry ingredients—flour, yeast, baking soda, cream of tartar, and sugar—ensuring they are well-blended to create an even base for the dough. Gently heat the butter, oil, and water until the butter is fully melted, taking care not to overheat the mixture. The liquid needs to cool slightly, just enough to avoid burning your hands when mixing but still warm enough to activate the yeast.
Once the liquid mixture is incorporated into the dry ingredients, use an electric mixer to combine everything until a soft dough forms. At this point, the dough might be a little sticky, so kneading it on a floured surface will help bring it together. The goal is to achieve a smooth, soft dough that isn’t too sticky or too dry—just the right consistency for rolling out later.
After kneading, refrigerate the dough for at least 12 hours. This resting time is essential for developing the flavor and texture of the crackers. Once ready to bake, allow the dough to come to room temperature and roll it out thinly—using a pasta roller will ensure an ultra-thin, even dough, which leads to the crispiest crackers. Cutting the dough into squares and pricking each one with a fork not only ensures even baking but also gives the crackers their traditional look. A sprinkle of salt or herb salt before baking adds the final touch.
Recipe Tips
Achieving the perfect thinness for your saltines is easiest with a pasta roller. If you don’t have one, a rolling pin works just as well, but make sure to roll the dough as thin as possible for a crisp cracker.
If the dough feels too sticky while you’re kneading, sprinkle in small amounts of cake flour until it becomes easier to work with. On the other hand, if the dough seems too dry, a tiny bit of water can bring it back to the right consistency.
When baking, keep a close eye on the crackers, especially around the 8-minute mark. If you prefer extra-crispy crackers, you can let them brown slightly, but be careful not to let them burn.
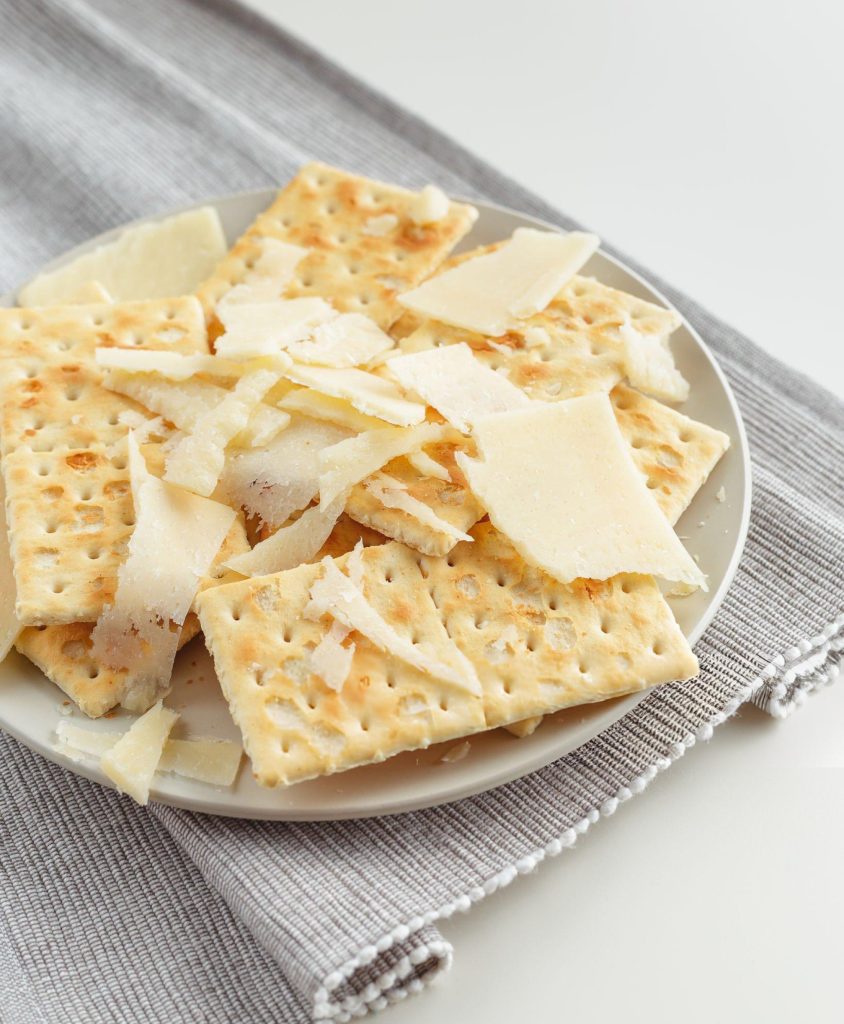
What to Serve With This Recipe
Homemade saltines are versatile, making them the perfect companion for a wide range of dishes. Serve them alongside hearty soups, such as tomato or chicken noodle, where their crispness contrasts beautifully with the soup’s warmth. They’re also excellent for topping cheese boards, paired with creamy cheeses, savory spreads, or even a simple pat of butter.
For parties or gatherings, these crackers can be incorporated into appetizers by serving them with dips like hummus, guacamole, or spinach-artichoke dip. You can even crumble them over salads for an extra crunch or use them as a base for canapé-style bites with toppings like smoked salmon or pâté.
Storage and Shelf Life
To keep your homemade saltines fresh and crispy, it’s important to store them properly. Once completely cooled, transfer the crackers to an airtight container. They’ll stay fresh for up to a week, but if you find yourself enjoying them straight from the oven, they might not last that long! Avoid moisture by keeping them in a dry place, and they’ll remain crisp and delicious for several days.
Frequently Asked Questions
Can I make the dough ahead of time and freeze it?
Yes, you can prepare the dough in advance and freeze it. After kneading, wrap the dough tightly in plastic wrap and freeze for up to a month. When ready to use, thaw it in the refrigerator overnight before bringing it to room temperature and rolling it out.
What can I do if my crackers turn out too thick or chewy?
If your crackers are too thick, it’s likely the dough wasn’t rolled thin enough. To avoid this next time, use a pasta roller or ensure the dough is as thin as possible before cutting and baking. Chewiness can also result from under-baking, so make sure the crackers are fully crisp before removing them from the oven.
How can I make flavored saltines with herbs or spices?
For a twist on the classic saltine, sprinkle the dough with your favorite herbs or spices before baking. Rosemary, thyme, or garlic powder are great options for enhancing the flavor. Simply brush the crackers with water and sprinkle the herbs on top before placing them in the oven.
With this simple yet rewarding recipe, homemade saltines become a delightful snack that you’ll want to make again and again. Their light, crisp texture and salty flavor make them perfect for pairing with a variety of dishes, from soups to cheese boards. Try making a batch today and enjoy the satisfaction of homemade crackers fresh from the oven—perfect for your next snack or party!
Ingredients
1 1/2 cups cake flour
2 tablespoons softened butter
2 tablespoons vegetable oil
6 tablespoons water
2 teaspoons instant yeast
1/4 teaspoon baking soda
1/4 teaspoon cream of tartar
1 teaspoon sugar
1/2 to 1 teaspoon sea salt or herb salts for topping
Instructions
In a medium bowl, combine cake flour, instant yeast, baking soda, cream of tartar, and sugar. Whisk together until fully blended.
In a small saucepan, gently heat the butter, vegetable oil, and water, allowing the butter to melt completely. Cool this mixture to around 120°F, ensuring it is warm to the touch but not too hot.
Create a well in the dry ingredients and pour in the warm butter mixture. Using an electric mixer, blend on medium speed at first, then increase to high. Continue mixing until the dough begins to form, and all ingredients are well incorporated.
Transfer the dough to a lightly floured surface and knead it by hand until it forms a soft, smooth ball. If the dough feels sticky, gradually add more flour in small amounts. Conversely, if it feels too dry, incorporate a little water as needed to achieve a soft, pliable dough.
Lightly grease the mixing bowl, place the dough inside, and cover it with plastic wrap. Refrigerate the dough for a minimum of 12 hours, and up to 18 hours for the best results.
Once the dough is ready to use, take it out of the refrigerator and let it rest at room temperature for about 15 minutes.
Preheat your oven to 400°F. Line a large baking sheet with parchment paper or lightly grease it.
Knead the rested dough for a few minutes to make it smooth and easy to work with. Divide the dough into four portions, rolling out each piece as thin as possible—using a pasta roller is ideal for achieving a delicate, crispy cracker.
Using a pizza cutter or pasta wheel, slice the dough into 2×2-inch squares. Arrange the squares closely together on the prepared baking sheet, as they will slightly shrink while baking. Repeat this process for all portions of dough.
Prick each cracker with a fork to create the classic perforated pattern. Lightly brush the tops with water and sprinkle with sea salt or herb salts.
Bake the crackers for 8 to 10 minutes, watching closely around the 8-minute mark to prevent excessive browning, unless you prefer an extra-crispy texture.
Once baked, remove from the oven and let the crackers cool directly on the baking sheet.
Store the cooled crackers in an airtight container for up to a week, assuming they aren’t devoured sooner!
Saltines Recipe
Ingredients
- 1 1/2 cups cake flour
- 2 tablespoons softened butter
- 2 tablespoons vegetable oil
- 6 tablespoons water
- 2 teaspoons instant yeast
- 1/4 teaspoon baking soda
- 1/4 teaspoon cream of tartar
- 1 teaspoon sugar
- 1/2 to 1 teaspoon sea salt or herb salts for topping
Instructions
- In a medium bowl, combine cake flour, instant yeast, baking soda, cream of tartar, and sugar. Whisk together until fully blended.
- In a small saucepan, gently heat the butter, vegetable oil, and water, allowing the butter to melt completely. Cool this mixture to around 120°F, ensuring it is warm to the touch but not too hot.
- Create a well in the dry ingredients and pour in the warm butter mixture. Using an electric mixer, blend on medium speed at first, then increase to high. Continue mixing until the dough begins to form, and all ingredients are well incorporated.
- Transfer the dough to a lightly floured surface and knead it by hand until it forms a soft, smooth ball. If the dough feels sticky, gradually add more flour in small amounts. Conversely, if it feels too dry, incorporate a little water as needed to achieve a soft, pliable dough.
- Lightly grease the mixing bowl, place the dough inside, and cover it with plastic wrap. Refrigerate the dough for a minimum of 12 hours, and up to 18 hours for the best results.
- Once the dough is ready to use, take it out of the refrigerator and let it rest at room temperature for about 15 minutes.
- Preheat your oven to 400°F. Line a large baking sheet with parchment paper or lightly grease it.
- Knead the rested dough for a few minutes to make it smooth and easy to work with. Divide the dough into four portions, rolling out each piece as thin as possible—using a pasta roller is ideal for achieving a delicate, crispy cracker.
- Using a pizza cutter or pasta wheel, slice the dough into 2×2-inch squares. Arrange the squares closely together on the prepared baking sheet, as they will slightly shrink while baking. Repeat this process for all portions of dough.
- Prick each cracker with a fork to create the classic perforated pattern. Lightly brush the tops with water and sprinkle with sea salt or herb salts.
- Bake the crackers for 8 to 10 minutes, watching closely around the 8-minute mark to prevent excessive browning, unless you prefer an extra-crispy texture.
- Once baked, remove from the oven and let the crackers cool directly on the baking sheet.
- Store the cooled crackers in an airtight container for up to a week, assuming they aren’t devoured sooner!