
Rice Krispie Treats Recipe
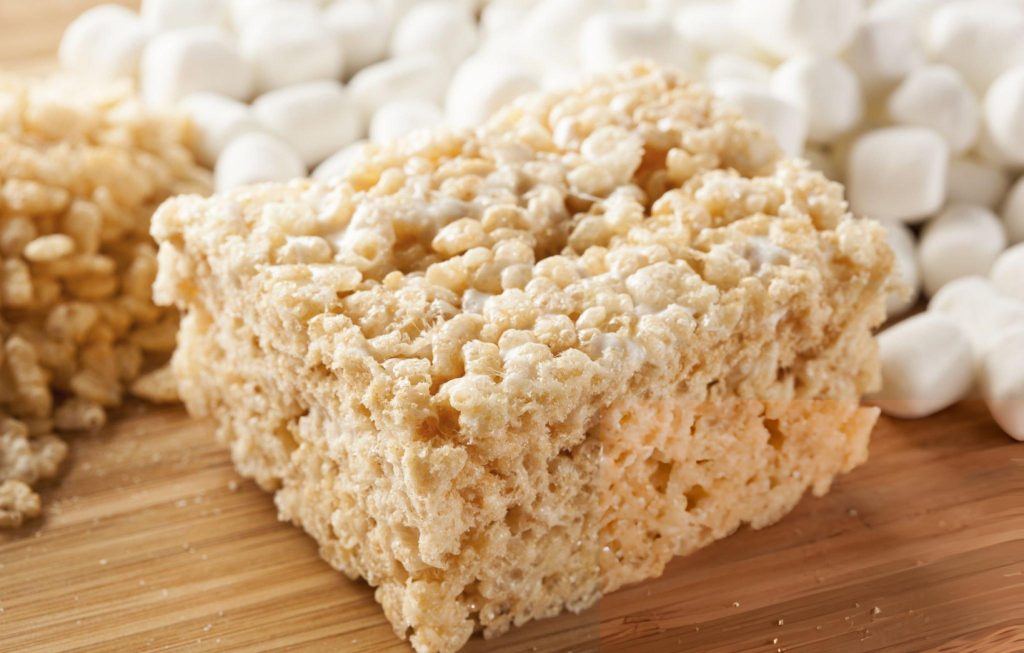
Rice Krispie treats are a beloved dessert that conjures up nostalgic memories for many. These delightful, chewy squares combine simplicity with sweetness, making them the ultimate childhood favorite. Their quick preparation and minimal ingredients render them an ideal treat for any occasion, whether it’s a birthday party, a cozy family gathering, or just a snack to enjoy while watching a movie.

Ingredients Overview
Creating perfect Rice Krispie treats starts with understanding the key components of the recipe. The base consists of crispy rice cereal, which provides that iconic crunch. Unsalted butter adds richness, while mini marshmallows are the stars of the show, delivering that sweet, gooey texture we all love. A touch of vanilla extract enhances the flavor, and a pinch of salt balances the sweetness.
The quality of these ingredients is paramount. Fresh, high-quality mini marshmallows yield the best results, as they melt smoothly and create a luscious consistency. Using real vanilla extract instead of imitation not only elevates the flavor but also enhances the overall treat. By prioritizing quality ingredients, each bite becomes a delightful experience.
Step-by-Step Instructions
Preparing your baking pan correctly sets the stage for success. Start by lining a 9×13-inch baking pan with parchment paper, allowing for easy removal later. A light greasing with nonstick spray ensures that the treats don’t stick, preserving their integrity.
The next crucial step involves melting the butter and marshmallows. Over medium heat, gently melt the butter in a large pot. Once fully melted, introduce the mini marshmallows, stirring continuously. This method prevents the marshmallows from burning and ensures a uniform, gooey mixture. Once completely dissolved, remove the pot from the heat to prevent further cooking.
Integrating the crispy rice cereal is where the magic happens. Carefully fold the cereal into the melted marshmallow mixture, ensuring every piece is coated. This step is essential for achieving that signature chewy texture. Take care not to overmix, as this can lead to a tough result.
Recipe Tips
Achieving the Perfect Consistency:
For that ideal chewy yet firm texture, allow the treats to set at room temperature. Press down gently but avoid compacting them too much, as this can lead to a hard texture. The right balance is key to achieving a delightful bite.
Storage Tips for Freshness:
To keep the treats fresh, store them in an airtight container at room temperature for up to three days. If left out for extended periods, ensure they are covered tightly to prevent them from drying out.
Variations to Try:
For those looking to customize their treats, consider adding mix-ins like chocolate chips, peanut butter, or dried fruit. These variations can enhance flavor and texture, making each batch uniquely delightful.
What to Serve With This Recipe
Pairing your Rice Krispie treats with complementary snacks can elevate your serving experience. Consider offering a selection of fresh fruits or a light salad to balance the sweetness. For a festive touch, create a snack spread with various treats, including brownies and cookies, to cater to diverse palates.
When it comes to drinks, milk is a classic choice that perfectly complements the sweetness of the treats. Alternatively, consider serving them with a refreshing fruit punch or homemade lemonade for a delightful contrast.
For creative serving suggestions, consider cutting the treats into fun shapes using cookie cutters for special occasions. Whether it’s hearts for Valentine’s Day or stars for a birthday party, themed treats add an extra layer of fun.
Frequently Asked Questions
Can I make these treats ahead of time?
Absolutely! Rice Krispie treats can be made a day in advance. Just ensure they are stored in an airtight container to maintain their freshness.
How to fix hard or sticky Rice Krispie Treats?
If your treats turn out too hard, you can gently reheat them in the microwave for a few seconds to soften them. For sticky treats, adding a touch more crispy rice cereal can help balance the texture.
Tips for customizing the recipe for dietary needs:
For those with dietary restrictions, gluten-free crispy rice cereal can be used, and vegan butter or marshmallows can be substituted for a plant-based version. These modifications ensure everyone can enjoy this timeless treat.
Creative Serving Suggestions
Decorating your Rice Krispie treats adds an artistic flair that can impress guests. Use melted chocolate to drizzle over the top or sprinkle colorful sprinkles for a festive touch. Incorporating seasonal themes can also enhance your presentation; think pastel colors for spring or warm hues for fall.
By experimenting with different shapes and decorations, you can create a visually appealing dessert that captures the spirit of any occasion.
Making Rice Krispie treats is not just about the final product; it’s about the joy of creating something delightful. Whether you stick to the classic recipe or explore creative variations, the experience is sure to bring smiles. So gather your ingredients, unleash your creativity, and savor the pleasure of making these beloved treats!

Ingredients
9 cups (270g) crispy rice cereal
3/4 cup (170g; 12 Tbsp) unsalted butter
1/2 teaspoon pure vanilla extract
2 bags (10 ounces each; 566g total) mini marshmallows
Pinch of salt
Instructions
Begin by preparing a 9×13-inch baking pan. Line it with parchment paper and lightly grease the surface with nonstick spray, ensuring an easy release later.
In a large pot over medium heat, melt the butter. Once it’s fully melted, add in the mini marshmallows. Stir continuously until the marshmallows are completely dissolved and blended with the butter.
Remove the pot from the heat and quickly mix in the vanilla extract and a pinch of salt. Next, gently fold in the crispy rice cereal, ensuring that every piece is thoroughly coated with the gooey marshmallow mixture.
Transfer the combined mixture into the prepared pan. Using a lightly greased silicone spatula, carefully spread the mixture to fill the pan evenly. With the back of a flat spatula, gently press down on the mixture to compact it slightly, being cautious not to pack it too tightly.
Allow the treats to set at room temperature for at least one hour or up to a full day. If you need to leave them out for more than a few hours, cover them tightly to keep them fresh.
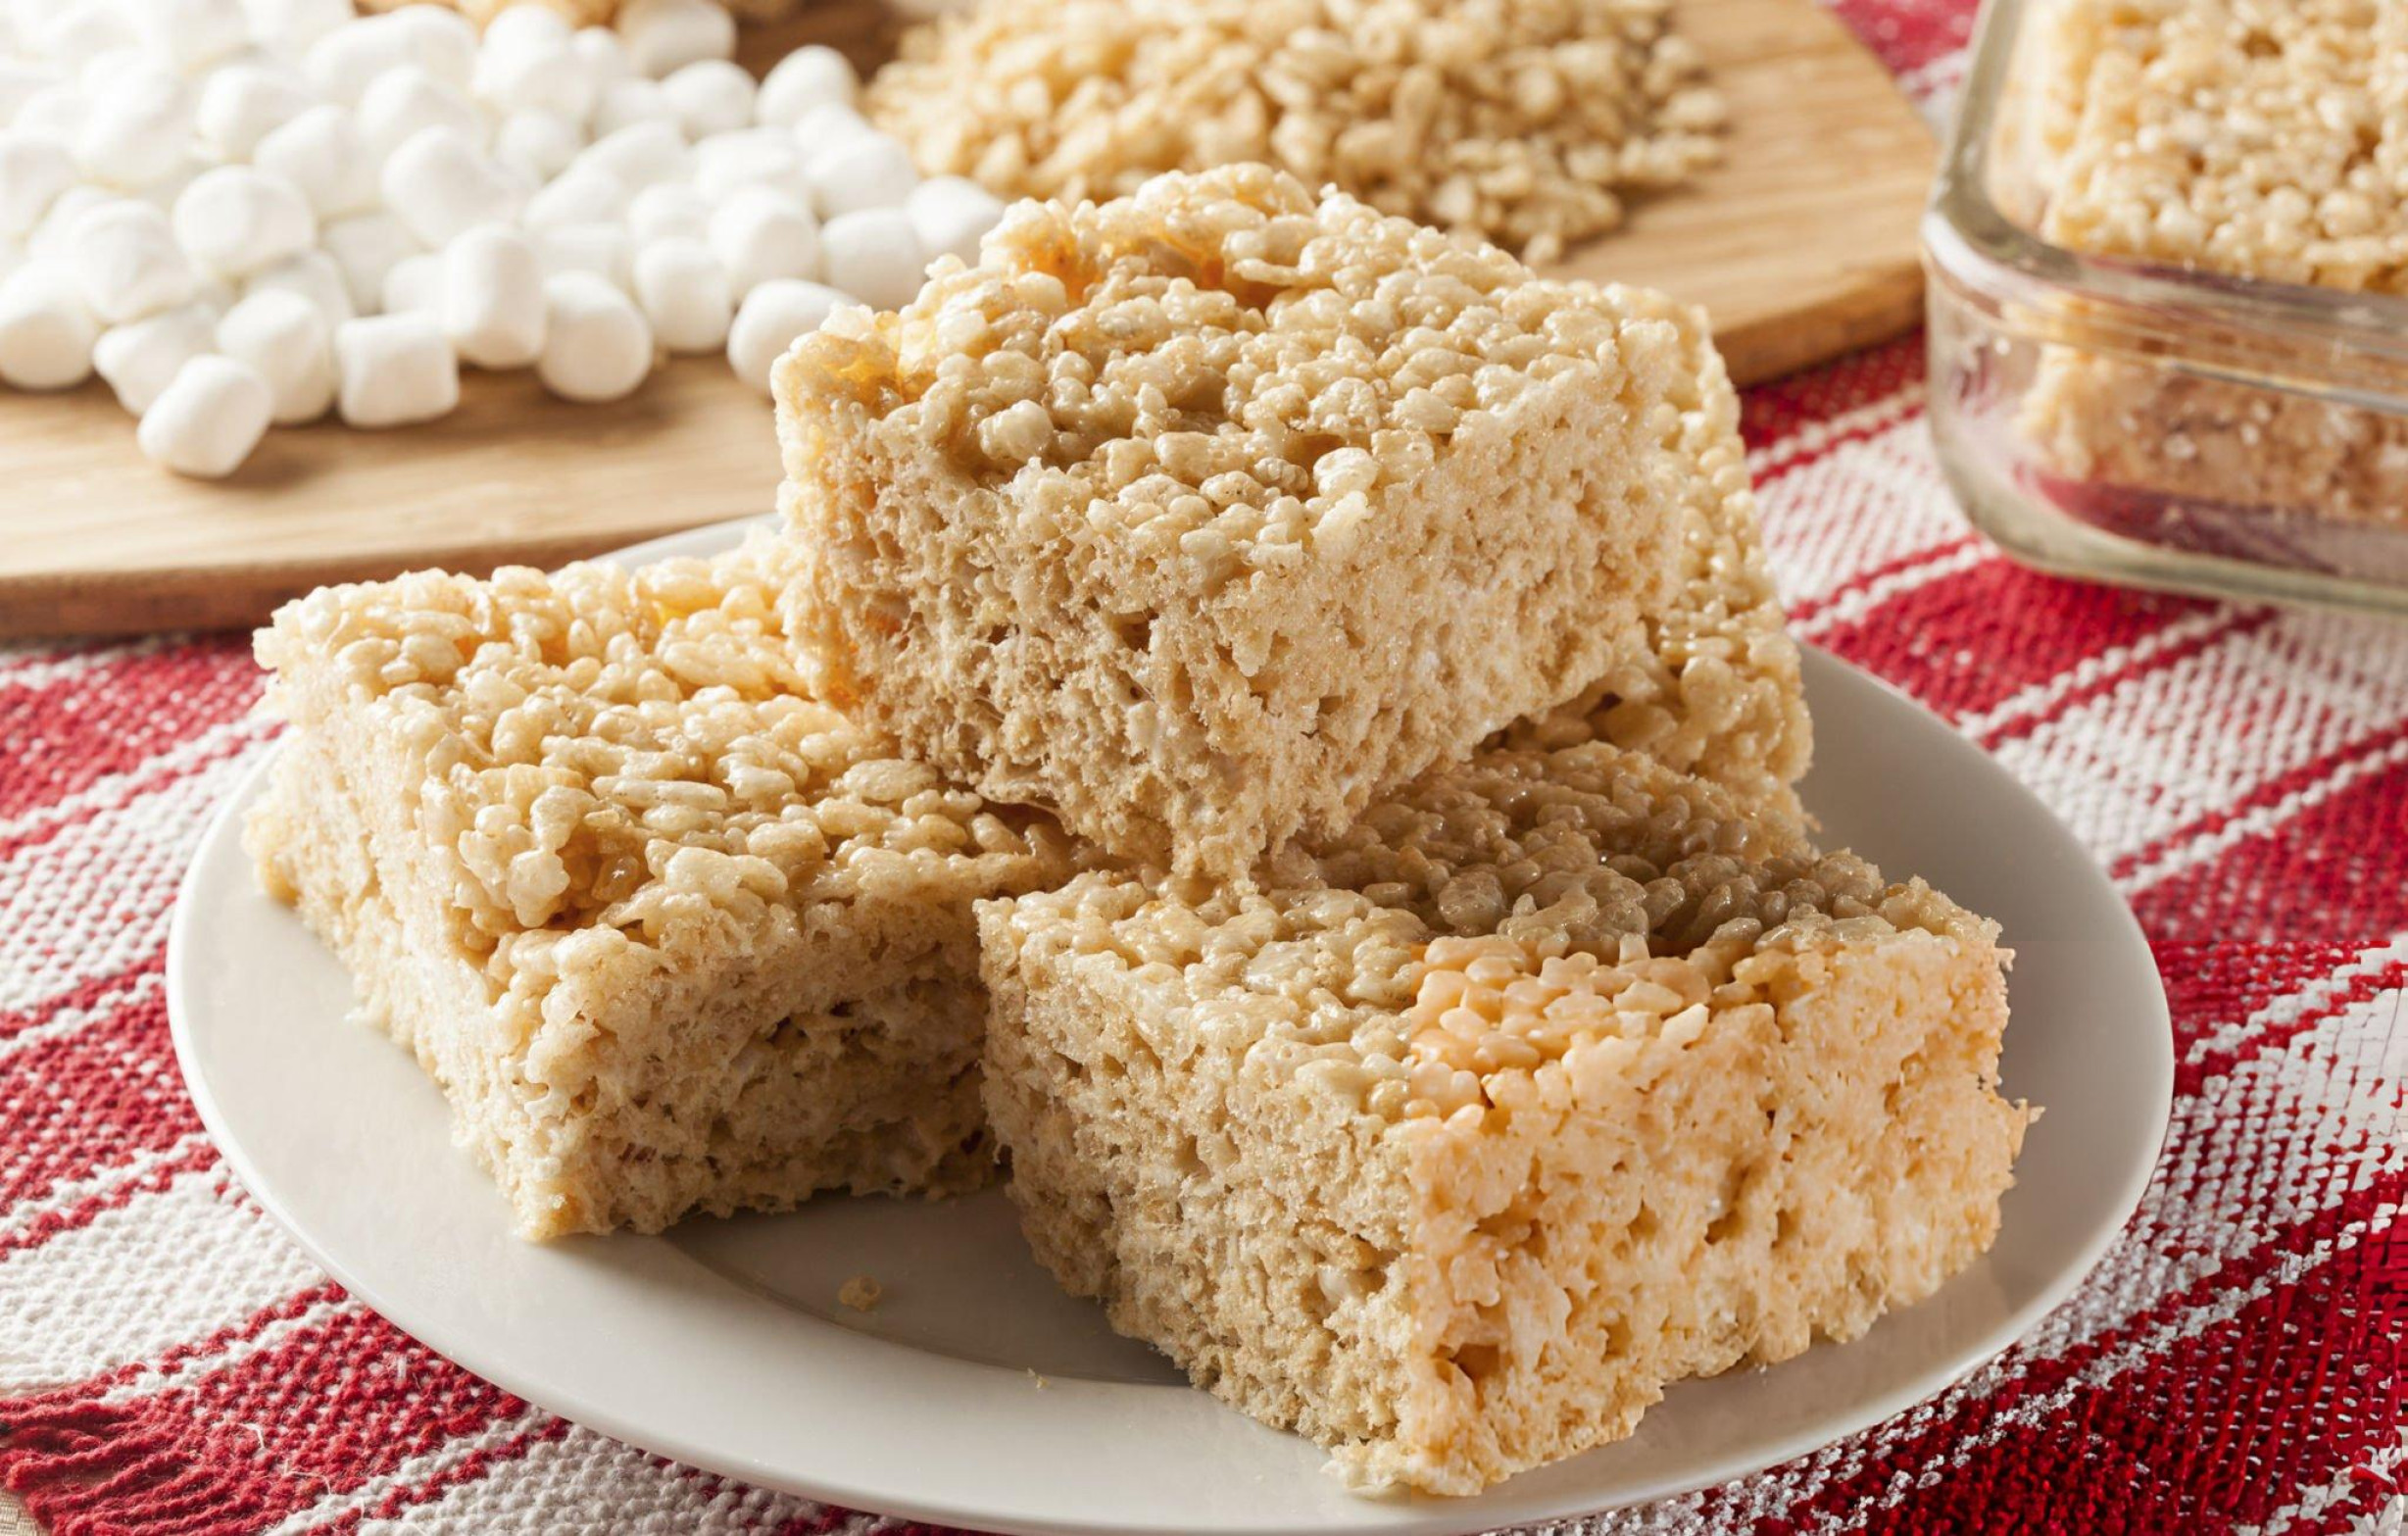
Once set, lift the entire block of treats out of the pan using the parchment paper edges. Cut into squares for serving.
Store any leftovers in an airtight container at room temperature for up to three days, placing parchment or wax paper between layers to prevent sticking.
Rice Krispie Treats Recipe
Ingredients
- 9 cups 270g crispy rice cereal
- 3/4 cup 170g; 12 Tbsp unsalted butter
- 1/2 teaspoon pure vanilla extract
- 2 bags 10 ounces each; 566g total mini marshmallows
- Pinch of salt
Instructions
- Begin by preparing a 9×13-inch baking pan. Line it with parchment paper and lightly grease the surface with nonstick spray, ensuring an easy release later.
- In a large pot over medium heat, melt the butter. Once it’s fully melted, add in the mini marshmallows. Stir continuously until the marshmallows are completely dissolved and blended with the butter.
- Remove the pot from the heat and quickly mix in the vanilla extract and a pinch of salt. Next, gently fold in the crispy rice cereal, ensuring that every piece is thoroughly coated with the gooey marshmallow mixture.
- Transfer the combined mixture into the prepared pan. Using a lightly greased silicone spatula, carefully spread the mixture to fill the pan evenly. With the back of a flat spatula, gently press down on the mixture to compact it slightly, being cautious not to pack it too tightly.
- Allow the treats to set at room temperature for at least one hour or up to a full day. If you need to leave them out for more than a few hours, cover them tightly to keep them fresh.
- Once set, lift the entire block of treats out of the pan using the parchment paper edges. Cut into squares for serving.
- Store any leftovers in an airtight container at room temperature for up to three days, placing parchment or wax paper between layers to prevent sticking.