
Grilled Corn On The Cob Recipe
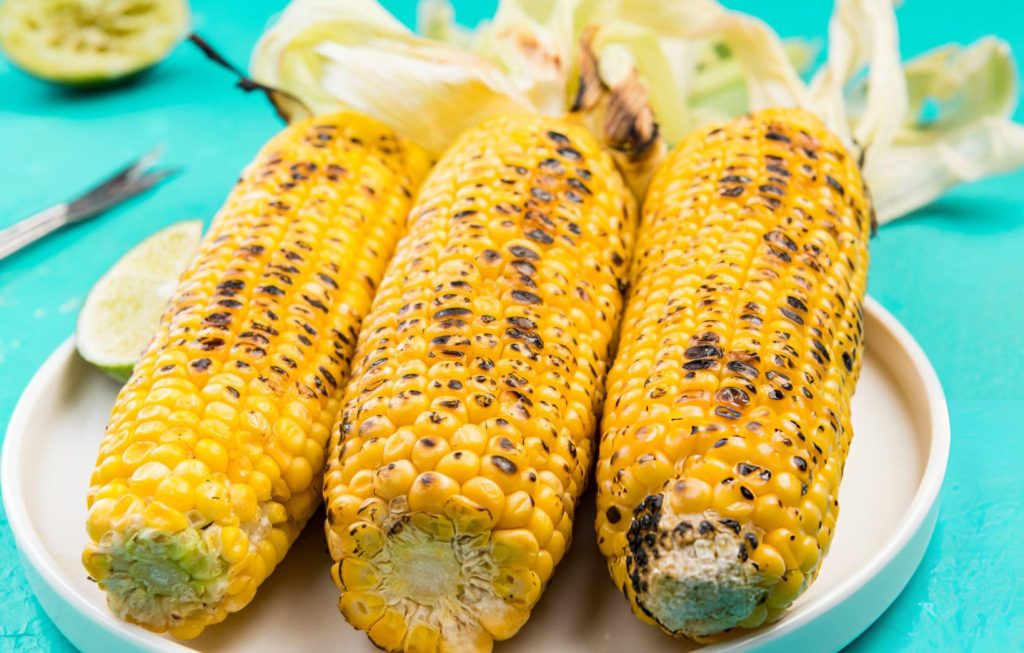
Grilled corn on the cob is a quintessential summer delight that perfectly embodies the essence of outdoor cooking. With its vibrant sweetness and irresistible charred flavor, this simple dish becomes a showstopper at barbecues and gatherings. Whether you’re hosting friends or enjoying a family meal, the combination of juicy kernels and a smoky finish makes grilled corn an essential addition to your culinary repertoire.
Ingredients Overview
The beauty of grilled corn lies in its straightforward ingredients. All you need are fresh sweet corn, butter, sea salt, and freshly ground black pepper. When selecting corn, look for ears that are plump with tightly wrapped husks. The silk should be slightly sticky, indicating freshness, and the kernels should be tender and juicy when squeezed. Avoid any ears with dry or browning husks, as this may signal age and diminished sweetness.
Preparation Methods
Husk-on Method
To prepare corn using the husk-on method, begin by peeling back the husks while keeping them attached at the base. This preserves moisture during grilling and adds a subtle, earthy flavor. Carefully remove as much silk as possible, then fold the husks back over the cob. Soak the corn in a large pot of cold water for about 10 minutes; this technique prevents the husks from burning and enhances the overall cooking process. After soaking, drain the corn and gently pat it dry.
Husked Method
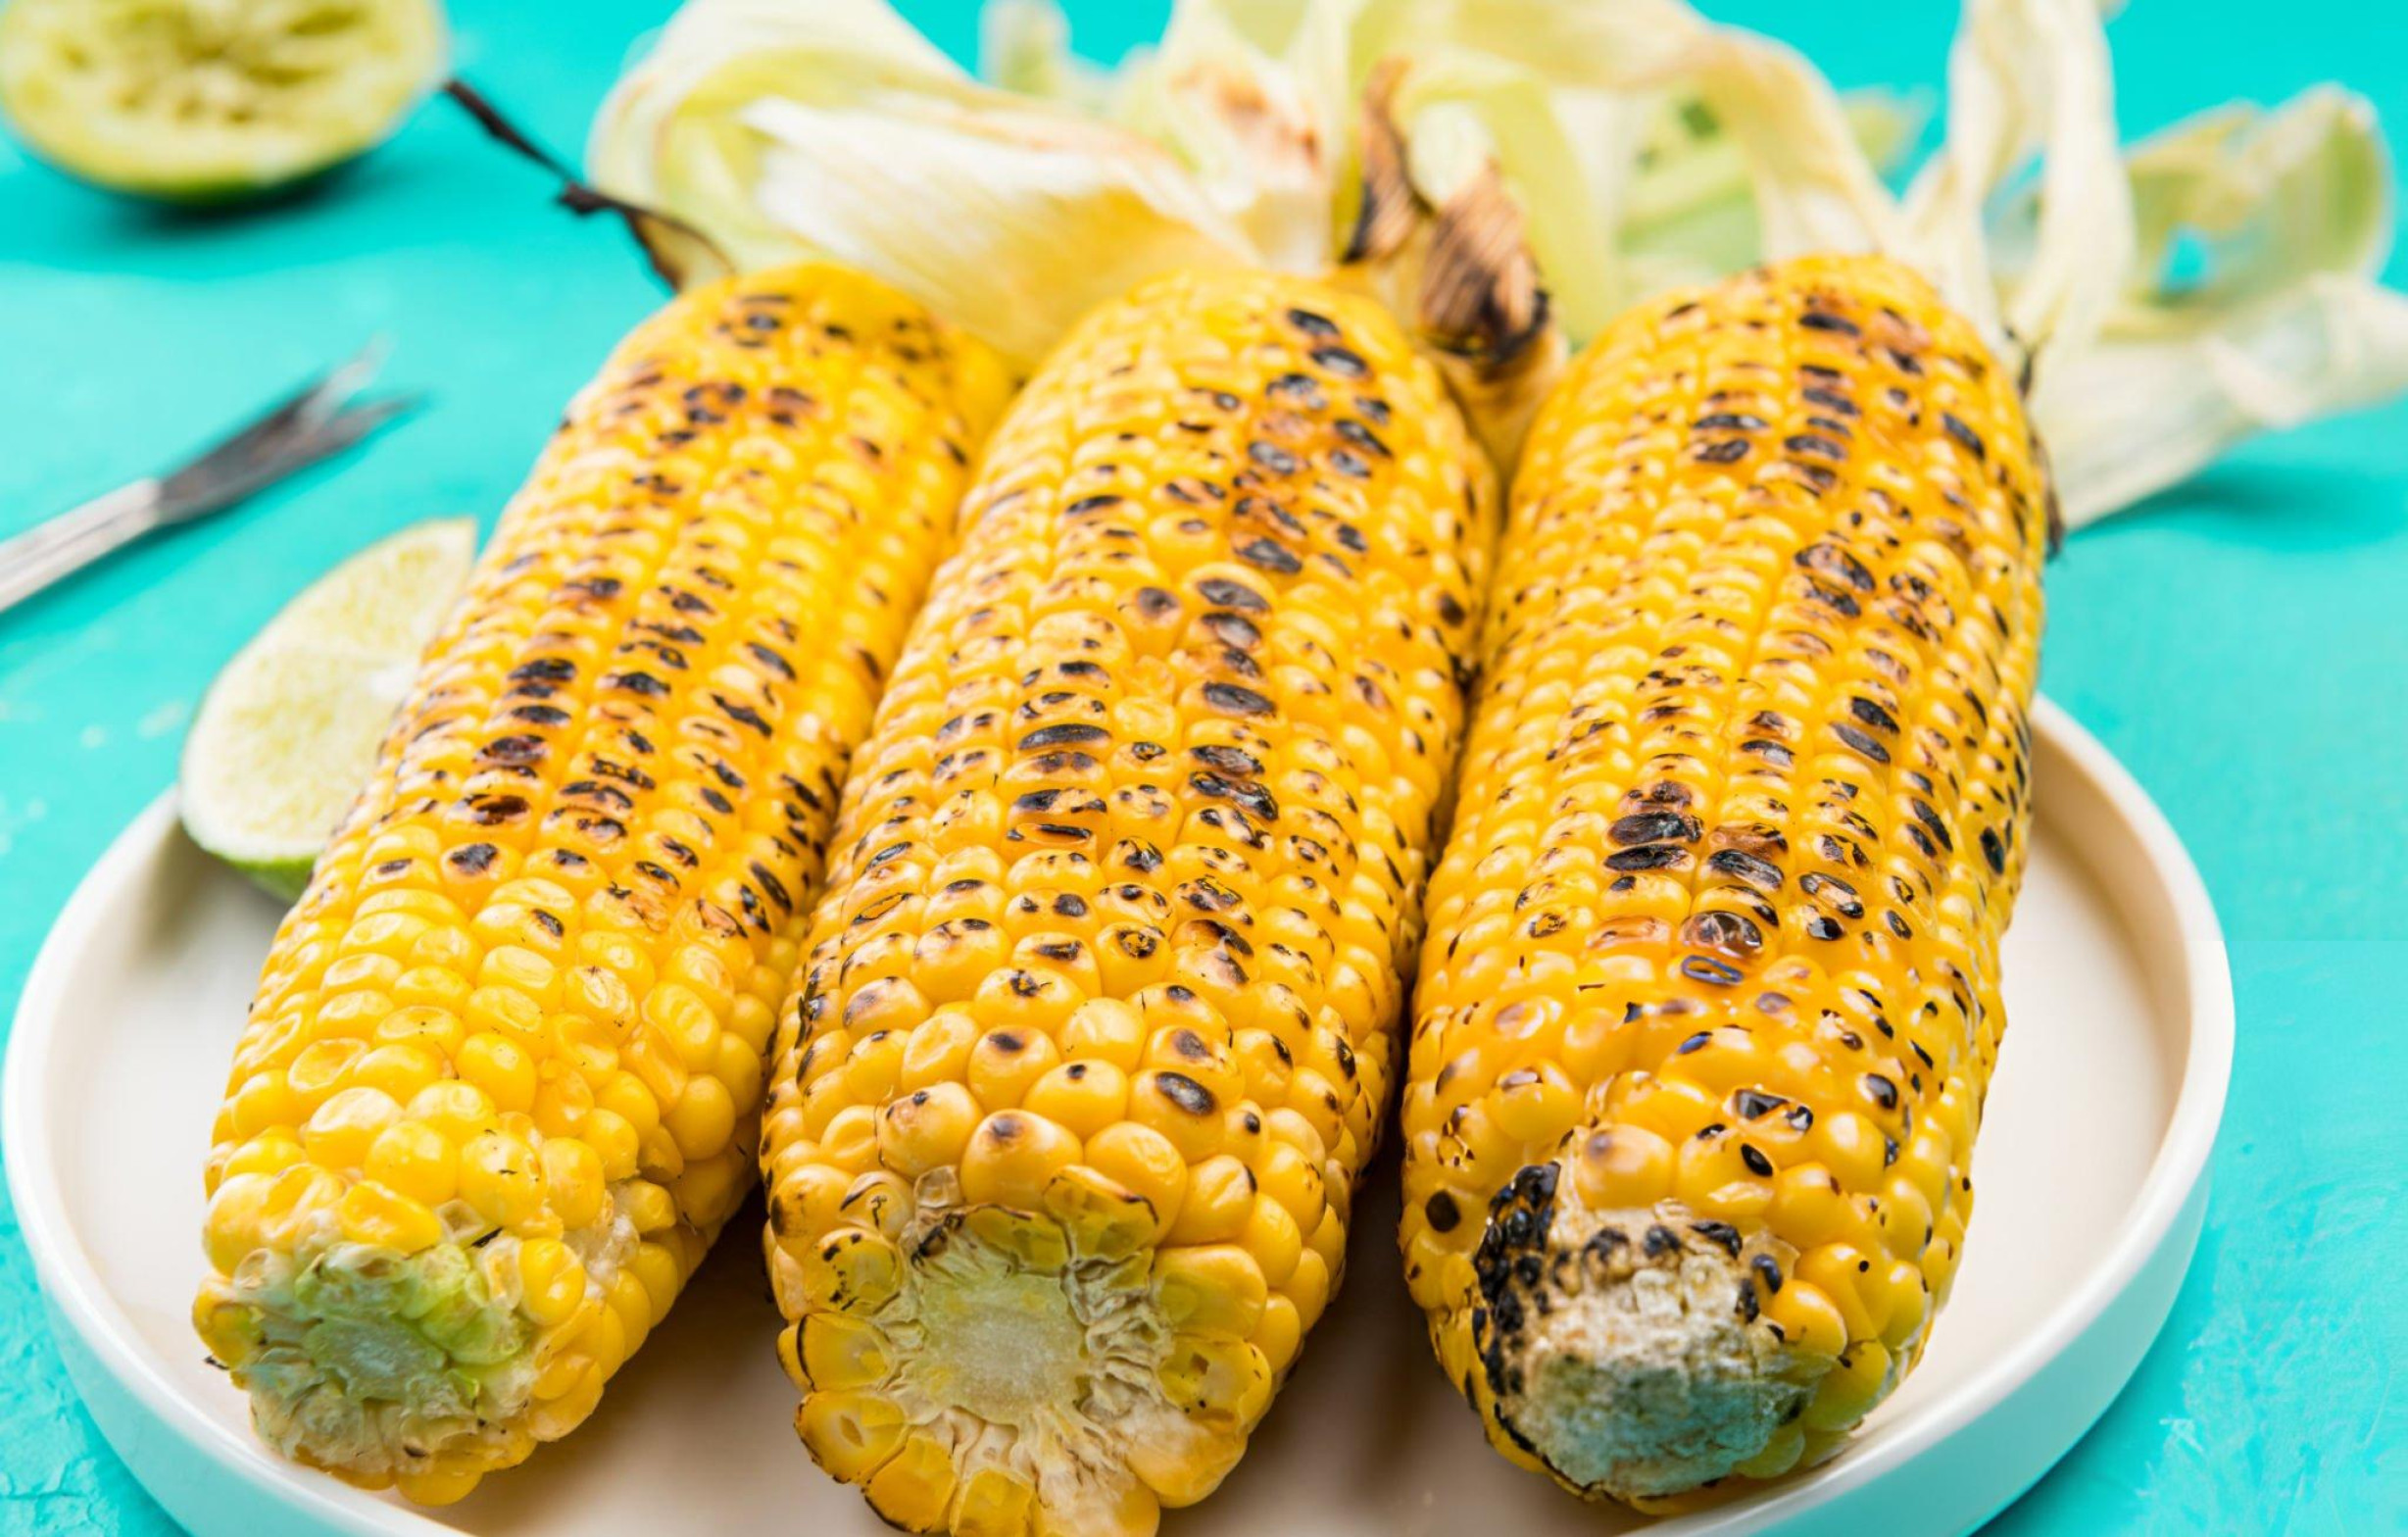
For those who prefer a more direct grilling approach, the husked method is ideal. Start by shucking the corn completely, ensuring that all silk is removed. This method allows for a more intense char and caramelization of the kernels. Preheat your grill or grill pan to medium-high heat. Once it’s hot, place the corn directly on the grill, ensuring to turn it every 3 to 5 minutes. This technique will yield evenly cooked corn with delightful grill marks.
Grilling Techniques
Achieving the perfect grilled corn requires attention to temperature and technique. The ideal grilling temperature is medium-high, which facilitates thorough cooking while creating those coveted charred lines. As the corn cooks, turning it regularly allows for even exposure to the heat, ensuring all sides develop a beautiful, golden-brown color. The total grilling time is approximately 15 minutes, depending on the size of the corn. Listen for that satisfying crackle as the kernels pop and sizzle, signaling they are nearing perfection.
Recipe Tips
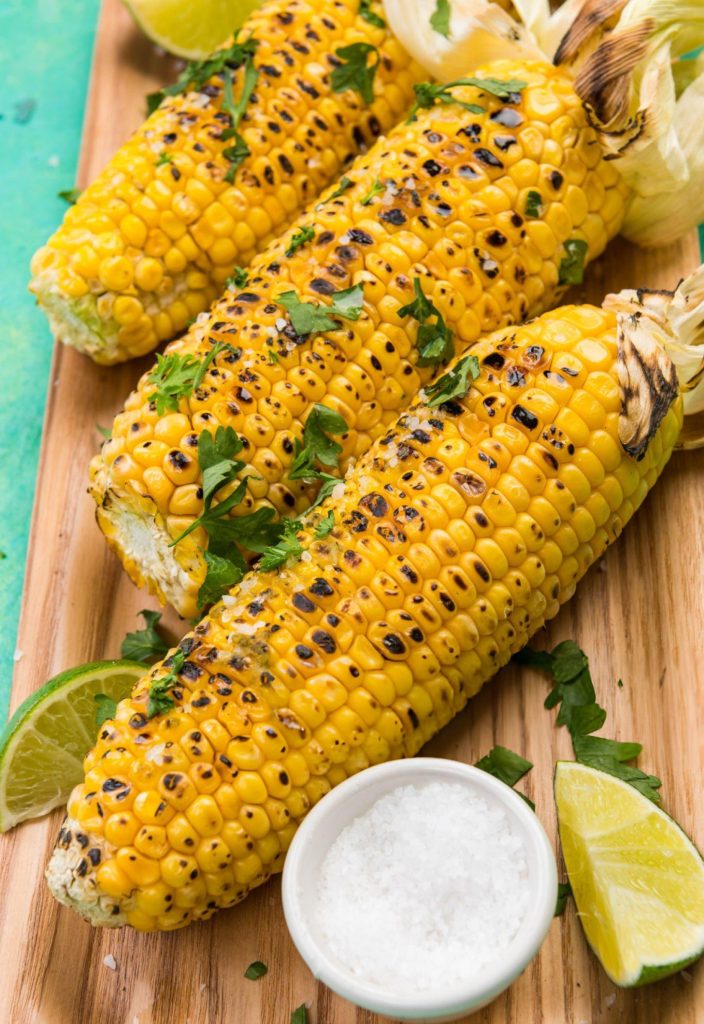
Secrets to enhancing flavor with seasonings:
While butter, sea salt, and black pepper are classic toppings, consider experimenting with additional flavors. Try garlic powder, paprika, or even a sprinkle of cheese for a twist on the traditional. For an added layer of taste, brush the corn with flavored butter or a zesty herb mix before grilling.
Timing and temperature recommendations for different corn varieties:
Sweet corn is typically the best choice for grilling, but don’t shy away from other varieties like bi-color or even heirloom types. Adjust cooking times slightly if using larger or smaller ears—larger ears may require a few extra minutes on the grill to ensure thorough cooking.
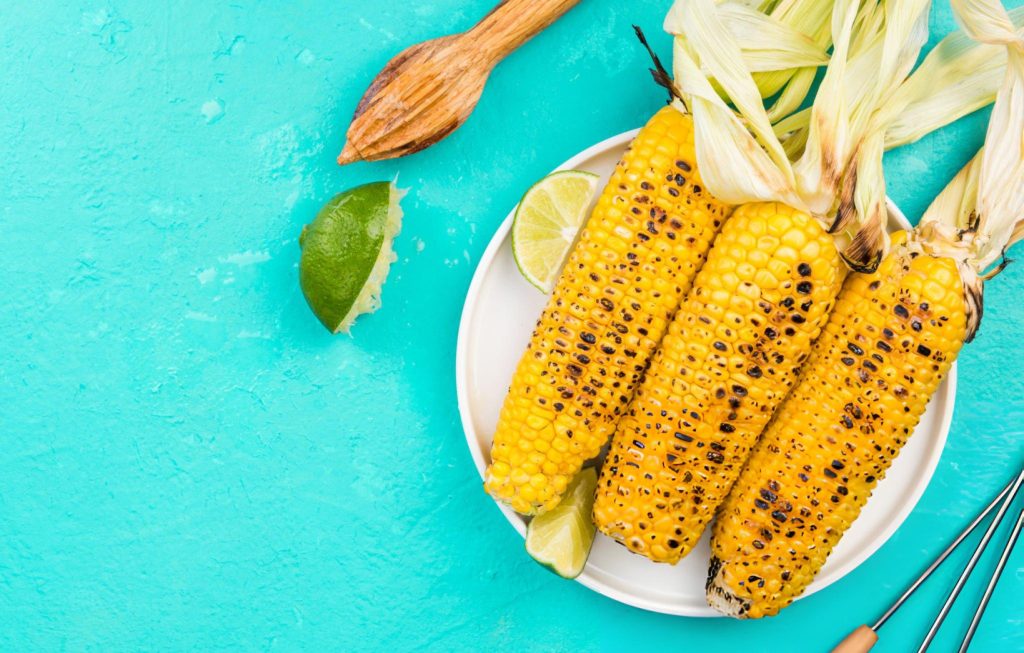
What to Serve With This Recipe
Grilled corn pairs wonderfully with a variety of dishes. For a complete meal, serve it alongside grilled meats, such as steak or chicken, which complement its sweet flavor. Additionally, a fresh summer salad featuring tomatoes, cucumbers, and a tangy vinaigrette makes a perfect side. For those looking to elevate their corn, consider creative toppings like crumbled feta, cilantro-lime crema, or even a drizzle of spicy chili oil to add an exciting kick.
Frequently Asked Questions
Common queries about grilling corn, including storage and reheating tips:
Uncooked corn can be stored in the refrigerator for several days, while grilled corn is best enjoyed fresh. However, if you have leftovers, wrap them in foil and store them in the fridge for up to three days. Reheat on the grill or in a pan for a few minutes until warmed through.
Troubleshooting common grilling issues:
If you find your corn is burning before it’s cooked through, consider lowering the grill temperature. Conversely, if it’s not browning properly, you may need to increase the heat or adjust your turning frequency. Ensure that your grill grates are clean to allow for optimal char marks.
Grilling corn on the cob is not only a delicious experience but also a celebration of summer flavors. With its ease of preparation and ability to bring people together, this dish invites you to experiment with various seasonings and toppings. So fire up the grill, gather your friends and family, and enjoy the simple pleasure of perfectly grilled corn on the cob, a timeless addition to any outdoor feast.
Ingredients
Butter
Sea salt and freshly ground black pepper
4 to 8 ears of fresh sweet corn
Instructions
Husk-on method
Begin by peeling back the husks of the corn, making sure to keep them attached at the base of each ear. Carefully remove the silks as much as possible, then fold the husks back over the cobs. To prevent burning, soak the corn in a large pot filled with cold water for about 10 minutes. Once soaked, drain the corn and gently pat it dry.
Next, preheat your grill to medium-high heat. Place the corn directly on the grill and cook, turning every 3 to 5 minutes. Continue this until all sides are evenly cooked and tender, which should take around 15 minutes. After grilling, remove the corn and tie the husks back to create a convenient handle. Serve hot with butter, sea salt, and freshly ground black pepper.
Husked method
For the husked method, start by shucking the corn and thoroughly removing the silks.
Heat your grill or grill pan to medium-high. Once hot, arrange the corn on the grill and cook, turning every 3 to 5 minutes. Look for light char marks and ensure all sides are cooked, which will take roughly 15 minutes. Once ready, take the corn off the grill and enjoy it with butter, sea salt, and freshly ground black pepper.
Grilled Corn On The Cob Recipe
Ingredients
- Butter
- Sea salt and freshly ground black pepper
- 4 to 8 ears of fresh sweet corn
Instructions
Husk-on method
- Begin by peeling back the husks of the corn, making sure to keep them attached at the base of each ear. Carefully remove the silks as much as possible, then fold the husks back over the cobs. To prevent burning, soak the corn in a large pot filled with cold water for about 10 minutes. Once soaked, drain the corn and gently pat it dry.
- Next, preheat your grill to medium-high heat. Place the corn directly on the grill and cook, turning every 3 to 5 minutes. Continue this until all sides are evenly cooked and tender, which should take around 15 minutes. After grilling, remove the corn and tie the husks back to create a convenient handle. Serve hot with butter, sea salt, and freshly ground black pepper.
Husked method
- For the husked method, start by shucking the corn and thoroughly removing the silks.
- Heat your grill or grill pan to medium-high. Once hot, arrange the corn on the grill and cook, turning every 3 to 5 minutes. Look for light char marks and ensure all sides are cooked, which will take roughly 15 minutes. Once ready, take the corn off the grill and enjoy it with butter, sea salt, and freshly ground black pepper.